Setting up

Setting up

WARNING ►Place the projector in a stable position horizontally. A fall or a turnover could cause an injury and/or damage to the projector. Then using damaged projector could result in a fi re and/or an electric shock.

Don’t place the projector on an unstable, slant or vibrant surface such as a wobbly or inclined stand.

Do not place the projector in the side/front/rear-up position, except care of the air filter.

For the projector installed bottom-up, use the accessory fi lter cover for bottom-

up use. And in the case of a ceiling installation or the like, contact your dealer before installation.

►Place the projection in a cool place, and pay attention enough to ventilation. The high temperature of the projector could cause a fi re, a burn and/or malfunction to the projector.

Don’t stop up, block and cover the projector's vents.

Keep a space of 30 cm or more between the sides and other objects such as walls.

Don’t place the projector on a metallic thing or anything weak in heat.

Don’t place the projector on a carpet, cushion or bedding.

Don’t place the projector in direct sunlight or near a hot object such as heater.

Put nothing about lens and vents of the projector. Put nothing on the projector.

Put nothing that is sucked or sticks to the bottom of projector. This projector has some intake vents also on the bottom.

►Do not place the projector on the place that gets wet. Damping the projector or inserting liquid in the projector could cause a fi re, an electric shock and/or malfunction to the projector.

Don’t place the projector in a bathroom or the outdoors.

Put nothing containing the liquid near the projector.

CAUTION ►Avoid a smoky, humid or dusty place. Placing the projector in such place could cause a fi re, an electric shock and/or malfunction to the projector.

Don’t place the projector near a humidifi er, a smoking space or a kitchen.

Put nothing containing the liquid near the projector.

►Adjist the direction of the projector to keep light from directly hitting the projector's remote sensor.

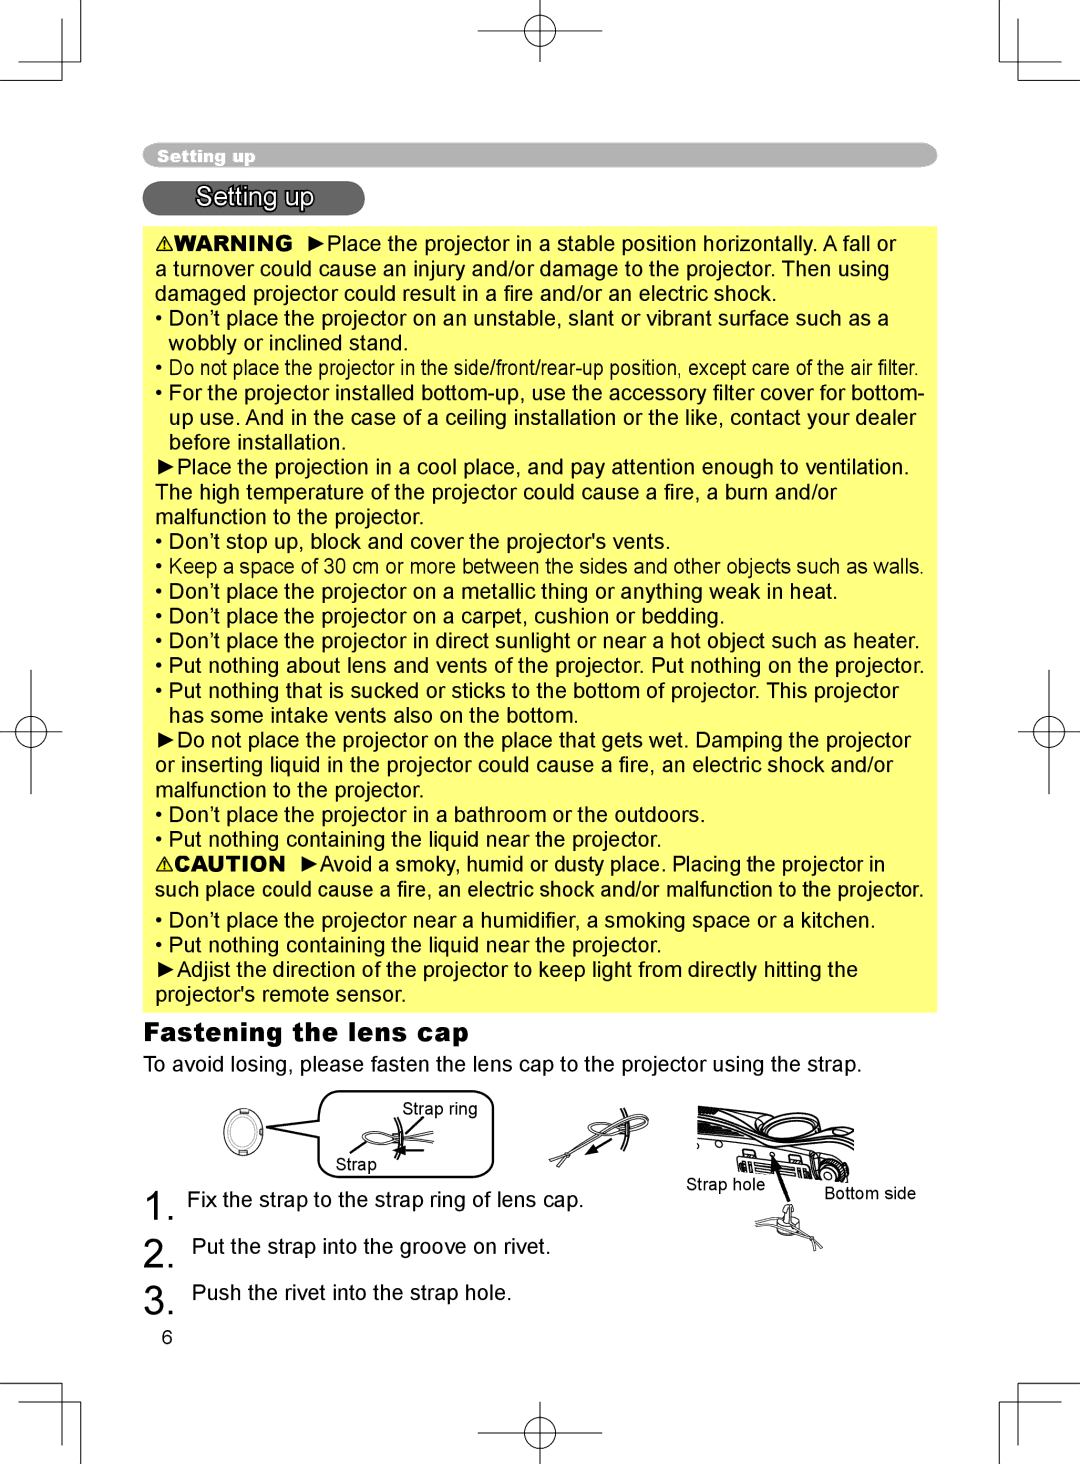
Fastening the lens cap

To avoid losing, please fasten the lens cap to the projector using the strap.

1.

2.

3.

Strap ring


Strap

Strap hole


Fix the strap to the strap ring of lens cap.

Bottom side


Put the strap into the groove on rivet.

Push the rivet into the strap hole.

6

Page 6
Image 6
3M X75 manual Setting up, Fastening the lens cap

X75 specifications

The 3M X75 is a versatile and innovative product designed to meet the demands of various industries. Known for its excellent performance, the X75 incorporates advanced technologies that provide users with superior capabilities. This article delves into its main features, technologies, and characteristics that set it apart in the marketplace.

One of the standout features of the 3M X75 is its exceptional adhesion properties. It uses a unique adhesive formulation that ensures a strong bond to a variety of surfaces. This makes it an ideal choice for applications where reliability is critical. Whether in automotive, construction, or other sectors, the X75 offers a performance that professionals can depend on.

Another key characteristic of the 3M X75 is its durability. The product is engineered to withstand harsh environmental conditions, including extreme temperatures, moisture, and UV exposure. This resilience makes it suitable for both indoor and outdoor applications, ensuring that it maintains its integrity over time.

Additionally, the technology behind the 3M X75 includes a pressure-sensitive adhesive that provides immediate bond strength upon application. This allows users to work efficiently without waiting for curing times, which can slow down workflows. The quick application process is complemented by the product's easy handling, making it user-friendly for various projects.

The design of the 3M X75 also emphasizes flexibility. It can be adapted for different applications, ranging from automotive parts to signage and displays. Its ability to conform to uneven surfaces expands its usability, making it a go-to solution for a plethora of projects.

Another notable feature is its clean removal capability. The 3M X75 is designed to peel away cleanly from surfaces without leaving any residue behind, which is crucial for anyone looking to maintain a neat working environment.

In summary, the 3M X75 stands out due to its superior adhesion, durability, pressure-sensitive technology, flexibility, and clean removal attributes. These characteristics make it a reliable and versatile choice for professionals across various industries, enhancing productivity and ensuring high-quality results for any application.