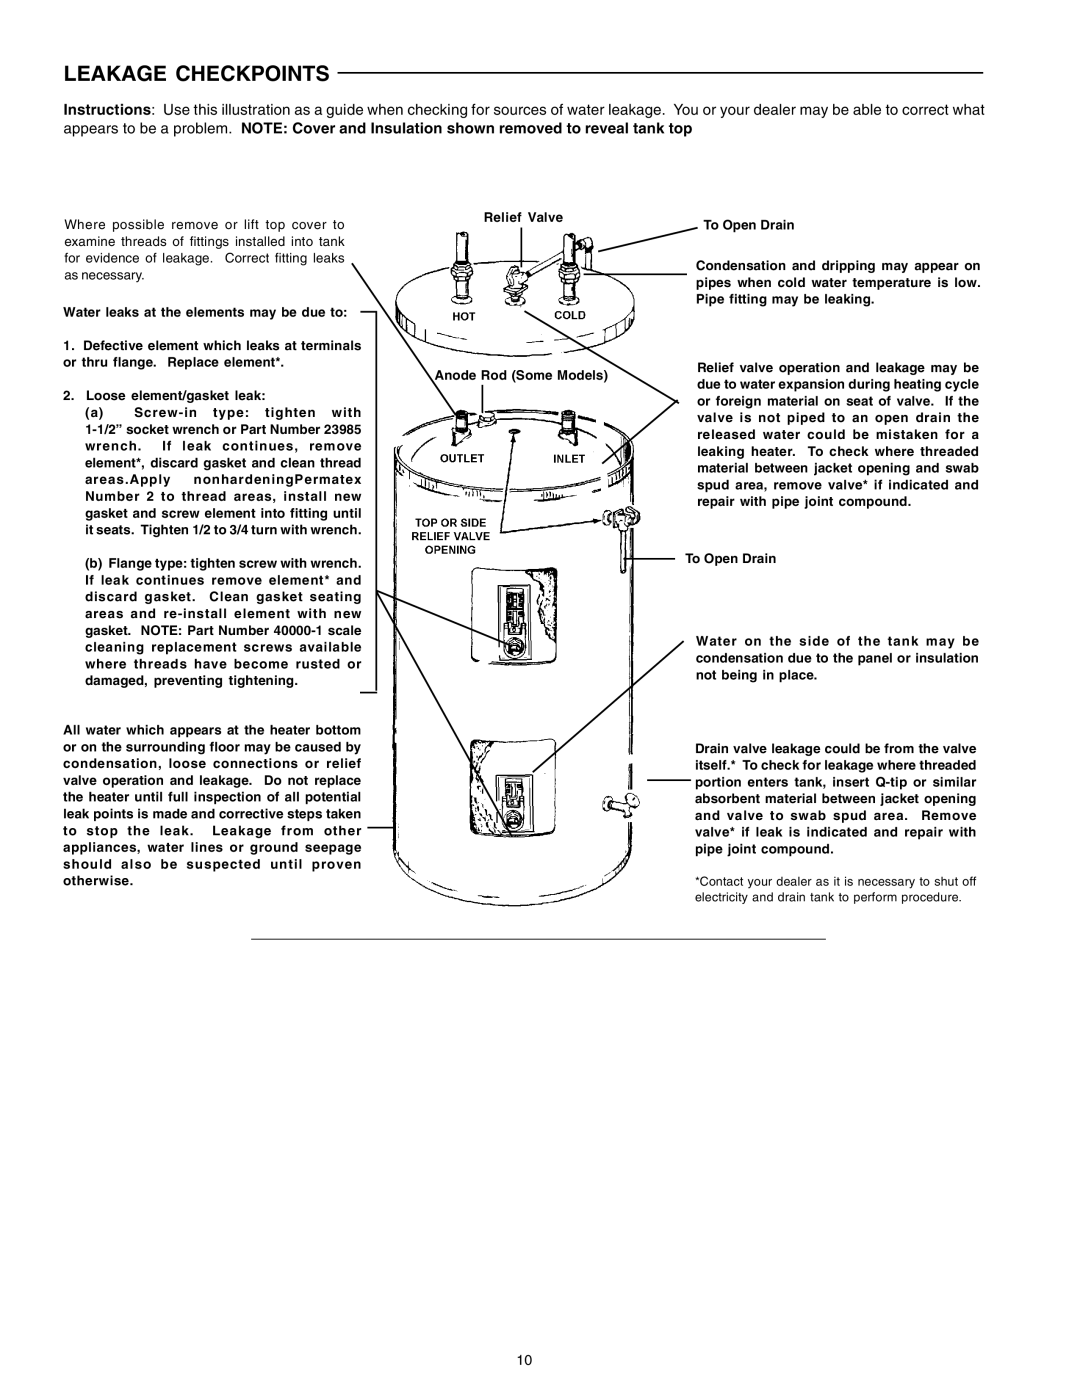
DEN, DEL specifications
A.O. Smith is a well-respected name in the water heating industry, known for its innovative and efficient products. Among their notable offerings are the A.O. Smith DEN and DEL models, which showcase advanced features and technologies designed for residential hot water needs.The A.O. Smith DEN series is a line of electric tank water heaters that exemplify reliability and performance. One of its main features is the "Eco-friendly" design that meets stringent regulatory standards while providing exceptional energy efficiency. The DEN models are equipped with a variety of capacities, allowing homeowners to choose a unit that best fits their needs, ranging from smaller households to larger family homes.
The DEL series, on the other hand, offers gas-fired water heaters that are built to provide high recovery rates, ensuring that hot water is available whenever needed. The DEL models are equipped with a high-efficiency burner system that enhances fuel utilization, reducing energy costs for homeowners. The robust construction of the DEL series also ensures durability and longevity, making it an excellent investment for those seeking reliable hot water solutions.
Both the DEN and DEL series feature user-friendly digital displays, making it easy for users to monitor temperature settings and energy usage. This technological integration empowers homeowners to manage their hot water needs more effectively, leading to both convenience and savings.
In terms of safety, A.O. Smith has incorporated features such as temperature and pressure relief valves in both series to prevent overheating and excessive pressure buildup. This focus on safety is paramount, providing peace of mind for users.
Moreover, the DEN and DEL models come with comprehensive warranties, reflecting the company's commitment to quality. Homeowners can rest assured that they are investing in products that are not only efficient but also backed by a trusted manufacturer with decades of experience.
In summary, the A.O. Smith DEN and DEL series represent a harmonious blend of advanced technology, energy efficiency, and user-centric features. With their focus on performance and safety, these models stand out as exemplary choices for anyone in need of reliable and efficient hot water solutions. Whether for electric or gas applications, A.O. Smith continues to lead the way in the water heating industry.

