Disassembling the Main Unit
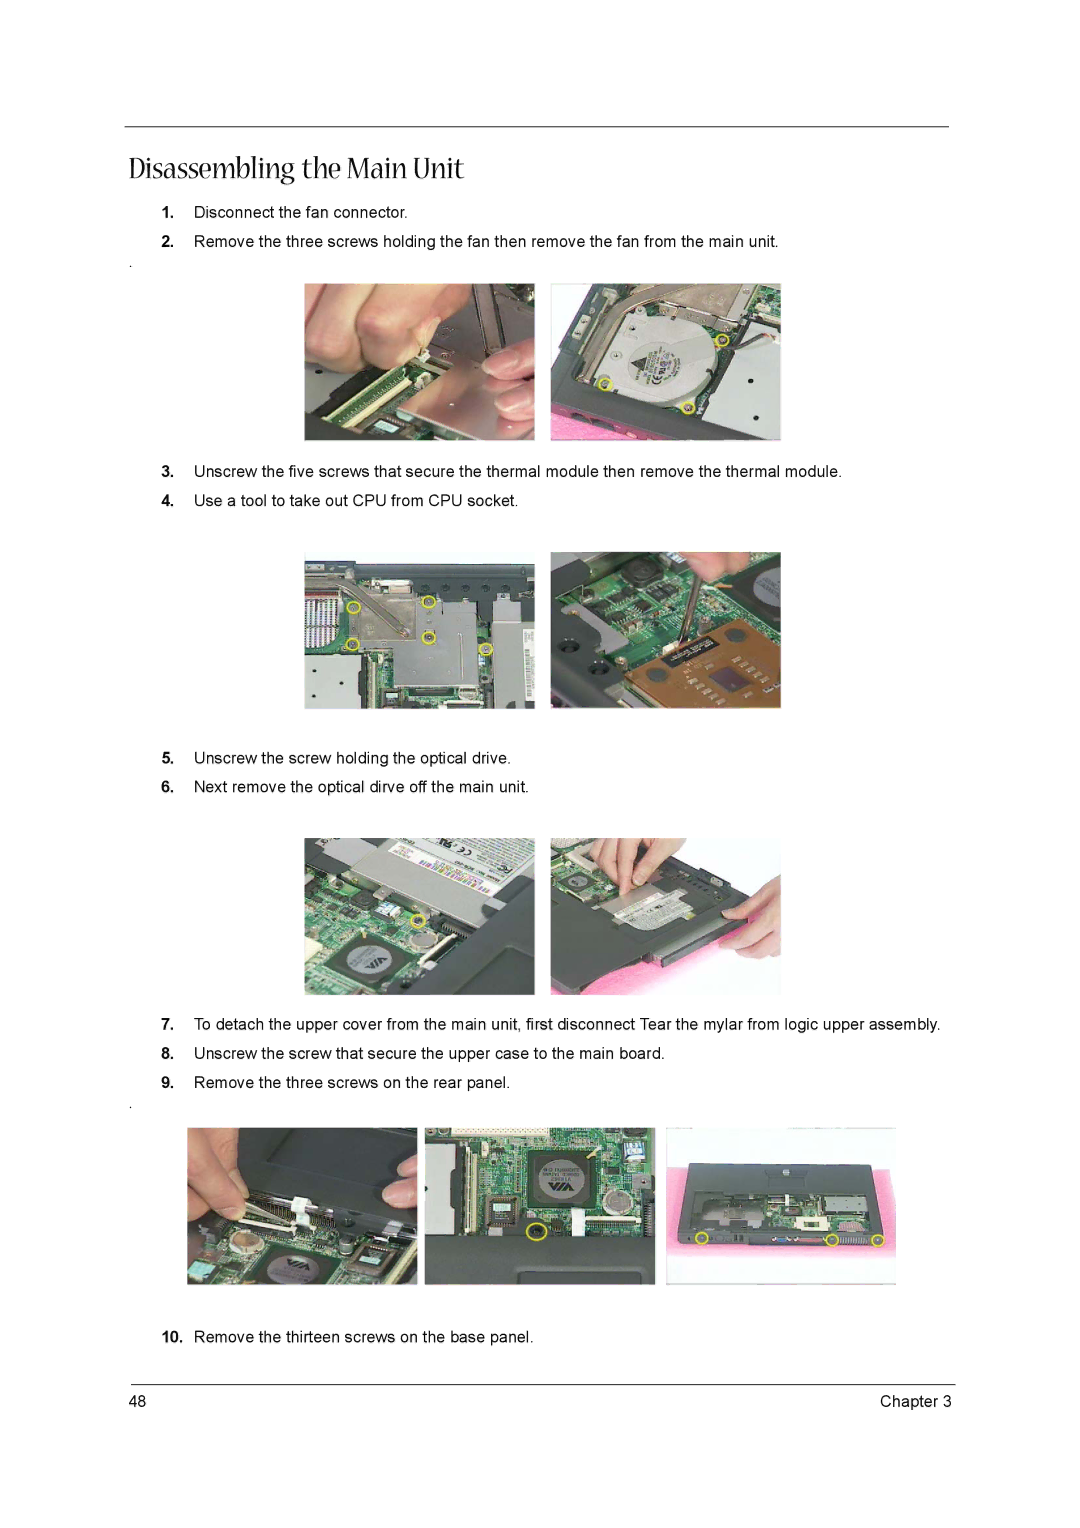
1.Disconnect the fan connector.
2.Remove the three screws holding the fan then remove the fan from the main unit.
.
3.Unscrew the five screws that secure the thermal module then remove the thermal module.
4.Use a tool to take out CPU from CPU socket.
5.Unscrew the screw holding the optical drive.
6.Next remove the optical dirve off the main unit.
7.To detach the upper cover from the main unit, first disconnect Tear the mylar from logic upper assembly.
8.Unscrew the screw that secure the upper case to the main board.
9.Remove the three screws on the rear panel.
.
10.Remove the thirteen screws on the base panel.
48 | Chapter 3 |