Manuals
/
Acer
/
Computer Equipment
/
Laptop
Acer
1300 Series
manual
Chapter
Models:
1300 Series
1
54
92
92
Download
92 pages
7.77 Kb
51
52
53
54
55
56
57
58
Troubleshooting
Specification
Error codes
System Block Diagram
Indicators
LCD-Related Symptoms
System Diagnostic Diskette
Desired Access Num Lock On
Bios Setup Utility
Jumper and Connector Locations
Page 54
Image 54
54
Chapter 3
Page 53
Page 55
Page 54
Image 54
Page 53
Page 55
Contents
Service Guide
Acer Aspire 1300 Series
Date Chapter Updates
Revision History
Copyright
Conventions
Preface
Page
Table of Contents
Chapter Jumper and Connector Locations
System Specifications
Features
Chapter
Expansion
System Block Diagram
System Block Diagram
Board Layout
Top View
North Bridge VT8362 Headphone Jack RTC Battery Socket
Bottom View
Outlook View
Front View
Description
Page
Left Panel
Right Panel
Rear Panel
Bottom Panel
Indicators
Keyboard
Lock Key Description
Desired Access Num Lock On
Key Description
Keyboard Ergonomics
Hot Key Function
Touchpad
Touchpad Basics
Function Left Button Righ Button Tap
Chapter
Launch Keys
Processor
Hardware Specifications and Configurations
Specification
System Memory
Modem Interface
Memory Combinations
LAN Interface
Floppy Disk Drive Interface
Hard Disk Drive Interface
DVD-ROM Interface
Video Memory
ItemResolution Specification
Video Interface
Parallel Port
Pcmcia Port
Battery
USB Port
System Board Major Chips
AC Adapter
DC-AC LCD inverter
Power Management
Power Saving Mode Phenomenon
Memory Address Map
Mechanical Specification
Environmental Requirements
Address Map
Interrupt Channel FunctionHardware
IRQ Assignment Map
DMA Channel Assignment
DMA Channel FunctionHardware
Bios Setup Utility
Navigating the Bios Setup Utility
System Utilities
Startup
Parameter Description
Exit
Bios Flash Utility
System Diagnostic Diskette
Machine Disassembly and Replacement
General Information
Before You Begin
Disassembly Procedure Flowchart
Screw List
Removing the Battery Pack
Removing the Memory/HDD Module
Removing the Keyboard/LCD Module
Disassembling the Main Unit
Page
Chapter
Disassembling the LCD Module-14.1 Inch
Disassembling the LCD Module-15.1 Inch
Disassembling the Floppy Disk Drive Module
Disassembling the External Modules
Disassembling the HDD Module
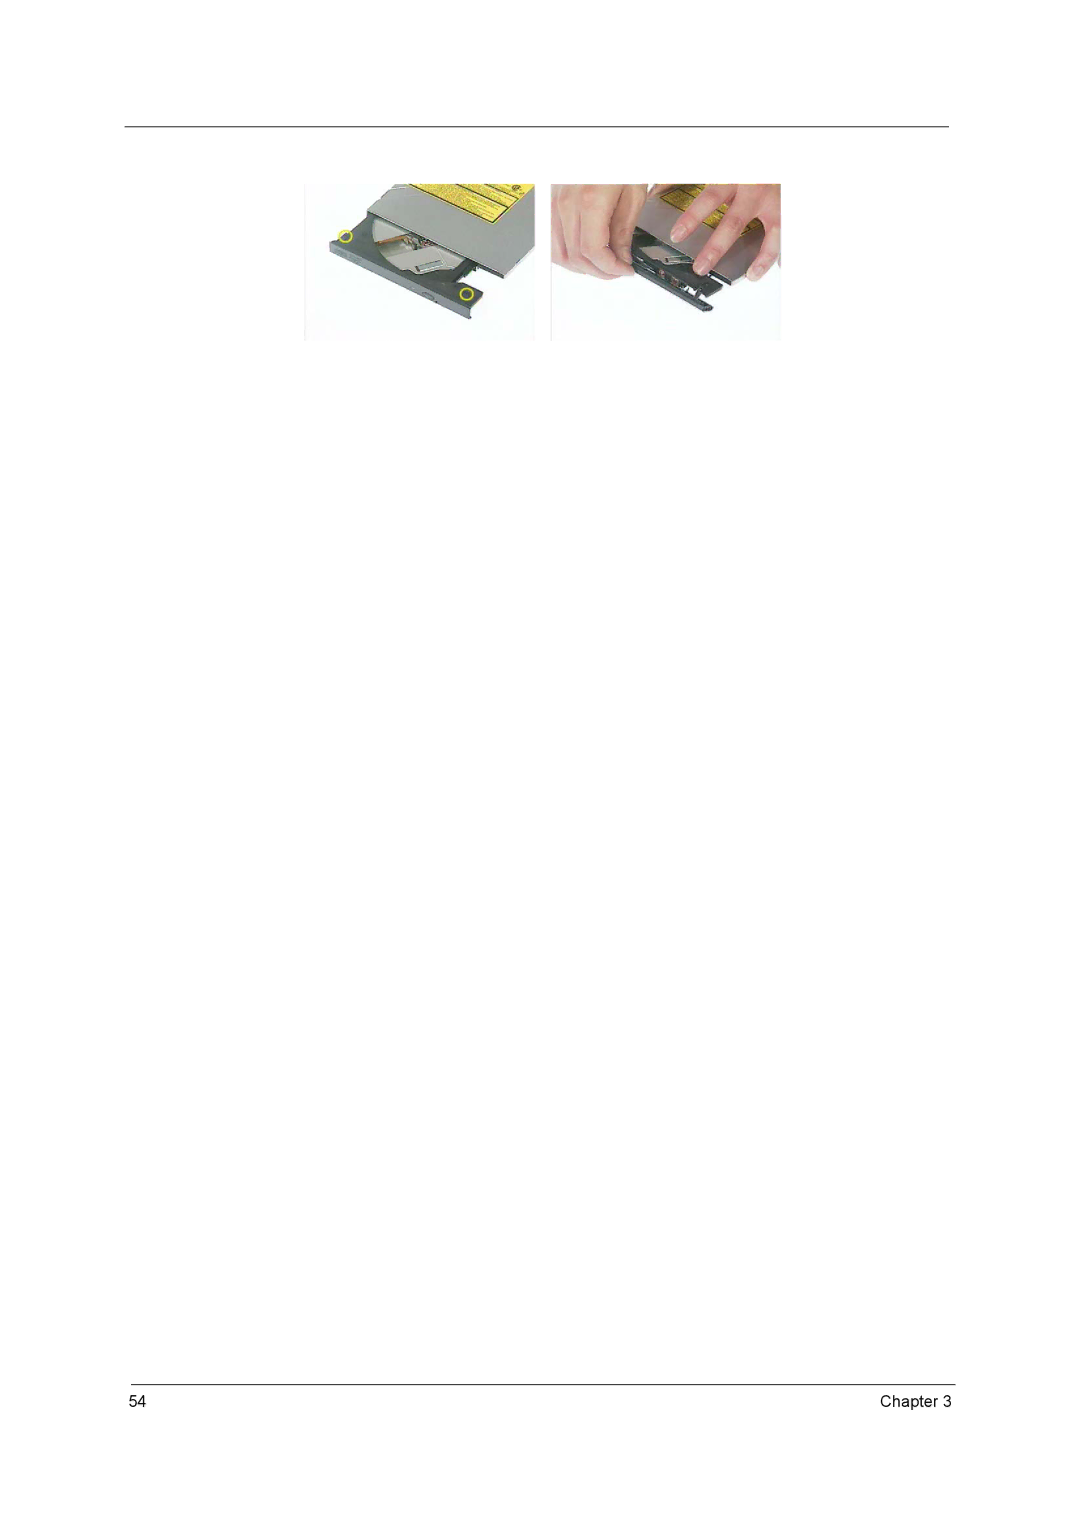
Disassembling the Optical Drive Module
Chapter
Troubleshooting
Symptoms Verified Go To
System Check Procedures
External Diskette Drive Check
External CD-ROM Drive Check
Power System Check
Keyboard or Auxiliary Input Device Check
Memory Check
Check the Battery Pack
Touchpad Check
Power-On Self-Test Post Error Message
Index of Error Messages
Error Message List
No beep Error Messages FRU/Action in Sequence
Indicator-Related Symptoms
Index of Symptom-to-FRU Error Message
LCD-Related Symptoms
Power-Related Symptoms
Speaker-Related Symptoms
PCMCIA-Related Symptoms
Memory-Related Symptoms
Power Management-Related Symptoms
Peripheral-Related Symptoms
Keyboard/Touchpad-Related Symptoms
Modem/LAN-Related Symptoms
Intermittent Problems
Undetermined Problems
Dimm
Chapter
Jumper and Connector Locations
Top View
Bottom View
FRU Field Replaceable Unit List
Exploded Diagram
FDD Assy
Picture Partname And Description Part Number
LCD 14.1 TFT XGA Samsung LTN141X8-L04
Assy 14.1 Hinge R/L
FDD Assy FDD HOLDER-PANASONIC
ODD Bracket
Aspire 1300 Keyboard Jimmold US
Hinge Cover KIT-14.1
SCREW, MM25060PCI5
Chapter
Model Definition and Configuration
Appendix a
Aspire 1300 series
Main Features
Appendix a
Test Compatible Components
Appendix B
Specifications
Microsoft Windows XP Home Environment Test
Appendix B
Appendix B
Online Support Information
Appendix C
Appendix C
Index
Bios
Top
Page
Image
Contents