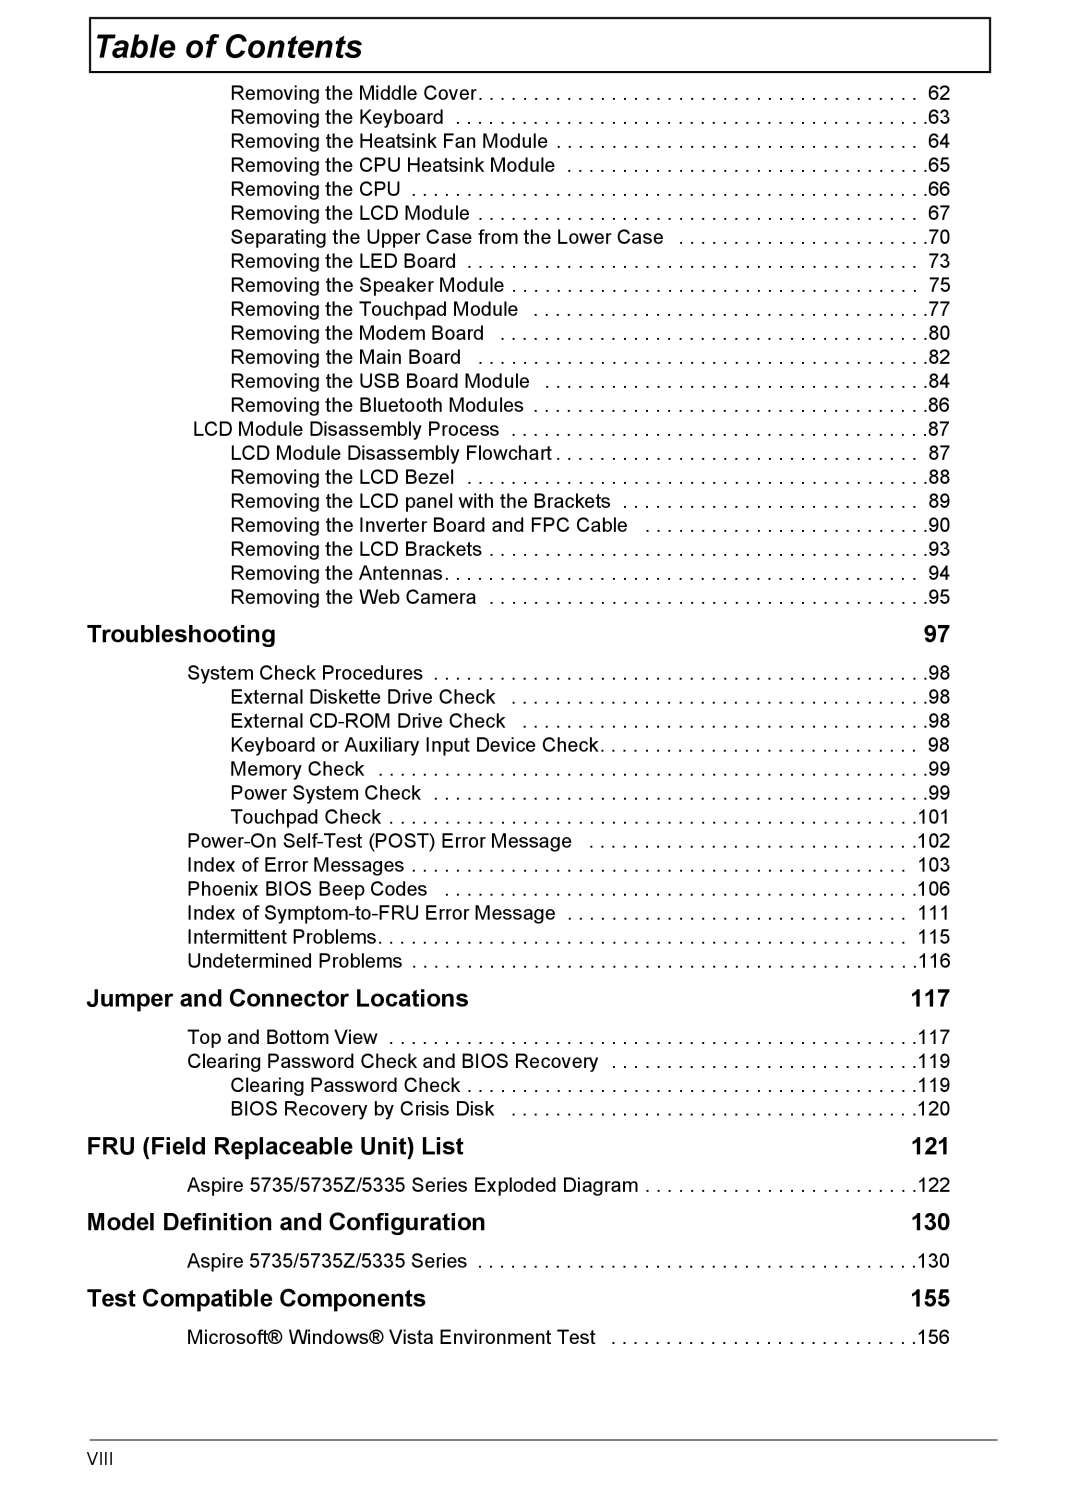
Table of Contents |
|
Removing the Middle Cover | . 62 |
Removing the Keyboard | . .63 |
Removing the Heatsink Fan Module | . 64 |
Removing the CPU Heatsink Module | . .65 |
Removing the CPU | . .66 |
Removing the LCD Module | . 67 |
Separating the Upper Case from the Lower Case | . .70 |
Removing the LED Board | . 73 |
Removing the Speaker Module | . 75 |
Removing the Touchpad Module | . .77 |
Removing the Modem Board | . .80 |
Removing the Main Board | . .82 |
Removing the USB Board Module | . .84 |
Removing the Bluetooth Modules | . .86 |
LCD Module Disassembly Process | . .87 |
LCD Module Disassembly Flowchart | . 87 |
Removing the LCD Bezel | . .88 |
Removing the LCD panel with the Brackets | . 89 |
Removing the Inverter Board and FPC Cable | . .90 |
Removing the LCD Brackets | . .93 |
Removing the Antennas | . 94 |
Removing the Web Camera | . .95 |
Troubleshooting | 97 |
System Check Procedures | . .98 |
External Diskette Drive Check | . .98 |
External | . .98 |
Keyboard or Auxiliary Input Device Check | . 98 |
Memory Check | . .99 |
Power System Check | . .99 |
Touchpad Check | .101 |
.102 | |
Index of Error Messages | 103 |
Phoenix BIOS Beep Codes | .106 |
Index of | 111 |
Intermittent Problems | 115 |
Undetermined Problems | .116 |
Jumper and Connector Locations | 117 |
Top and Bottom View | .117 |
Clearing Password Check and BIOS Recovery | .119 |
Clearing Password Check | .119 |
BIOS Recovery by Crisis Disk | .120 |
FRU (Field Replaceable Unit) List | 121 |
Aspire 5735/5735Z/5335 Series Exploded Diagram | .122 |
Model Definition and Configuration | 130 |
Aspire 5735/5735Z/5335 Series | .130 |
Test Compatible Components | 155 |
Microsoft® Windows® Vista Environment Test . . . . . . . . . . . . . . . . . . . . . . . . . . . .156
VIII
