INSTALLATION
To install the monitor to your host system, please follow the steps as given below:
Steps
1.
a.Make sure both the monitor and computer are
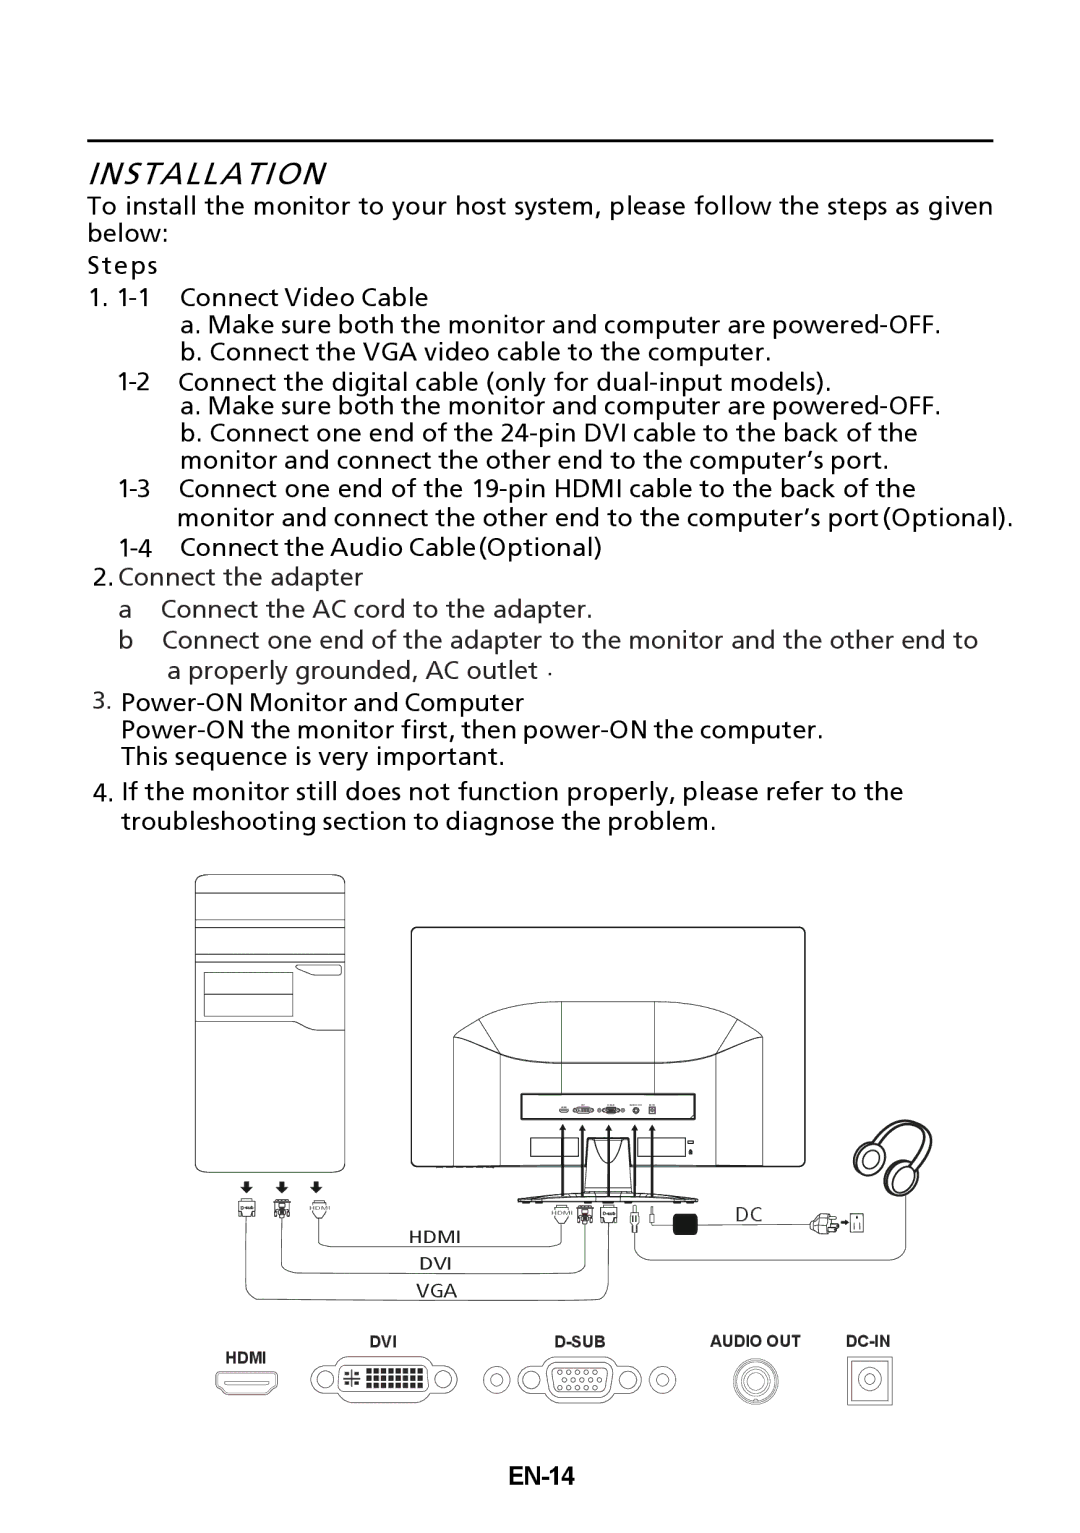
b.Connect the VGA video cable to the computer.
a. Make sure both the monitor and computer are
monitor and connect the other end to the computer’s port (Optional).
2.Connect the adapter
a Connect the AC cord to the adapter.
b Connect one end of the adapter to the monitor and the other end to a properly grounded, AC outlet .
3.
4.If the monitor still does not function properly, please refer to the troubleshooting section to diagnose the problem.
DC |
HDMI
DVI
VGA
DVI | AUDIO OUT | ||
HDMI |
|
|
|