Disassembling the Main Unit
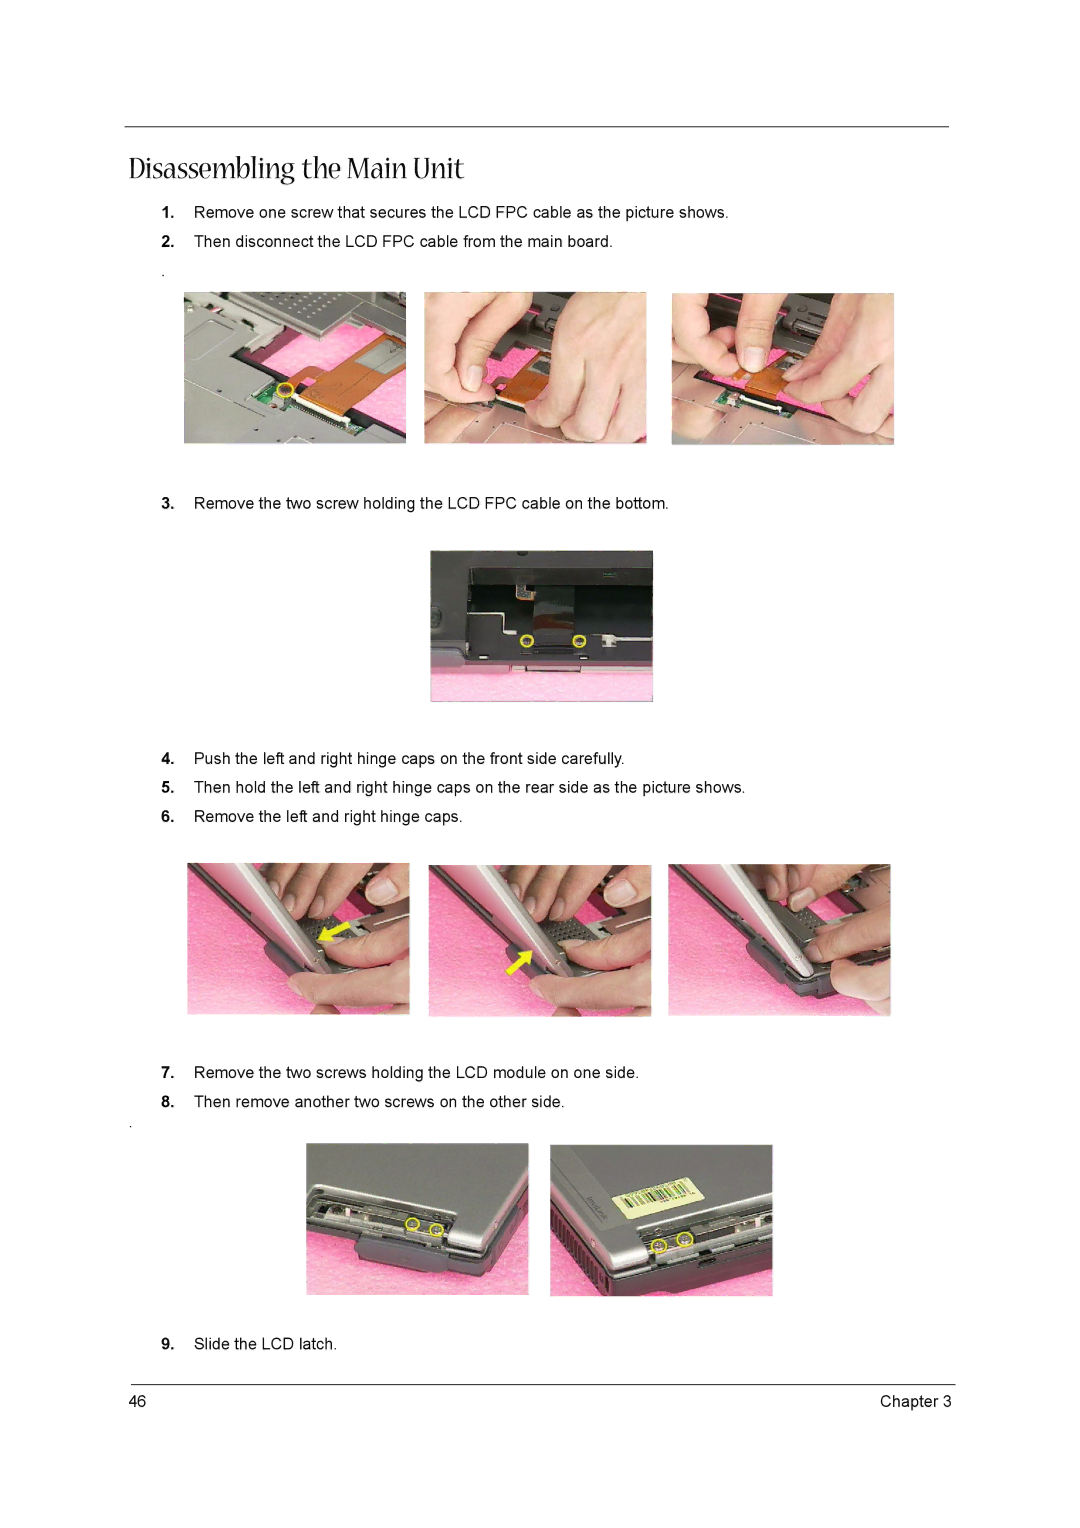
1.Remove one screw that secures the LCD FPC cable as the picture shows.
2.Then disconnect the LCD FPC cable from the main board.
.
3.Remove the two screw holding the LCD FPC cable on the bottom.
4.Push the left and right hinge caps on the front side carefully.
5.Then hold the left and right hinge caps on the rear side as the picture shows.
6.Remove the left and right hinge caps.
7.Remove the two screws holding the LCD module on one side.
8.Then remove another two screws on the other side.
.
9.Slide the LCD latch.
46 | Chapter 3 |