2.Press the “ ![]() ” button to set the clock.
” button to set the clock.
3.Press the up or down arrows to adjust the hour. Note the “AM” and “PM” indicators.
4.Press the “ ” button to confirm hour selection.
5.Press the up or down arrows to adjust minutes.
6.Press the “ ” button to confirm minute selection.
The clock is now set.
Set the Date
1.Press the up or down arrow buttons until “SET DATE?” is displayed on the Selectable Category part of the display unit.
2.Press the “ ![]() ” button to set the date.
” button to set the date.
3.Press the up or down arrows to adjust the month.
4.Press the “ ” button to confirm month selection.
5.Press the up or down arrows to adjust the day.
6.Press the “ ” button to confirm day selection.
7.Press the up or down arrows to adjust the year.
8.Press the “ ” button to confirm year selection.
The date is now set.
8
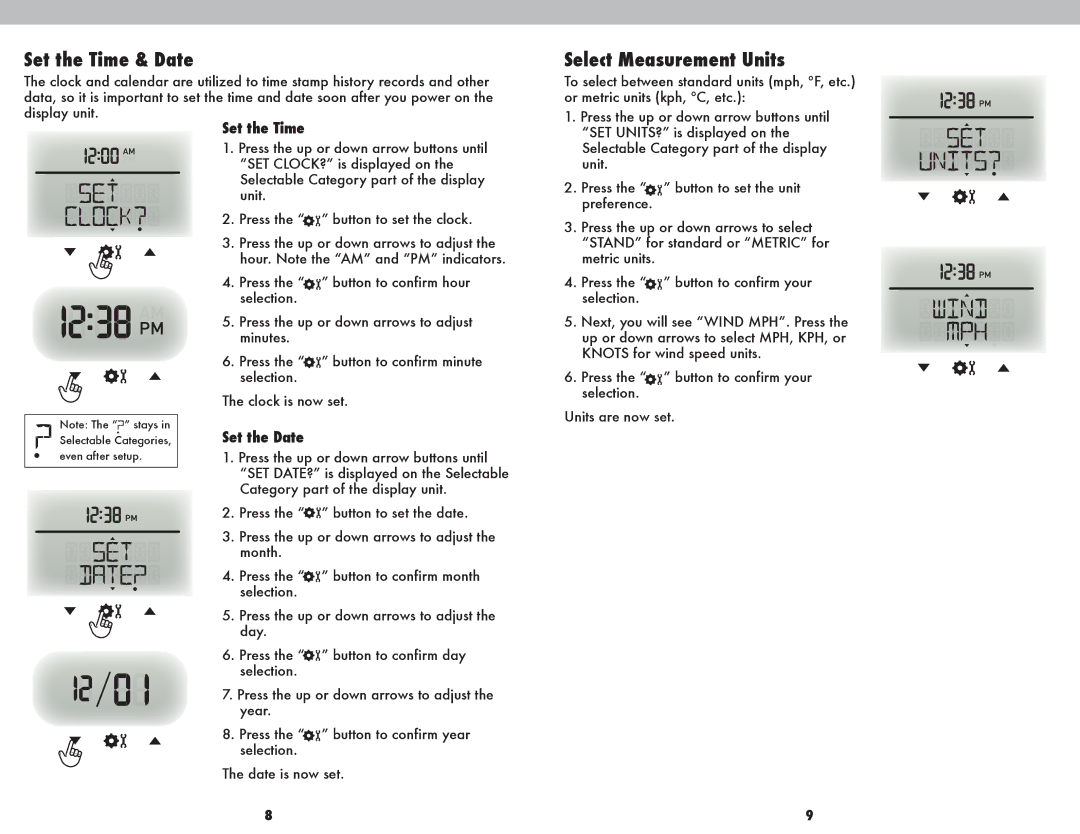
Select Measurement Units
To select between standard units (mph, ºF, etc.) or metric units (kph, ºC, etc.):
1.Press the up or down arrow buttons until “SET UNITS?” is displayed on the Selectable Category part of the display unit.
2.Press the “ ” button to set the unit preference.
3.Press the up or down arrows to select “STAND” for standard or “METRIC” for metric units.
4.Press the “ ” button to confirm your selection.
5.Next, you will see “WIND MPH”. Press the up or down arrows to select MPH, KPH, or KNOTS for wind speed units.
6.Press the “ ” button to confirm your selection.
Units are now set.
9