StorNext 3.0 Upgrade Guide
Document
March 2007
Note: You must log on as an Administrator to install StorNext.
Removing a Previous Version of StorNext
If a previous version of StorNext exists on the system, you must remove it before installing the new version.
1Insert the StorNext installation CD.
2Browse to the root directory of the installation CD and
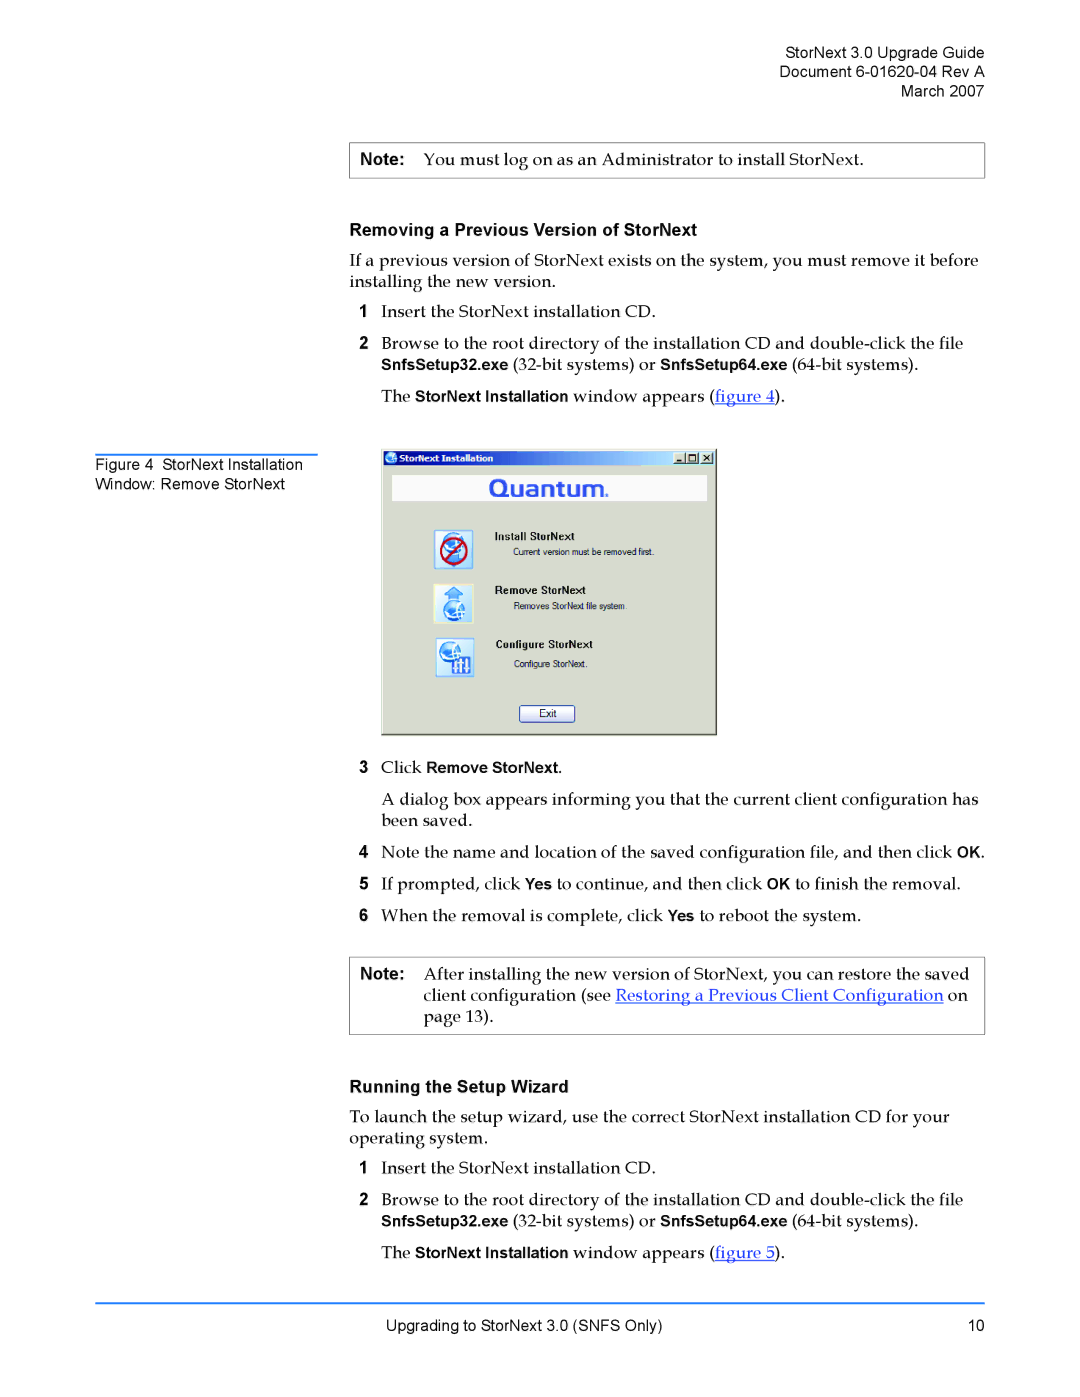
The StorNext Installation window appears (figure 4).
Figure 4 StorNext Installation
Window: Remove StorNext
3Click Remove StorNext.
A dialog box appears informing you that the current client configuration has been saved.
4Note the name and location of the saved configuration file, and then click OK.
5If prompted, click Yes to continue, and then click OK to finish the removal.
6When the removal is complete, click Yes to reboot the system.
Note: After installing the new version of StorNext, you can restore the saved client configuration (see Restoring a Previous Client Configuration on page 13).
Running the Setup Wizard
To launch the setup wizard, use the correct StorNext installation CD for your operating system.
1Insert the StorNext installation CD.
2Browse to the root directory of the installation CD and
The StorNext Installation window appears (figure 5).
Upgrading to StorNext 3.0 (SNFS Only) | 10 |