Known devices called calibration standards provide the measurement reference for net- work analyzer
The 8510 network analyzer system has the capability to make
Agilent Technologies supplies full calibration kits in
The 8510’s
The scope of this product note includes a general description of the capabilities of the 8510 to accept new cal kit descriptions via the MODIFY CAL KIT function found in the 8510 CAL menu. It does not, however, describe how to design a set of physical standards. The selection and fabrication of appropriate calibration standards is as var- ied as the transmission media of the partic- ular application and is beyond the scope of this note.
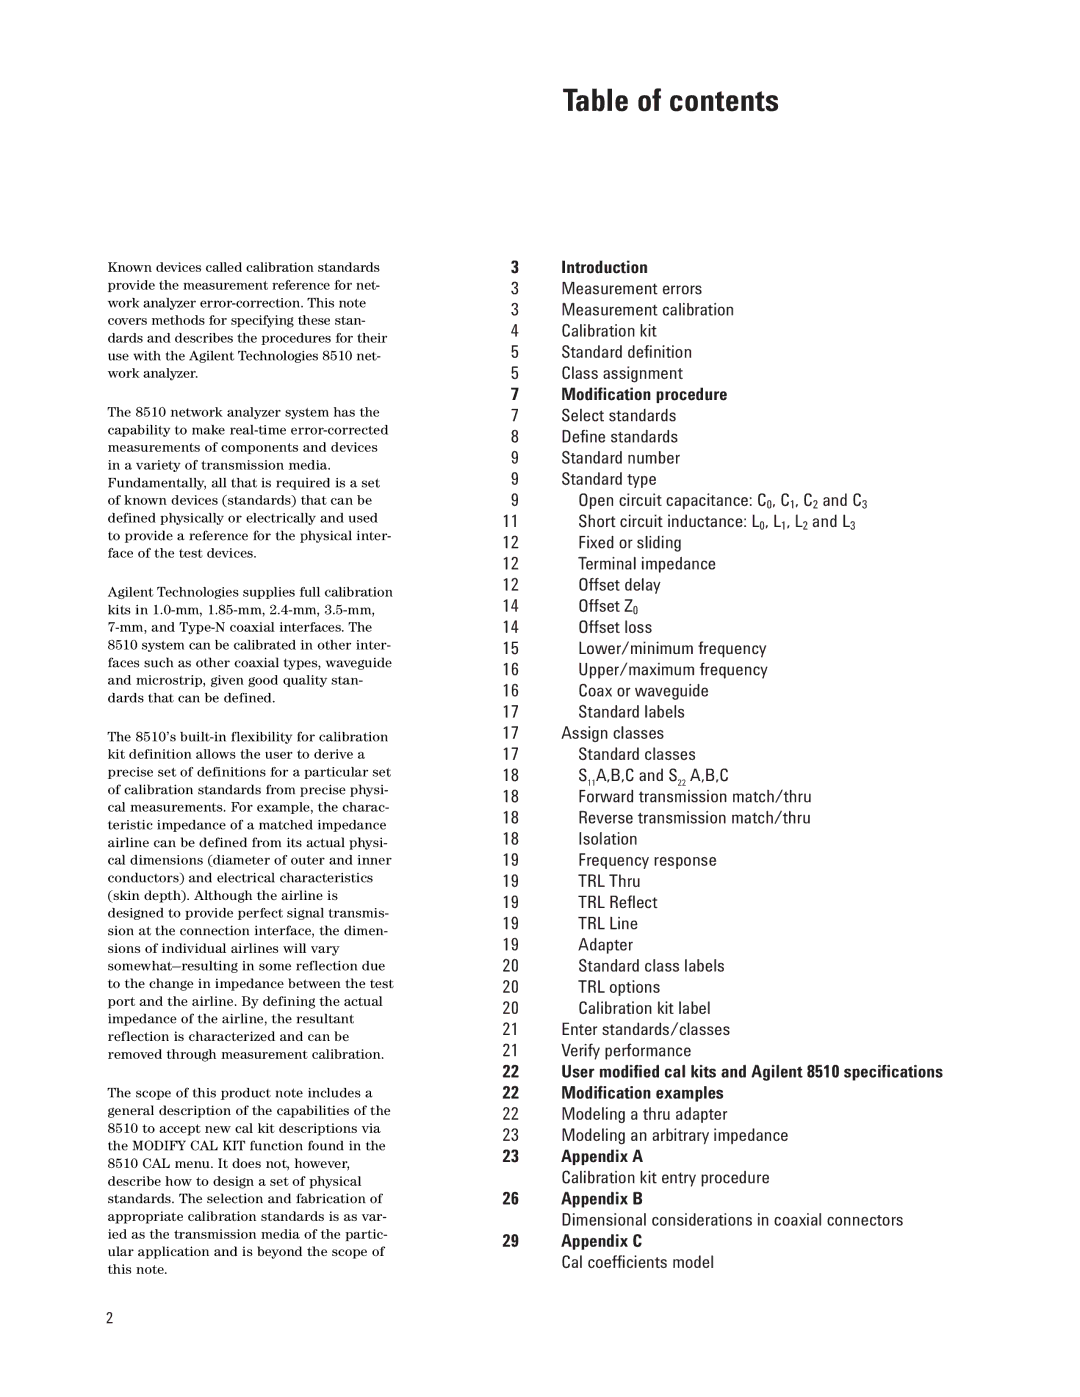
Table of contents
3 | Introduction |
3 | Measurement errors |
3Measurement calibration
4Calibration kit
5Standard definition
5 Class assignment
7Modification procedure
7Select standards
8Define standards
9Standard number
9 | Standard type |
9 | Open circuit capacitance: C0, C1, C2 and C3 |
11Short circuit inductance: L0, L1, L2 and L3
12Fixed or sliding
12 | Terminal impedance |
12 | Offset delay |
14 | Offset Z0 |
14Offset loss
15Lower/minimum frequency
16Upper/maximum frequency
16Coax or waveguide
17Standard labels
17Assign classes
17Standard classes
18S11A,B,C and S22 A,B,C
18 | Forward transmission match/thru |
18 | Reverse transmission match/thru |
18Isolation
19Frequency response
19 | TRL Thru |
19 | TRL Reflect |
19 | TRL Line |
19Adapter
20Standard class labels
20 | TRL options |
20Calibration kit label
21Enter standards/classes
21Verify performance
22User modified cal kits and Agilent 8510 specifications
22Modification examples
22Modeling a thru adapter
23Modeling an arbitrary impedance
23 Appendix A
Calibration kit entry procedure
26Appendix B
Dimensional considerations in coaxial connectors
29Appendix C
Cal coefficients model
2
