Option Installation
Update Procedure
Calibration of the Touch Screen
When you have replaced the HDD on an E5070B/E5071B equipped with an Option 016 touch screen, you have to calibrate the touch screen. Follow the procedure described below to calibrate the touch screen.
Step 1. | Press | . |
Step 2. Press Service Menu. | ||
Step 3. | Press Test Menu. | |
Step 4. | Press Adjust Touch Screen. | |
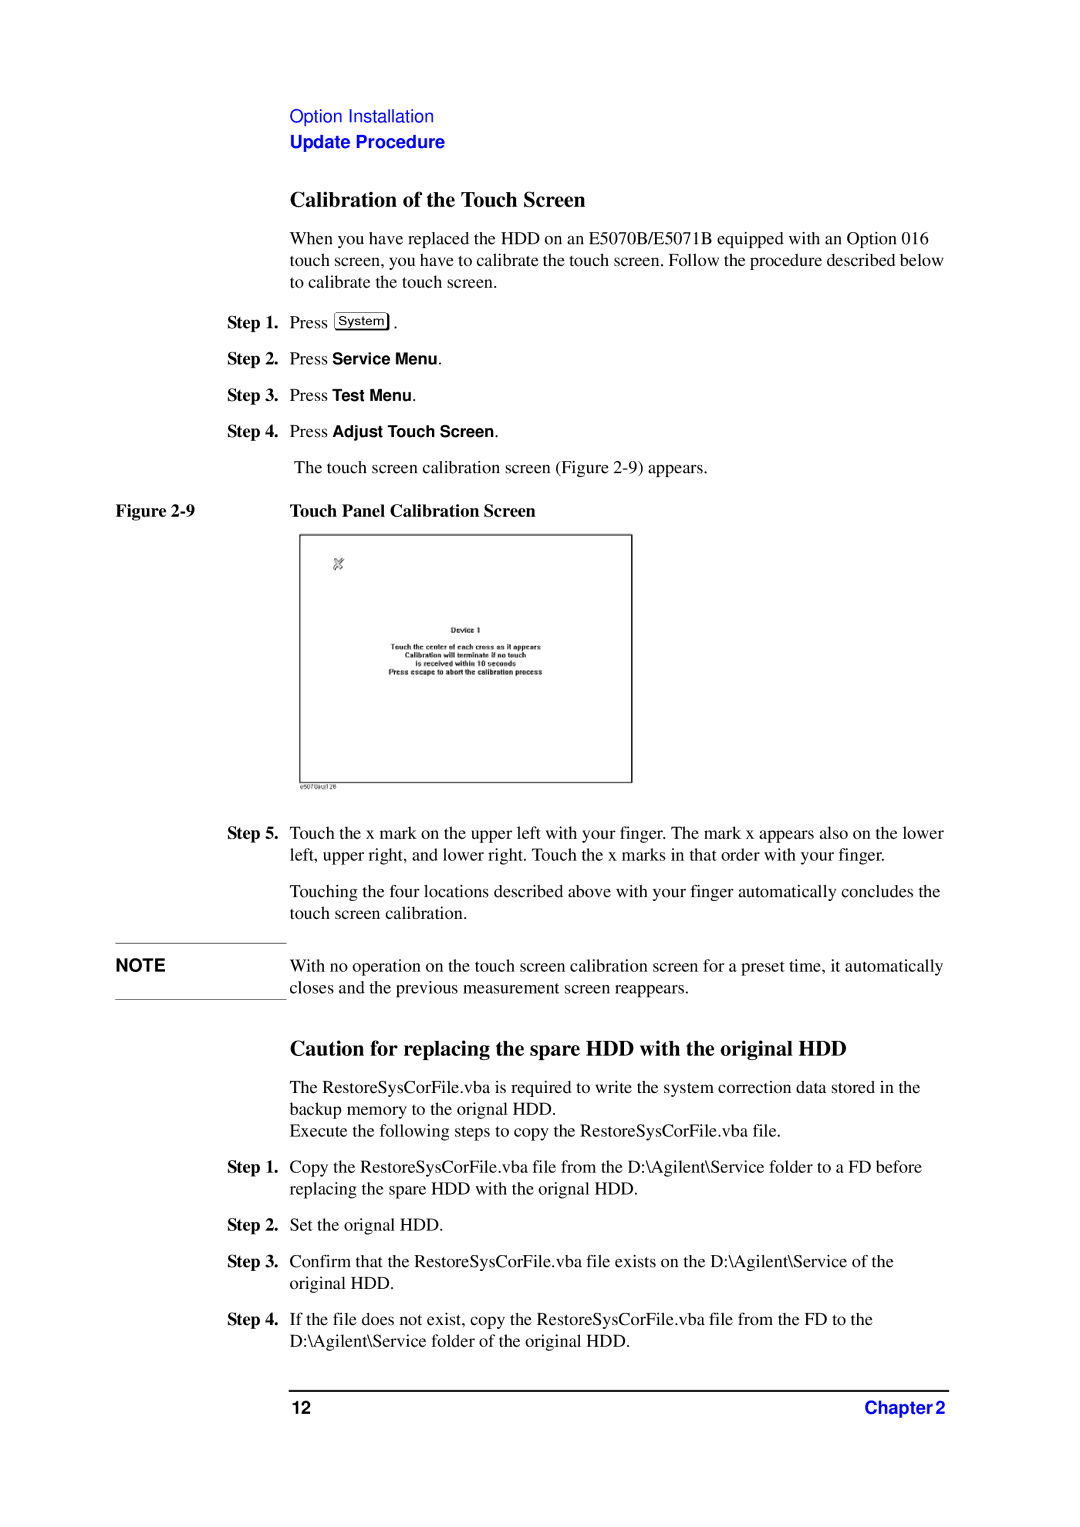
| The touch screen calibration screen (Figure | |
Figure | Touch Panel Calibration Screen | |
| Step 5. Touch the x mark on the upper left with your finger. The mark x appears also on the lower | |
|
| left, upper right, and lower right. Touch the x marks in that order with your finger. |
|
| Touching the four locations described above with your finger automatically concludes the |
|
| touch screen calibration. |
|
|
|
NOTE |
| With no operation on the touch screen calibration screen for a preset time, it automatically |
|
| closes and the previous measurement screen reappears. |
Caution for replacing the spare HDD with the original HDD
The RestoreSysCorFile.vba is required to write the system correction data stored in the backup memory to the orignal HDD.
Execute the following steps to copy the RestoreSysCorFile.vba file.
Step 1. Copy the RestoreSysCorFile.vba file from the D:\Agilent\Service folder to a FD before replacing the spare HDD with the orignal HDD.
Step 2. Set the orignal HDD.
Step 3. Confirm that the RestoreSysCorFile.vba file exists on the D:\Agilent\Service of the original HDD.
Step 4. If the file does not exist, copy the RestoreSysCorFile.vba file from the FD to the D:\Agilent\Service folder of the original HDD.
12 | Chapter 2 |