
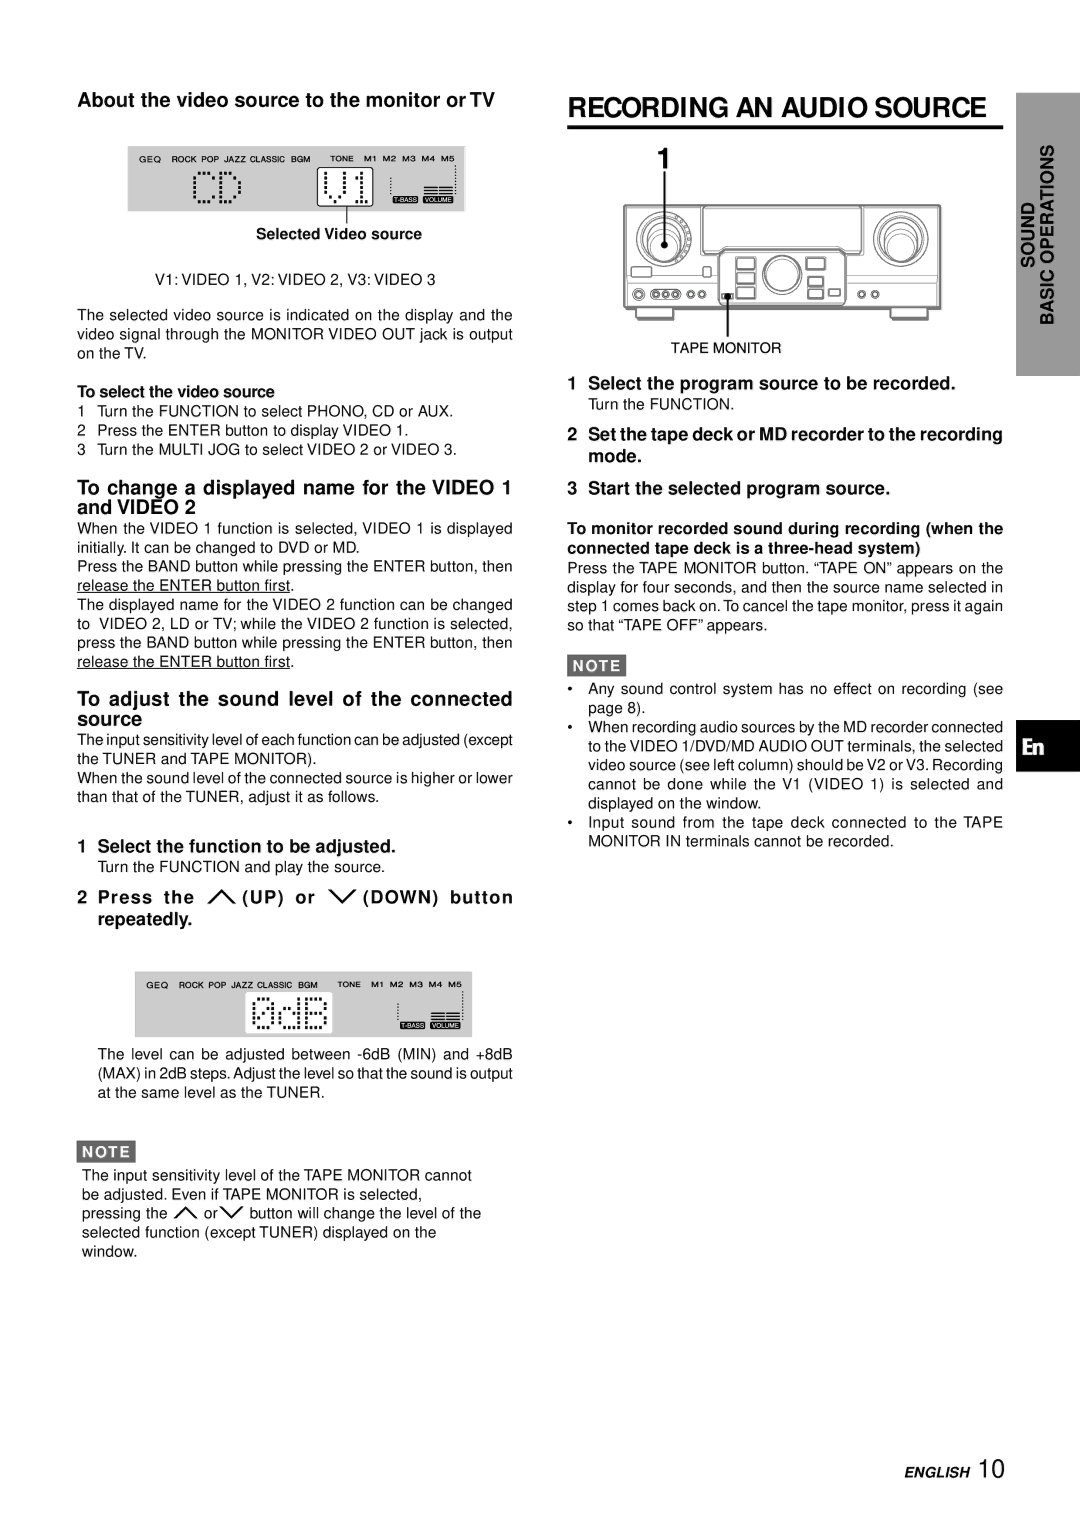
AV-S17 specifications
The Aiwa AV-S17 is a compact and dynamic audio amplifier that reflects the brand's dedication to delivering quality sound in a versatile package. Known for its exceptional performance, the AV-S17 has become a popular choice among audiophiles and casual listeners alike.One of the key features of the Aiwa AV-S17 is its impressive power output, typically rated at around 40 watts per channel. This level of power ensures that it can drive a variety of speakers with ease, providing clear and robust sound across different frequencies. The amplifier is designed to minimize distortion, which means that users can enjoy their music at higher volumes without compromising on audio quality.
In terms of connectivity, the Aiwa AV-S17 comes equipped with multiple input options, including RCA inputs for connecting a CD player, turntable, or other audio sources. Additionally, it has speaker terminals that allow for flexible speaker configurations. The straightforward layout makes it easy to connect and switch between devices, making it an ideal choice for home audio setups.
The AV-S17 embraces analog technology, which is well-regarded for its warm and rich sound signature. This amplifier is particularly appealing to those who appreciate classic audio setups. It also features tone control options, allowing users to customize the bass and treble levels to their preference, enhancing the listening experience further.
Another notable characteristic of the Aiwa AV-S17 is its compact form factor. Unlike many bulky amplifiers, this model is designed to fit comfortably into smaller spaces, making it suitable for a wide range of environments, from cozy apartments to dedicated audio rooms.
The build quality of the AV-S17 aligns with Aiwa's reputation for durability. The chassis is robust, ensuring that it can withstand the rigors of regular use while also providing a stylish aesthetic that complements a variety of home decors.
Overall, the Aiwa AV-S17 stands out for its power, connectivity, and user-friendly features, making it a reliable choice for anyone looking to enhance their audio experience without breaking the bank. Whether you are a seasoned audiophile or a casual music lover, the AV-S17 is sure to deliver enjoyment and satisfaction in every listening session.