HV-FX5100 specifications
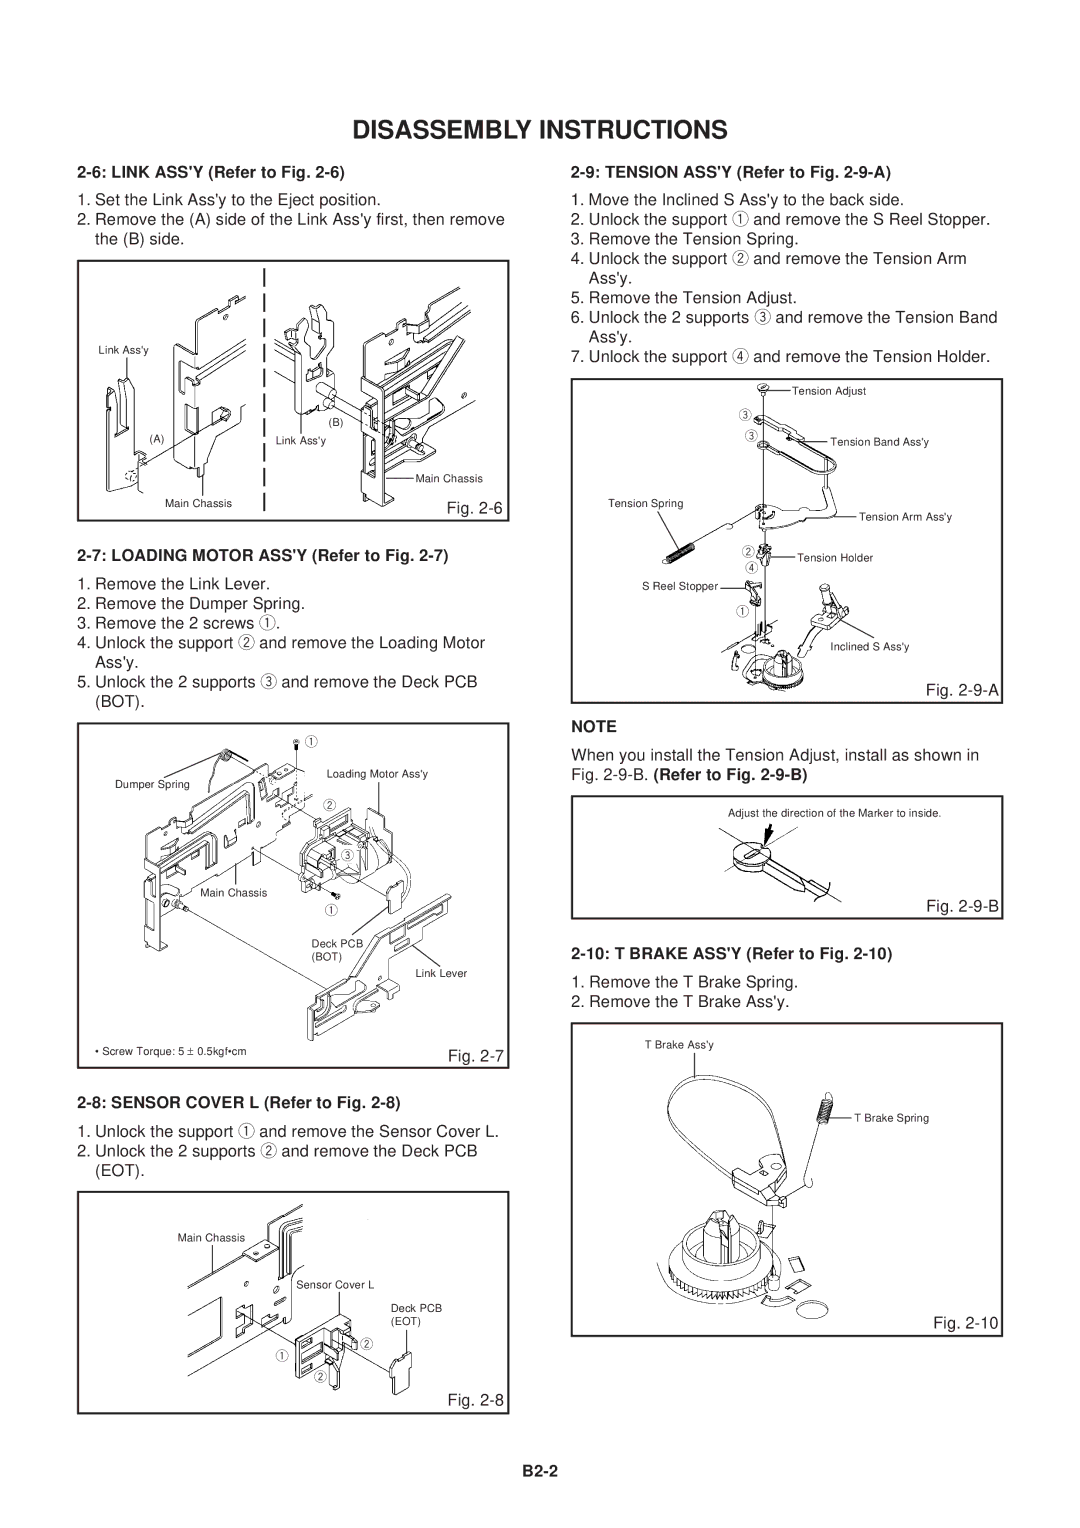
The Aiwa HV-FX5100 is a remarkable piece of technology that showcases Aiwa’s commitment to innovation and quality in the realm of home entertainment. Released as part of their VHS video cassette recorder lineup, the HV-FX5100 quickly gained popularity for its advanced features and user-friendly design.One of the standout characteristics of the Aiwa HV-FX5100 is its impressive playback quality. The machine delivers crisp and clear video resolution, thanks to its advanced video processing technology. This ensures that viewers experience a vibrant picture with natural color reproduction, enhancing the viewing experience for VHS tapes.
The Aiwa HV-FX5100 is equipped with a range of functionalities that cater to the needs of modern consumers. A key feature is its Time Base Correction (TBC) technology, which helps eliminate jittery video, making it particularly useful for viewing older tapes or those that have been recorded on different machines. This technology significantly enhances the stability of the video playback, allowing for a smoother viewing experience.
Another notable feature of the HV-FX5100 is its built-in digital tuner, which allows users to receive and record digital broadcasts. This helps bridge the gap between analog recordings and the growing trend towards digital content, making it a versatile addition to any home entertainment system.
The design of the Aiwa HV-FX5100 also reflects its ease of use. With a straightforward interface and intuitive remote control, users can navigate and control the unit effortlessly. The VCR includes features like auto-tuning and programmed recording, which make it incredibly convenient for users to schedule recordings with minimal hassle.
In terms of connectivity, the Aiwa HV-FX5100 is equipped with various input and output options, including RCA connectors and S-Video outputs, allowing for seamless integration with TVs and other audiovisual equipment. This flexibility ensures that users can enjoy their favorite content across different media formats.
Furthermore, the construction of the HV-FX5100 is robust, promising longevity and durability. This makes it a reliable choice for those who want a dependable VCR to preserve and play their video collections.
Overall, the Aiwa HV-FX5100 stands out not just for its impressive list of features but also for its ability to adapt to both vintage and contemporary media needs. It represents a perfect harmony of classic technology and modern consumer demands, making it a treasured device for video enthusiasts.

