REAR PANEL OVERVIEW
|
|
| 4 |
|
|
| 3 |
| 3 | 5 | 8 |
2 |
| ||
|
| ||
|
|
|
6
17
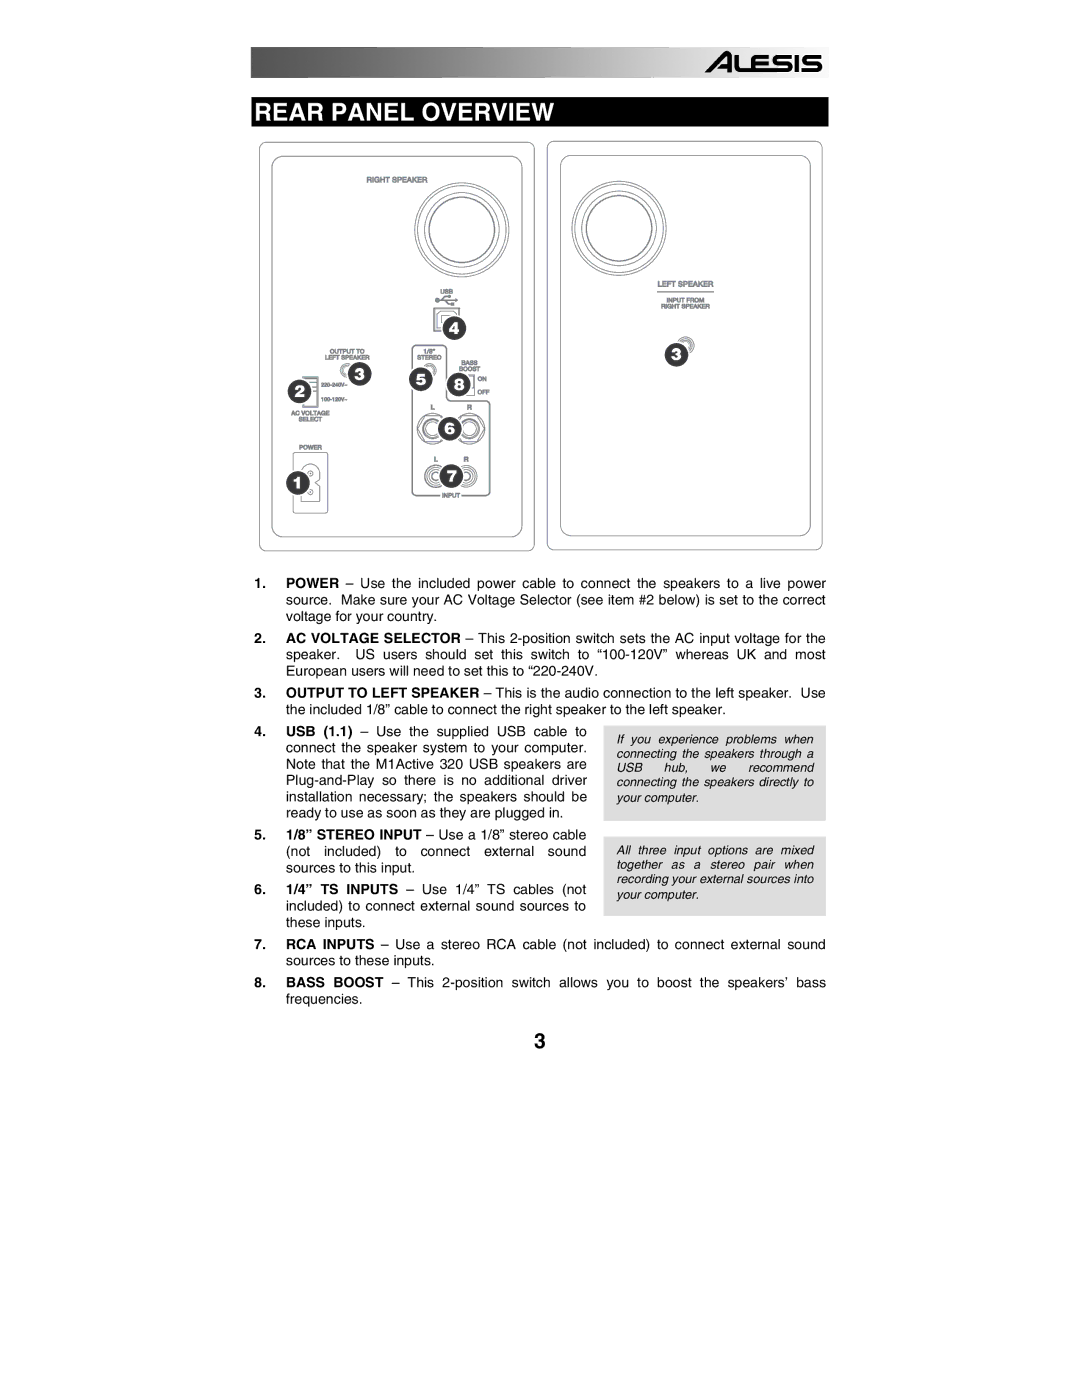
1.POWER – Use the included power cable to connect the speakers to a live power source. Make sure your AC Voltage Selector (see item #2 below) is set to the correct voltage for your country.
2.AC VOLTAGE SELECTOR – This
3.OUTPUT TO LEFT SPEAKER – This is the audio connection to the left speaker. Use the included 1/8” cable to connect the right speaker to the left speaker.
4.USB (1.1) – Use the supplied USB cable to connect the speaker system to your computer. Note that the M1Active 320 USB speakers are
5.1/8” STEREO INPUT – Use a 1/8” stereo cable (not included) to connect external sound sources to this input.
6.1/4” TS INPUTS – Use 1/4” TS cables (not included) to connect external sound sources to these inputs.
If you experience problems when connecting the speakers through a USB hub, we recommend connecting the speakers directly to your computer.
All three input options are mixed together as a stereo pair when recording your external sources into your computer.
7.RCA INPUTS – Use a stereo RCA cable (not included) to connect external sound sources to these inputs.
8.BASS BOOST – This
3