ACCESSORIES
INSTALLATION | 6 |
Step 1. Make sure the gas spring is not compressed when you remove the locking screw. To release the gas spring, push down and turn the knob in the center of the bottom of the PNP200 by 90 degrees. Remove the lock down screw from the PNP200. The locking screw is the smallest silver colored screw that is located on the bottom of the unit. Re- engage the gas spring by pushing down on the knob and turning it back to the original position, thereby locking the gas spring into place.
Figure 1: Gas Spring
Step 2. Cut an opening into the table’s surface using the dimensions of 7.38 in x 6.05in. Refer to diagram 5 on page 7 of the manual for table cutout requirements.
Note: The table can be 3 inches or thinner in thickness. Always confirm dimensions before cutting to insure that specifications have not changed.
Step 3. Place the support plate into the hole in the table. The support plate is the square flat plate that can fit into the hole in the table (See Figure 2).
9
Figure 2: Support Plate
Step 4. Insert the PNP200 into the table. The PNP200 can be adjusted to be flush or at exactly the same level as the tabletop. Turning the
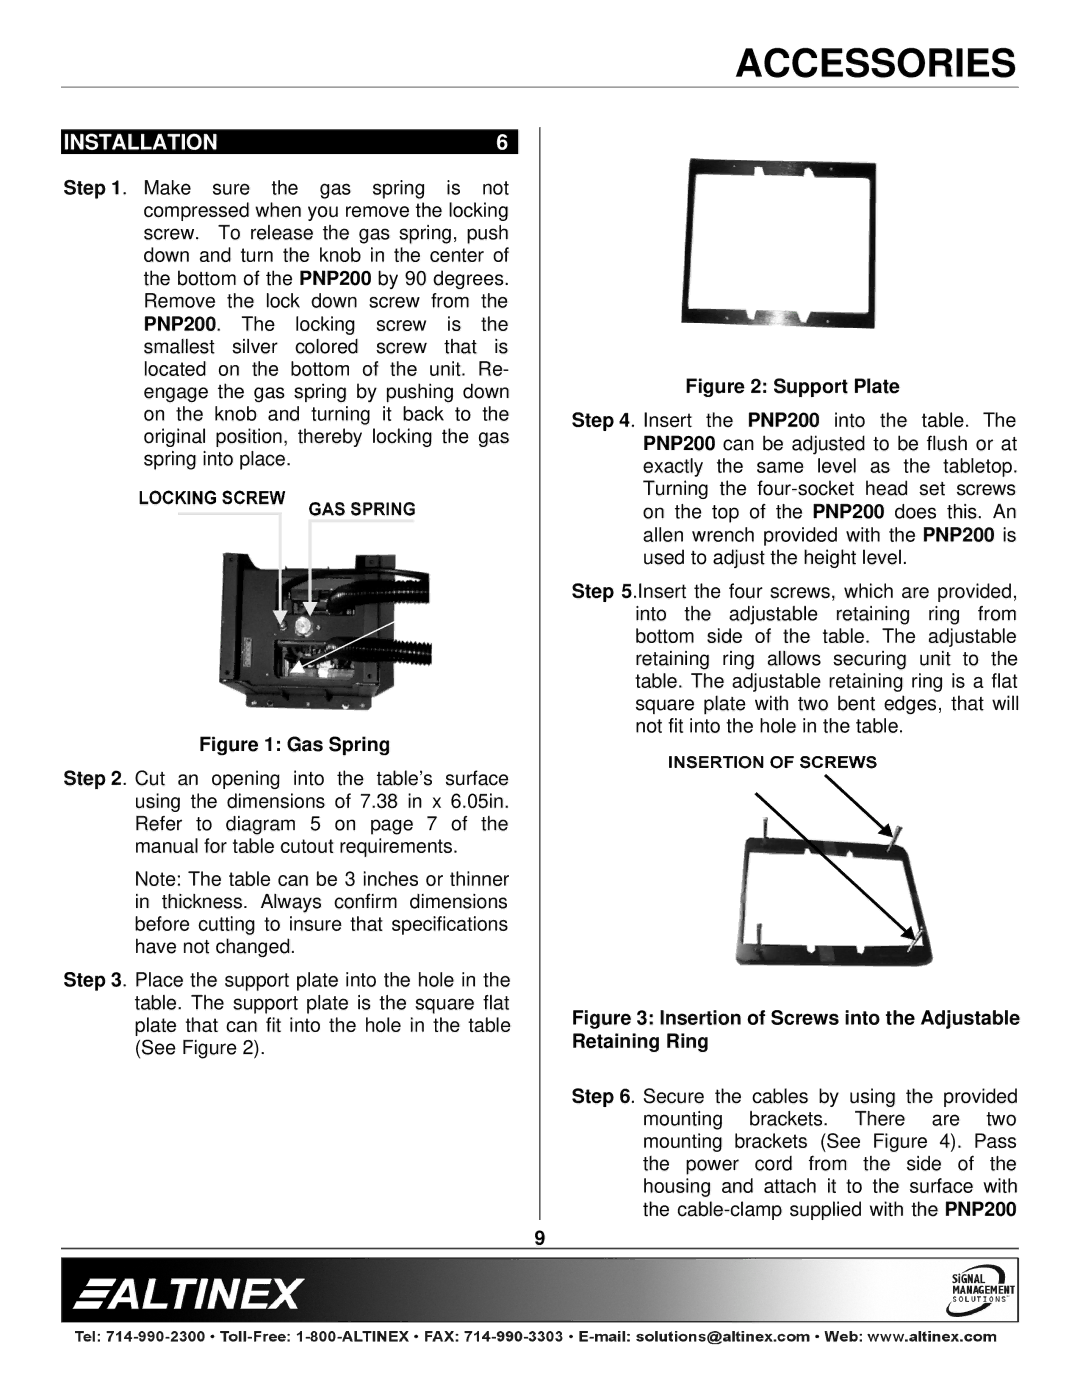
Step 5.Insert the four screws, which are provided, into the adjustable retaining ring from bottom side of the table. The adjustable retaining ring allows securing unit to the table. The adjustable retaining ring is a flat square plate with two bent edges, that will not fit into the hole in the table.
Figure 3: Insertion of Screws into the Adjustable Retaining Ring
Step 6. Secure the cables by using the provided mounting brackets. There are two mounting brackets (See Figure 4). Pass the power cord from the side of the housing and attach it to the surface with the
9