AS-250 specifications
The Alto-Shaam AS-250 is a versatile and innovative cooking solution designed for commercial kitchens seeking efficiency, precision, and reliability. This unit has gained a stellar reputation in the foodservice industry due to its array of features and advanced technologies that cater to various cooking needs.One of the standout features of the Alto-Shaam AS-250 is its unique Halo Heat® technology. This patented system utilizes a combination of gentle, even heating with efficient, patented heat sources to maintain food quality without drying it out. Halo Heat® ensures that food is held at optimal temperatures, preserving moisture and enhancing flavors. This technology is particularly beneficial for holding and serving a variety of dishes, from meats to pastries, all while maintaining the integrity and consistency of the food.
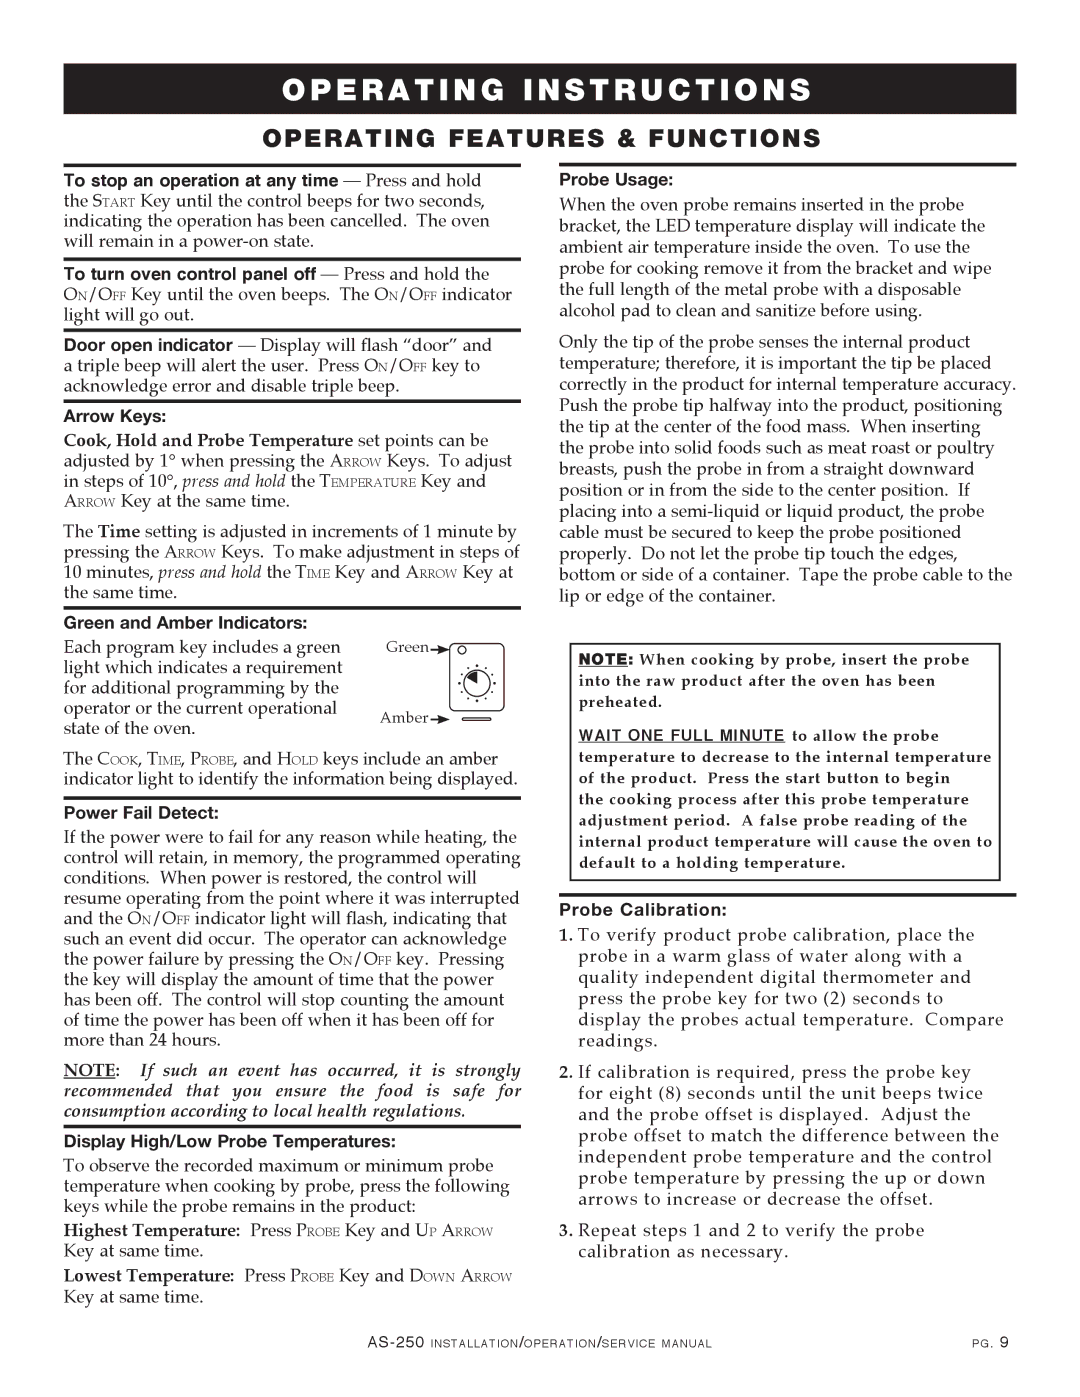
The AS-250 is designed with user-friendly controls that make operation simple and intuitive. Its digital temperature control system allows chefs to set and monitor temperatures precisely, ensuring consistent results every time. This precision is crucial in commercial settings where food safety and quality are paramount.
Another notable aspect of the Alto-Shaam AS-250 is its compact design, catering to kitchens with limited space. The unit’s efficient footprint does not compromise on capacity, allowing for ample cooking space while fitting neatly into tighter environments. It also features a stainless steel construction, which ensures durability and easy cleaning, making it a reliable addition to busy kitchens.
The AS-250 is equipped with adjustable shelving, providing flexibility for various types of food items and plating options. This adaptability allows for an organized workspace, facilitating better workflow in the kitchen environment. Additionally, the unit has a self-contained design, eliminating the need for external exhaust hoods and simplifying installation and maintenance.
Energy efficiency is another critical characteristic of the Alto-Shaam AS-250. Designed to minimize energy consumption while maximizing performance, this unit helps reduce operational costs without sacrificing quality or output.
Overall, the Alto-Shaam AS-250 is an exemplary cooking solution that combines innovative technology with practical design features. Its versatility, reliability, and focus on food quality make it an invaluable asset for any commercial kitchen looking to elevate its cooking processes while ensuring consistency in food service.