Installation
Installing your UPS requires six steps:
1.Position the UPS in the desired location. For rack mount units this may include installing the rails into the rack.
2.Hardwire the electrical connection on the input side (must be done by an authorized electrician).
3.Install the batteries. This 5000 VA UPS ships without the batteries installed.
4.Connect equipment to the UPS.
5.Power up the UPS.
6.Install PowerChute UPS monitoring software and accessories.
1.Position the UPS
Placement
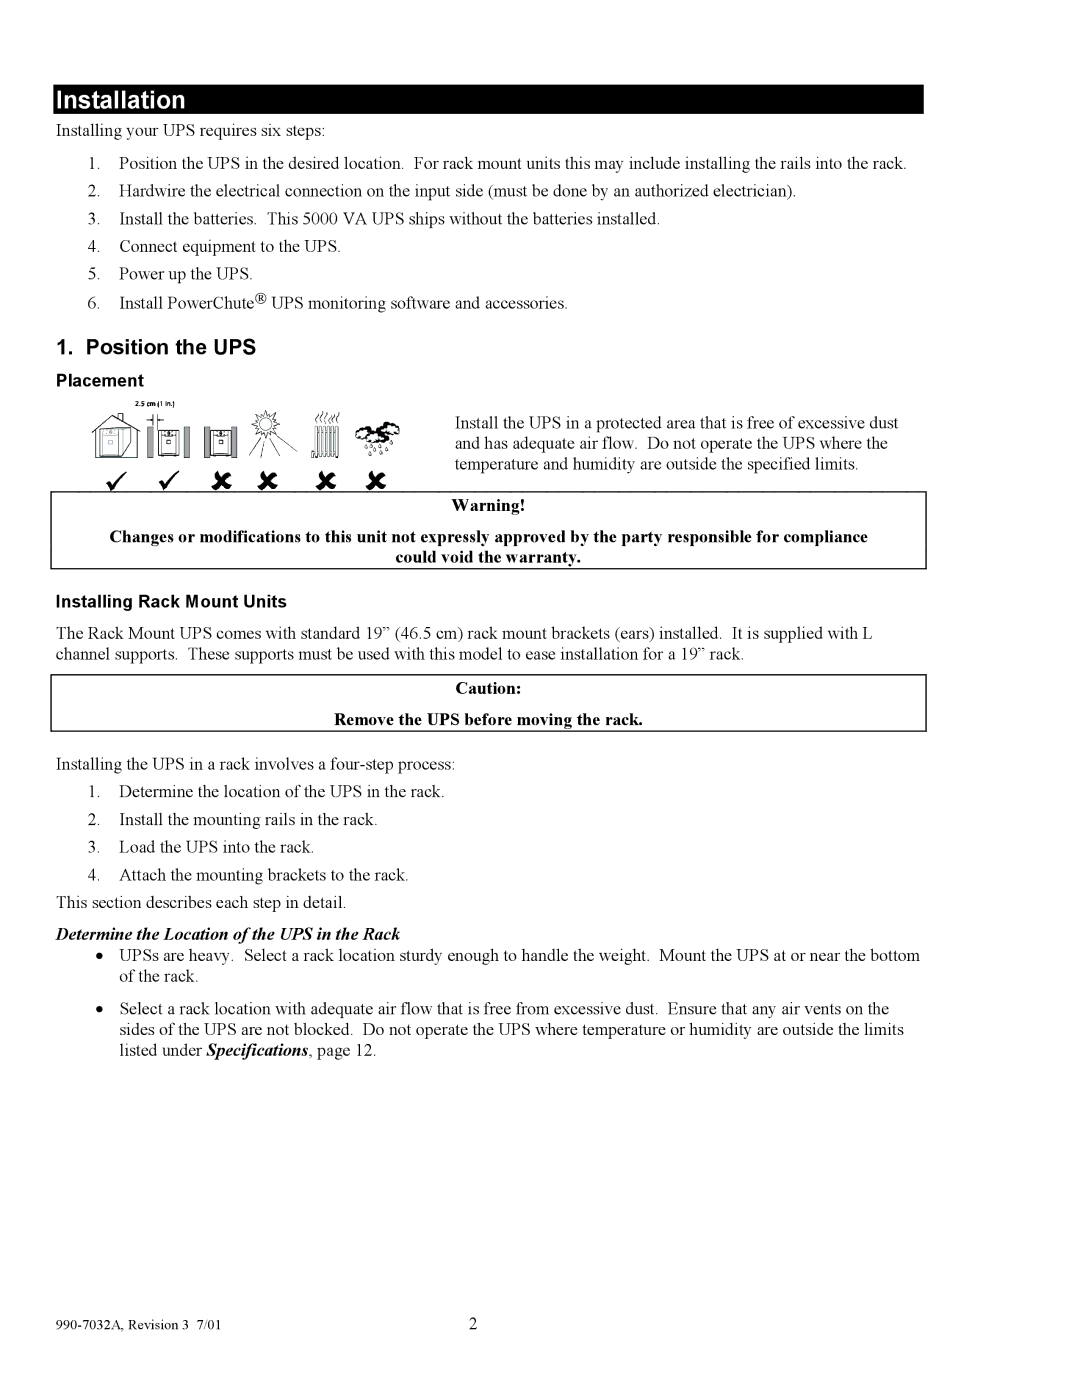
Install the UPS in a protected area that is free of excessive dust and has adequate air flow. Do not operate the UPS where the temperature and humidity are outside the specified limits.
Warning!
Changes or modifications to this unit not expressly approved by the party responsible for compliance
could void the warranty.
Installing Rack Mount Units
The Rack Mount UPS comes with standard 19” (46.5 cm) rack mount brackets (ears) installed. It is supplied with L channel supports. These supports must be used with this model to ease installation for a 19” rack.
Caution:
Remove the UPS before moving the rack.
Installing the UPS in a rack involves a
1.Determine the location of the UPS in the rack.
2.Install the mounting rails in the rack.
3.Load the UPS into the rack.
4.Attach the mounting brackets to the rack. This section describes each step in detail.
Determine the Location of the UPS in the Rack
•UPSs are heavy. Select a rack location sturdy enough to handle the weight. Mount the UPS at or near the bottom of the rack.
•Select a rack location with adequate air flow that is free from excessive dust. Ensure that any air vents on the sides of the UPS are not blocked. Do not operate the UPS where temperature or humidity are outside the limits listed under Specifications, page 12.
| 2 |
