Using the On-screen Display
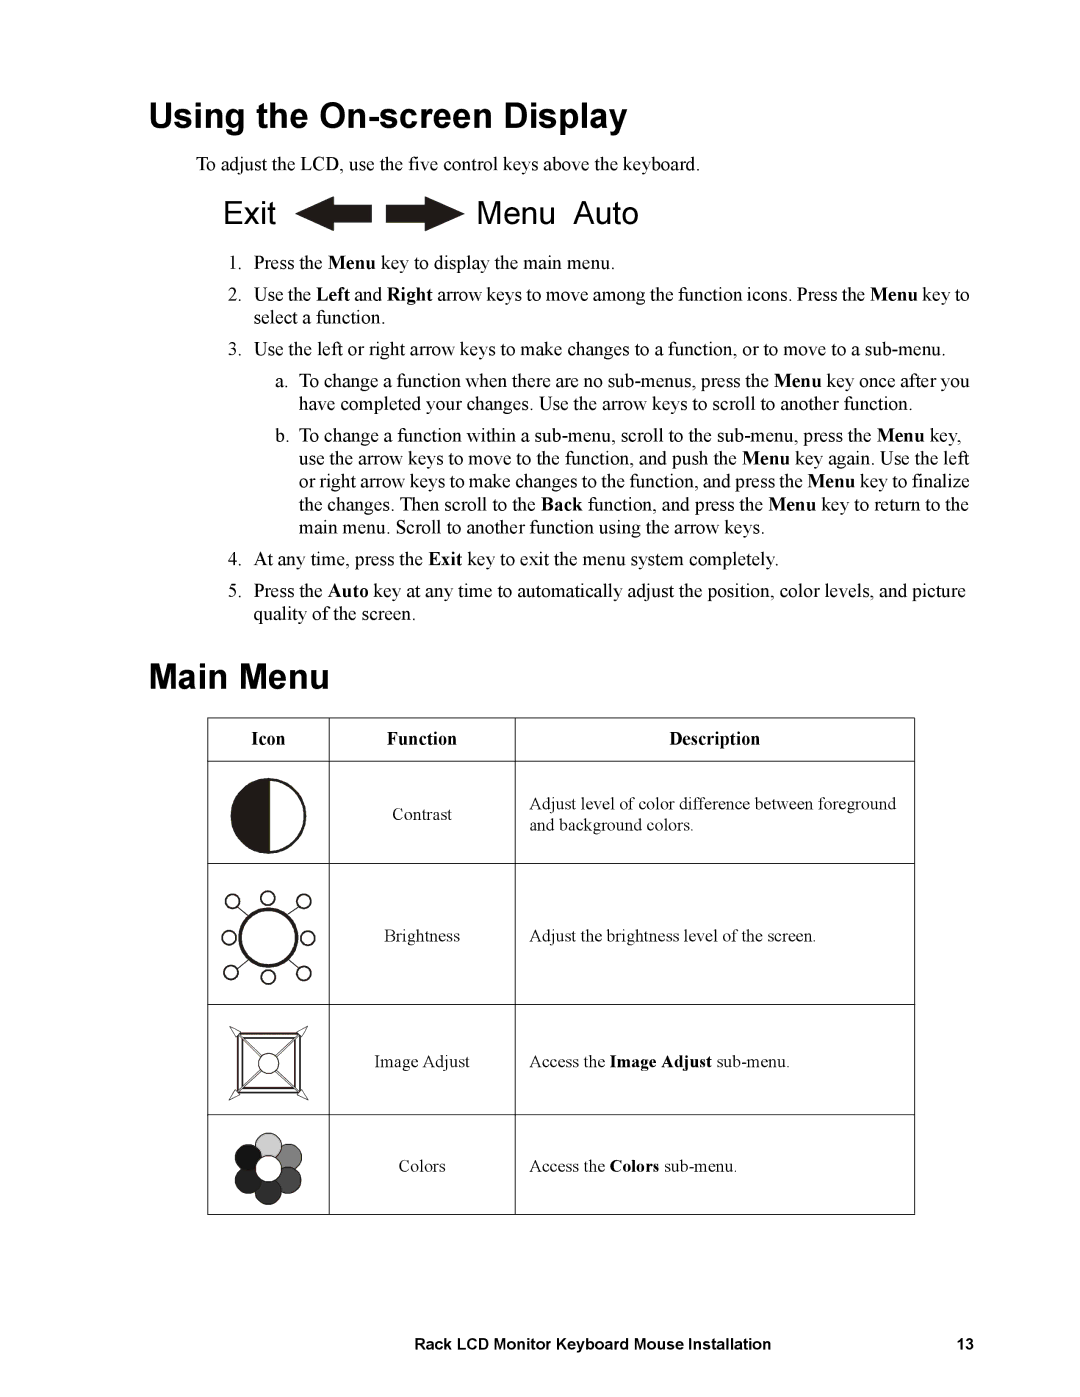
To adjust the LCD, use the five control keys above the keyboard.
Exit 
 Menu Auto
1.Press the Menu key to display the main menu.
2.Use the Left and Right arrow keys to move among the function icons. Press the Menu key to select a function.
3.Use the left or right arrow keys to make changes to a function, or to move to a
a.To change a function when there are no
b.To change a function within a
4.At any time, press the Exit key to exit the menu system completely.
5.Press the Auto key at any time to automatically adjust the position, color levels, and picture quality of the screen.
Main Menu
Icon | Function | Description |
|
|
|
| Contrast | Adjust level of color difference between foreground |
| and background colors. | |
|
|
Brightness
Adjust the brightness level of the screen.
Image Adjust
Access the Image Adjust
Colors
Access the Colors
Rack LCD Monitor Keyboard Mouse Installation | 13 |
