9210.030.329 specifications
The American Standard 9210.030.329 is a beautifully designed bathroom faucet that blends modern aesthetics with functional innovation, making it an exceptional addition to any contemporary lavatory space. This particular model stands out for its sleek, streamlined design, which is both stylish and practical, allowing it to seamlessly integrate into various décor themes.One of the main features of the American Standard 9210.030.329 faucet is its single-handle lever, which offers smooth and effortless adjustment of water temperature and flow. The ergonomic design of the handle ensures a comfortable grip, while also providing precision control for an enhanced user experience. The faucet is designed with user convenience in mind, allowing for easy operation even in busy household settings.
In terms of technology, this faucet incorporates advanced ceramic disc cartridges that help ensure a drip-free performance and longevity. These cartridges are known for their durability and resistance to sediment buildup, which prolongs the faucet's life and maintains consistent water flow. This technological feature is particularly appealing for homeowners looking for reliability in their fixtures.
Another noteworthy characteristic of the American Standard 9210.030.329 is its water-saving capabilities. It is designed to meet the strict efficiency standards set by the EPA, which helps conserve water while still delivering a strong and steady flow. This not only promotes sustainable practices but also reflects positively on water bills, making it a smart choice for environmentally-conscious consumers.
Furthermore, the faucet's finish is a highlight of its design, usually available in a polished chrome or brushed nickel option. These finishes not only enhance the visual appeal of the product but also provide excellent resistance against tarnishing and corrosion, ensuring that the faucet retains its beauty over time.
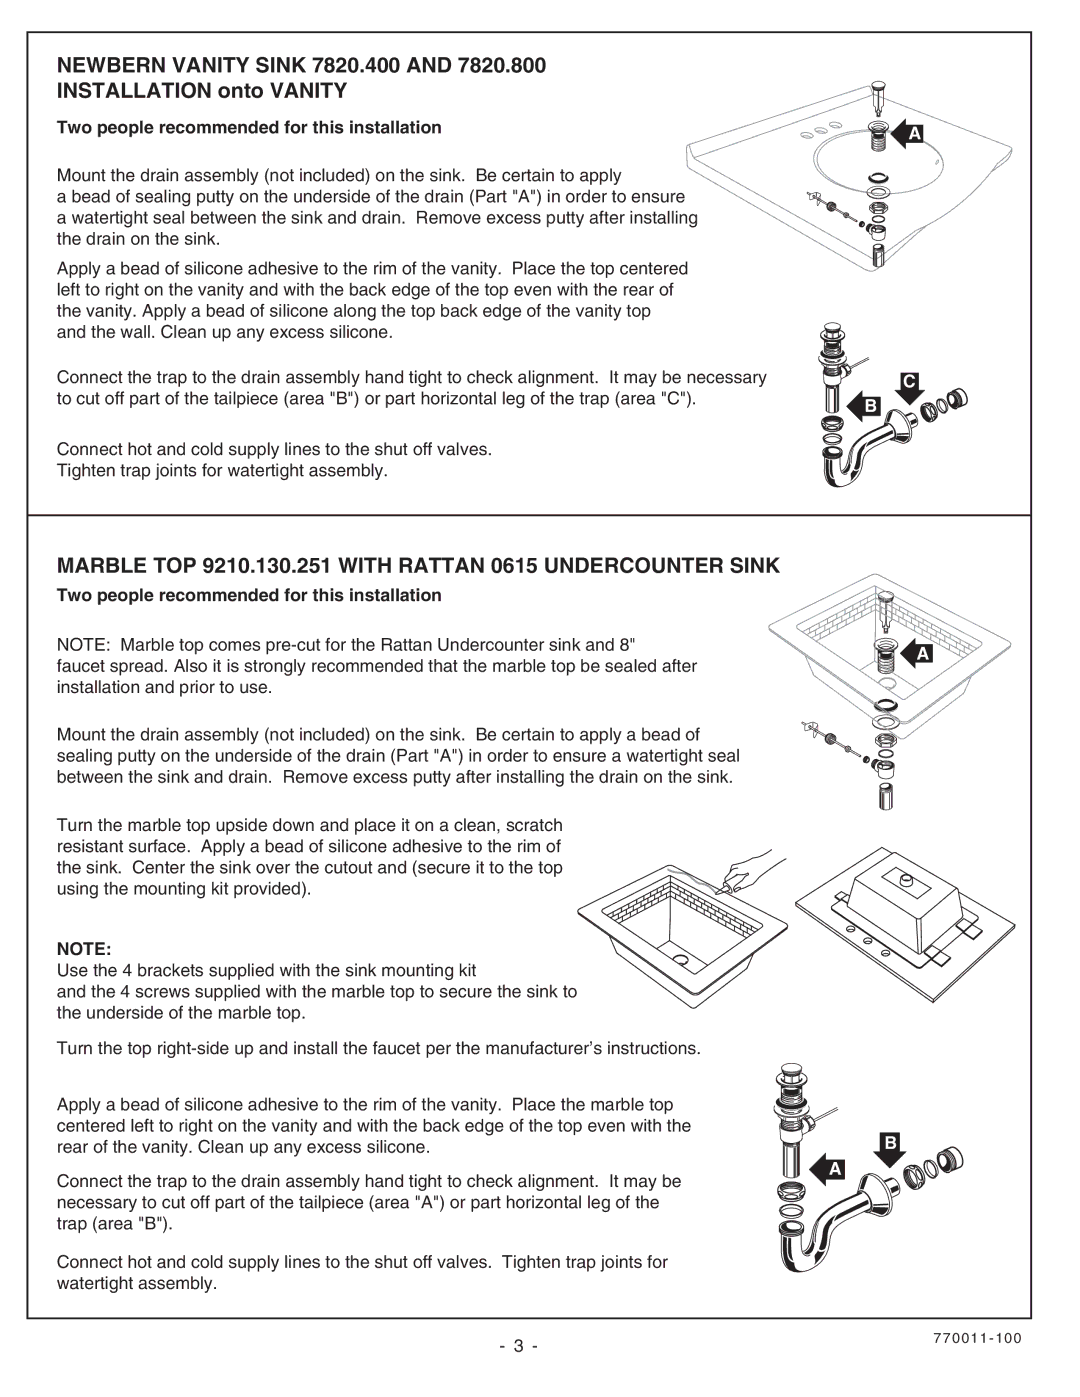
Installation of the American Standard 9210.030.329 is straightforward and user-friendly, making it accessible for DIY enthusiasts. It typically comes with everything needed for a hassle-free setup, such as mounting hardware and clear instructions.
In summary, the American Standard 9210.030.329 is a perfect fusion of style, technology, and functionality. With features like a single-handle lever, durable ceramic disc cartridges, water-saving efficiency, and elegant finishes, this bathroom faucet represents a reliable choice for anyone looking to upgrade their space. It embodies the brand's commitment to quality and innovation, making it a trustworthy option for modern homes.

