Chapter 1ReadyPanel Setup
Applying Power to the ReadyPanel
10) Power up the | • Plug in the ATX/AT/Lab power supply to the AC outlet. | ||
ReadyPanel. | • Turn on the power supply. | ||
|
| ||
11) Verify the | • Verify the ReadyPanel passes POST successfully. | ||
ReadyPanel satisfactorily | • Wait for the OS to load as shown below, and the touch controls to appear on the | ||
powers on. | touch screen, providing you the ability to load your applications onto the com- | ||
| pact flash card. | ||
|
|
|
|
|
| Note: If the OS does not load, an error message will appear: “Disk boot | |
|
| failure, insert system disk and press enter” near the end of the boot |
|
|
| process. |
|
|
|
|
|
|
| • Press R to reboot the system and try again or press S to enter the BIOS | |
|
| Setup utility. | |
|
|
|
|
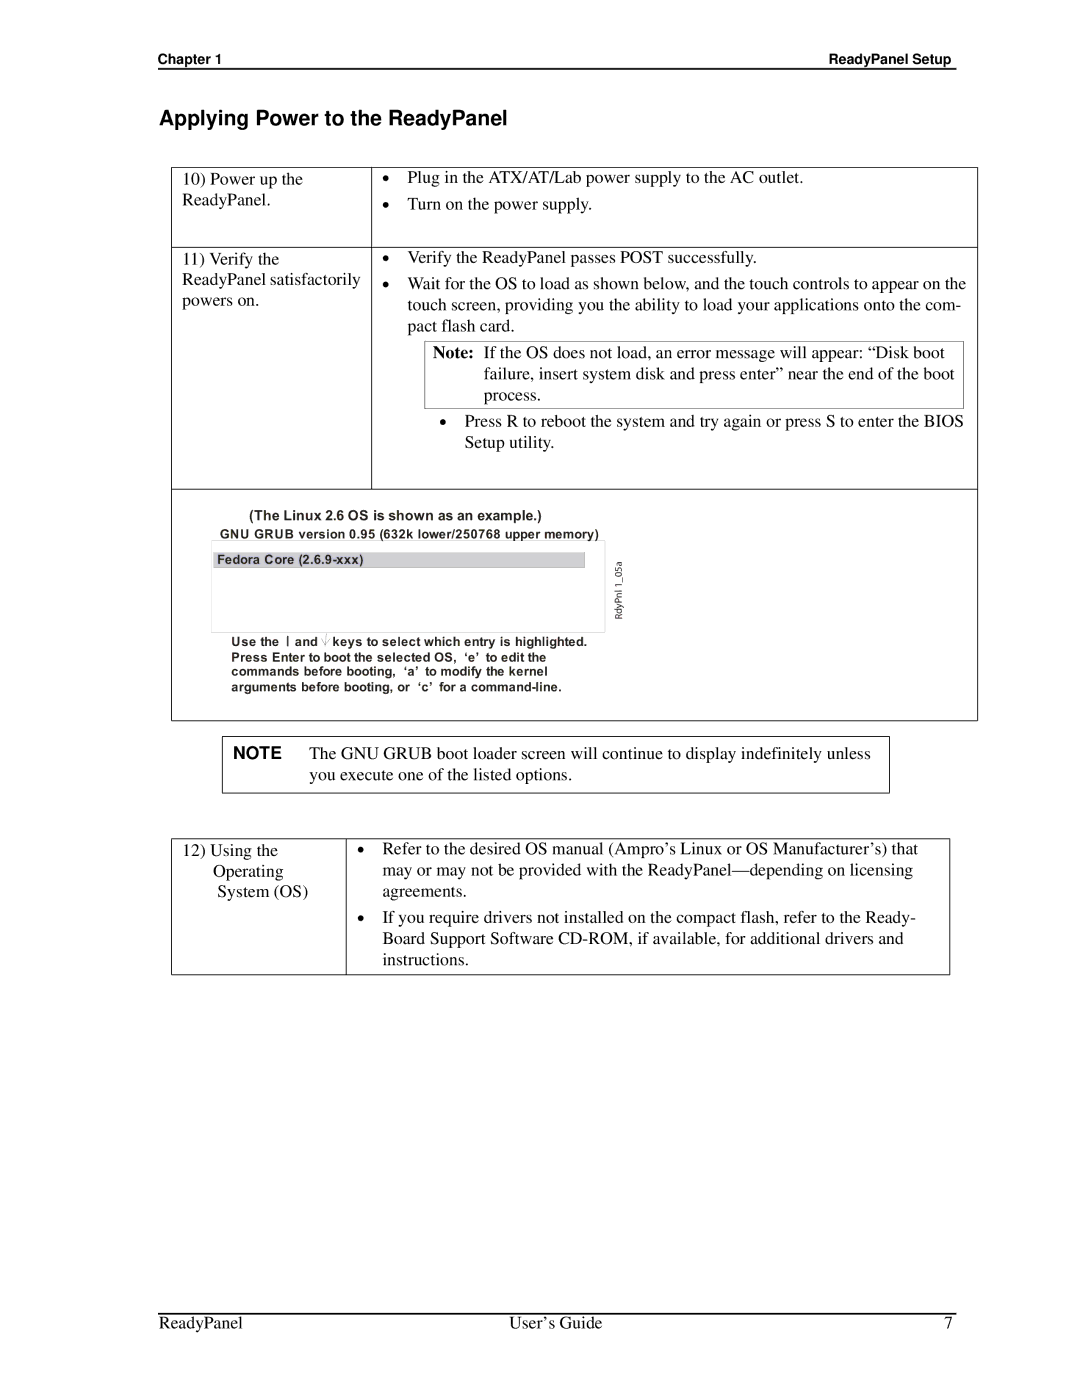
(The Linux 2.6 OS is shown as an example.)
GNU GRUB version 0.95 (632k lower/250768 upper memory)
Fedora Core
Use the and ![]() keys to select which entry is highlighted. Press Enter to boot the selected OS, ‘e’ to edit the commands before booting, ‘a’ to modify the kernel arguments before booting, or ‘c’ for a
keys to select which entry is highlighted. Press Enter to boot the selected OS, ‘e’ to edit the commands before booting, ‘a’ to modify the kernel arguments before booting, or ‘c’ for a
1RdyPnl 05a_
NOTE The GNU GRUB boot loader screen will continue to display indefinitely unless you execute one of the listed options.
12)Using the Operating System (OS)
•Refer to the desired OS manual (Ampro’s Linux or OS Manufacturer’s) that may or may not be provided with the
•If you require drivers not installed on the compact flash, refer to the Ready- Board Support Software
ReadyPanel | User’s Guide | 7 |