
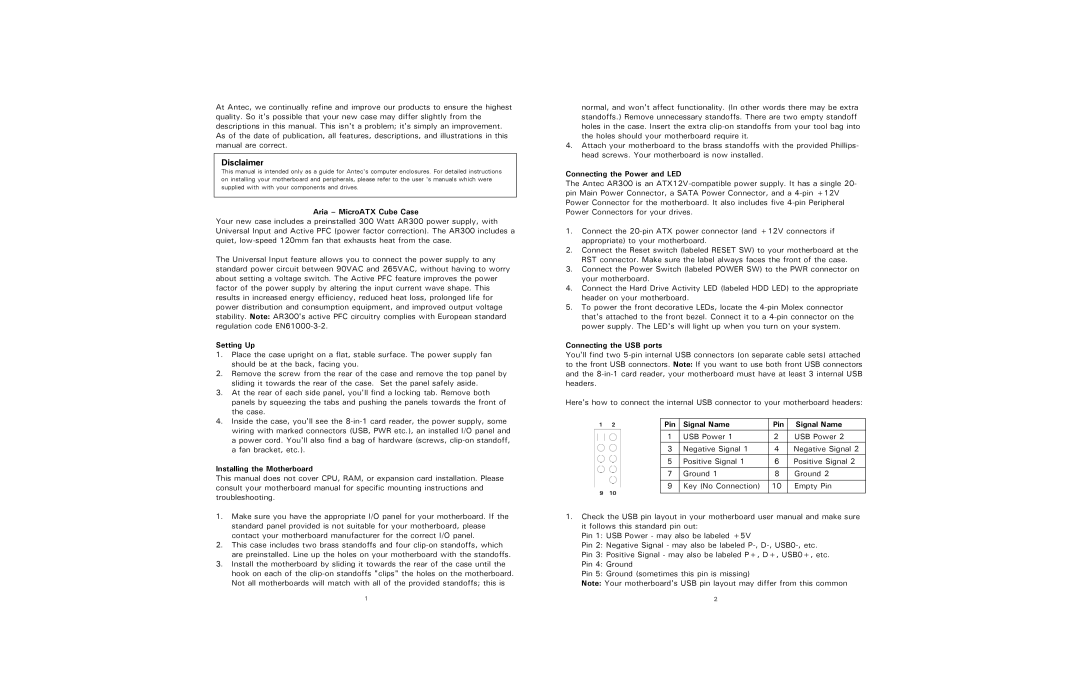
AR300 specifications
The Antec AR300 is a versatile and innovative addition to the world of gaming and multimedia PC cases, designed to cater to the needs of gamers, content creators, and tech enthusiasts alike. It stands out not only for its aesthetic appeal but also for its robust performance features and user-friendly design.One of the main features of the AR300 is its exceptional airflow management. The case is designed with a mesh front panel that enables efficient ventilation, ensuring that your components remain cool even during intense gaming sessions. The AR300 supports multiple fan configurations, allowing users to tailor the airflow to their specific needs. With the capability to install up to six cooling fans, this case ensures that temperature management is never a concern for high-performance builds.
Another notable characteristic of the AR300 is its spacious interior, which accommodates a variety of hardware configurations. It supports ATX, Micro-ATX, and Mini-ITX motherboards, making it a flexible option for different setups. Additionally, the case has ample space for graphics cards up to 400mm and CPU coolers up to 165mm in height, allowing for the installation of high-end components without compromising on performance.
The AR300 also features a smart cable management system, which helps keep the interior of the case tidy and organized. This not only enhances the overall aesthetic appeal but also contributes to improved airflow and accessibility. The case includes multiple cable management grommets and tie-down points, ensuring that cables can be routed efficiently and securely.
For those who value aesthetics, the Antec AR300 shines with its sleek design and RGB lighting capabilities. The case features customizable RGB strips, offering users the chance to create a setup that matches their personal style. With compatible software, users can easily synchronize the lighting effects with other RGB components, creating a cohesive look.
Moreover, the AR300 has been engineered with durability in mind. The case is constructed using high-quality materials that resist wear and tear. Additionally, it features tempered glass side panels, allowing users to showcase their builds while offering protection for internal components.
In summary, the Antec AR300 is an impressive PC case that combines functionality, aesthetics, and versatility. With its excellent airflow, spacious interior, smart cable management, customizable RGB lighting, and robust construction, it is an ideal choice for anyone looking to build a high-performance PC. Whether for gaming, content creation, or everyday use, the AR300 meets the needs of modern users while providing a foundation for future upgrades.