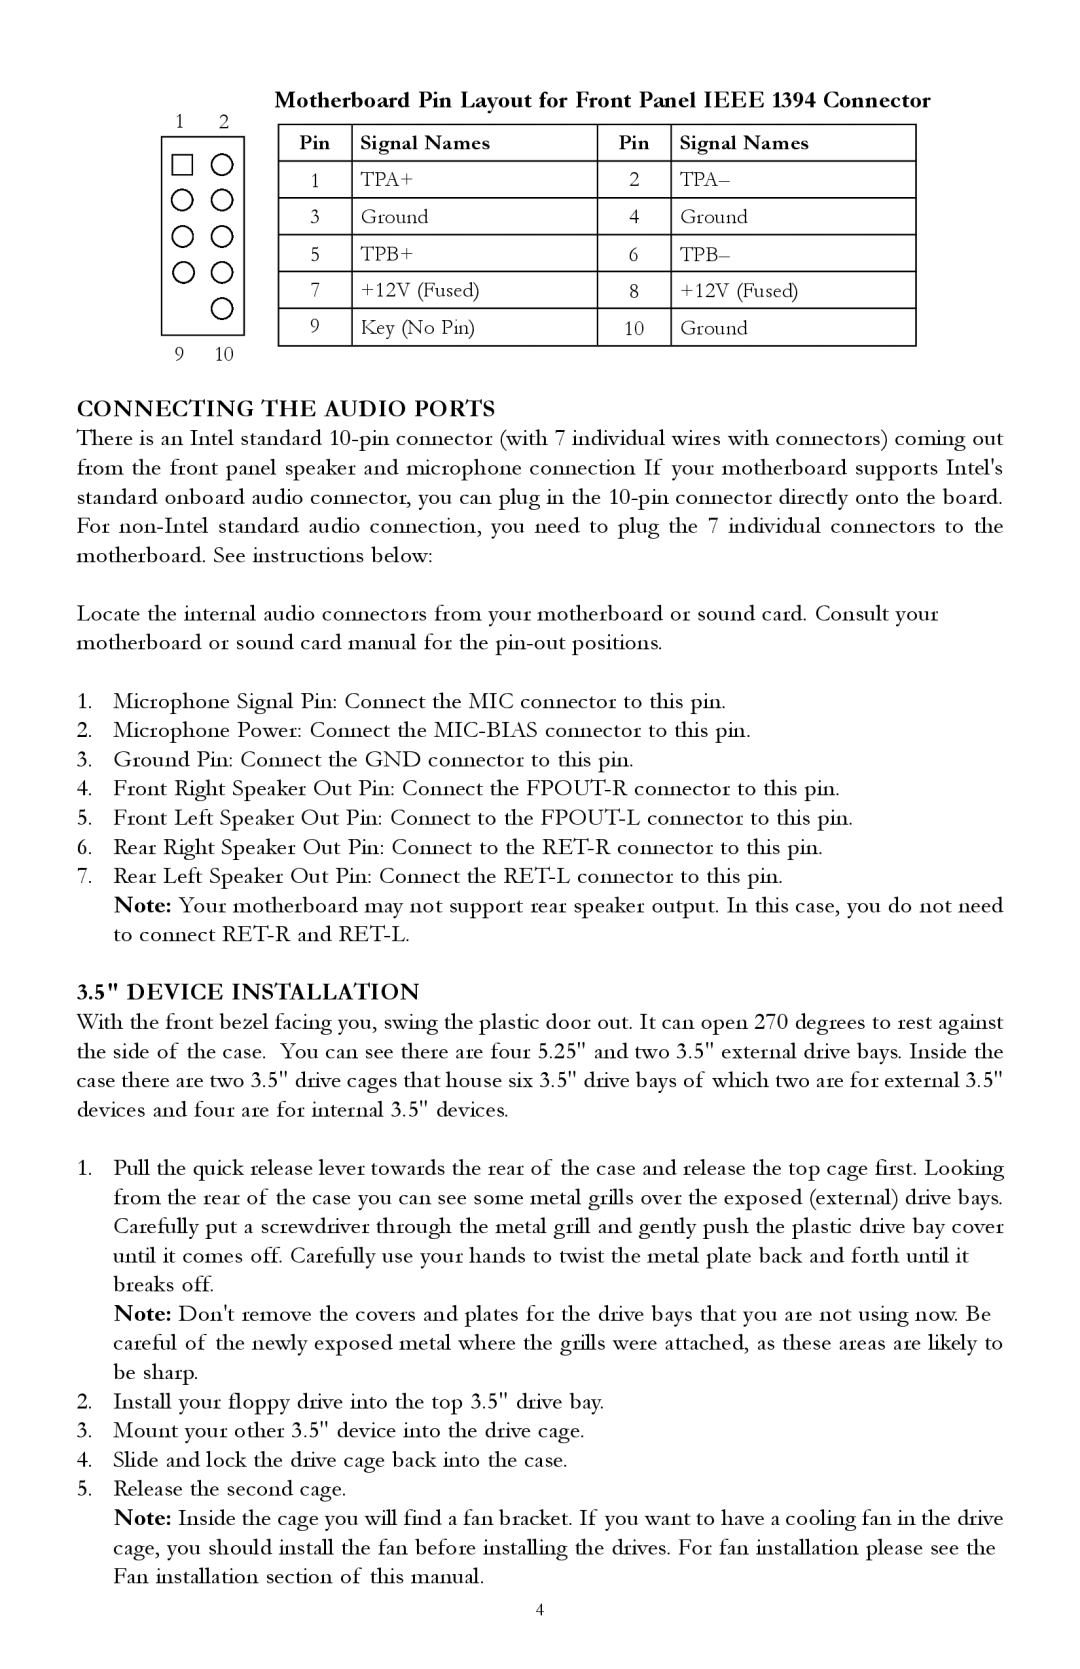
Motherboard Pin Layout for Front Panel IEEE 1394 Connector
1 | 2 |
|
|
|
|
| |
Pin | Signal Names | Pin | Signal Names | ||||
|
|
| |||||
|
|
|
|
|
|
| |
|
|
| 1 | TPA+ | 2 | TPA– | |
|
|
| 3 | Ground | 4 | Ground | |
|
|
|
|
|
|
| |
|
|
| 5 | TPB+ | 6 | TPB– | |
|
|
| 7 | +12V (Fused) | 8 | +12V (Fused) | |
|
|
| 9 | Key (No Pin) | 10 | Ground | |
9 | 10 |
|
|
|
|
| |
|
|
|
|
CONNECTING THE AUDIO PORTS
There is an Intel standard
Locate the internal audio connectors from your motherboard or sound card. Consult your motherboard or sound card manual for the
1.Microphone Signal Pin: Connect the MIC connector to this pin.
2.Microphone Power: Connect the
3.Ground Pin: Connect the GND connector to this pin.
4.Front Right Speaker Out Pin: Connect the
5.Front Left Speaker Out Pin: Connect to the
6.Rear Right Speaker Out Pin: Connect to the
7.Rear Left Speaker Out Pin: Connect the
Note: Your motherboard may not support rear speaker output. In this case, you do not need to connect
3.5" DEVICE INSTALLATION
With the front bezel facing you, swing the plastic door out. It can open 270 degrees to rest against the side of the case. You can see there are four 5.25" and two 3.5" external drive bays. Inside the case there are two 3.5" drive cages that house six 3.5" drive bays of which two are for external 3.5" devices and four are for internal 3.5" devices.
1.Pull the quick release lever towards the rear of the case and release the top cage first. Looking from the rear of the case you can see some metal grills over the exposed (external) drive bays. Carefully put a screwdriver through the metal grill and gently push the plastic drive bay cover until it comes off. Carefully use your hands to twist the metal plate back and forth until it breaks off.
Note: Don't remove the covers and plates for the drive bays that you are not using now. Be careful of the newly exposed metal where the grills were attached, as these areas are likely to be sharp.
2.Install your floppy drive into the top 3.5" drive bay.
3.Mount your other 3.5" device into the drive cage.
4.Slide and lock the drive cage back into the case.
5.Release the second cage.
Note: Inside the cage you will find a fan bracket. If you want to have a cooling fan in the drive cage, you should install the fan before installing the drives. For fan installation please see the Fan installation section of this manual.
4
