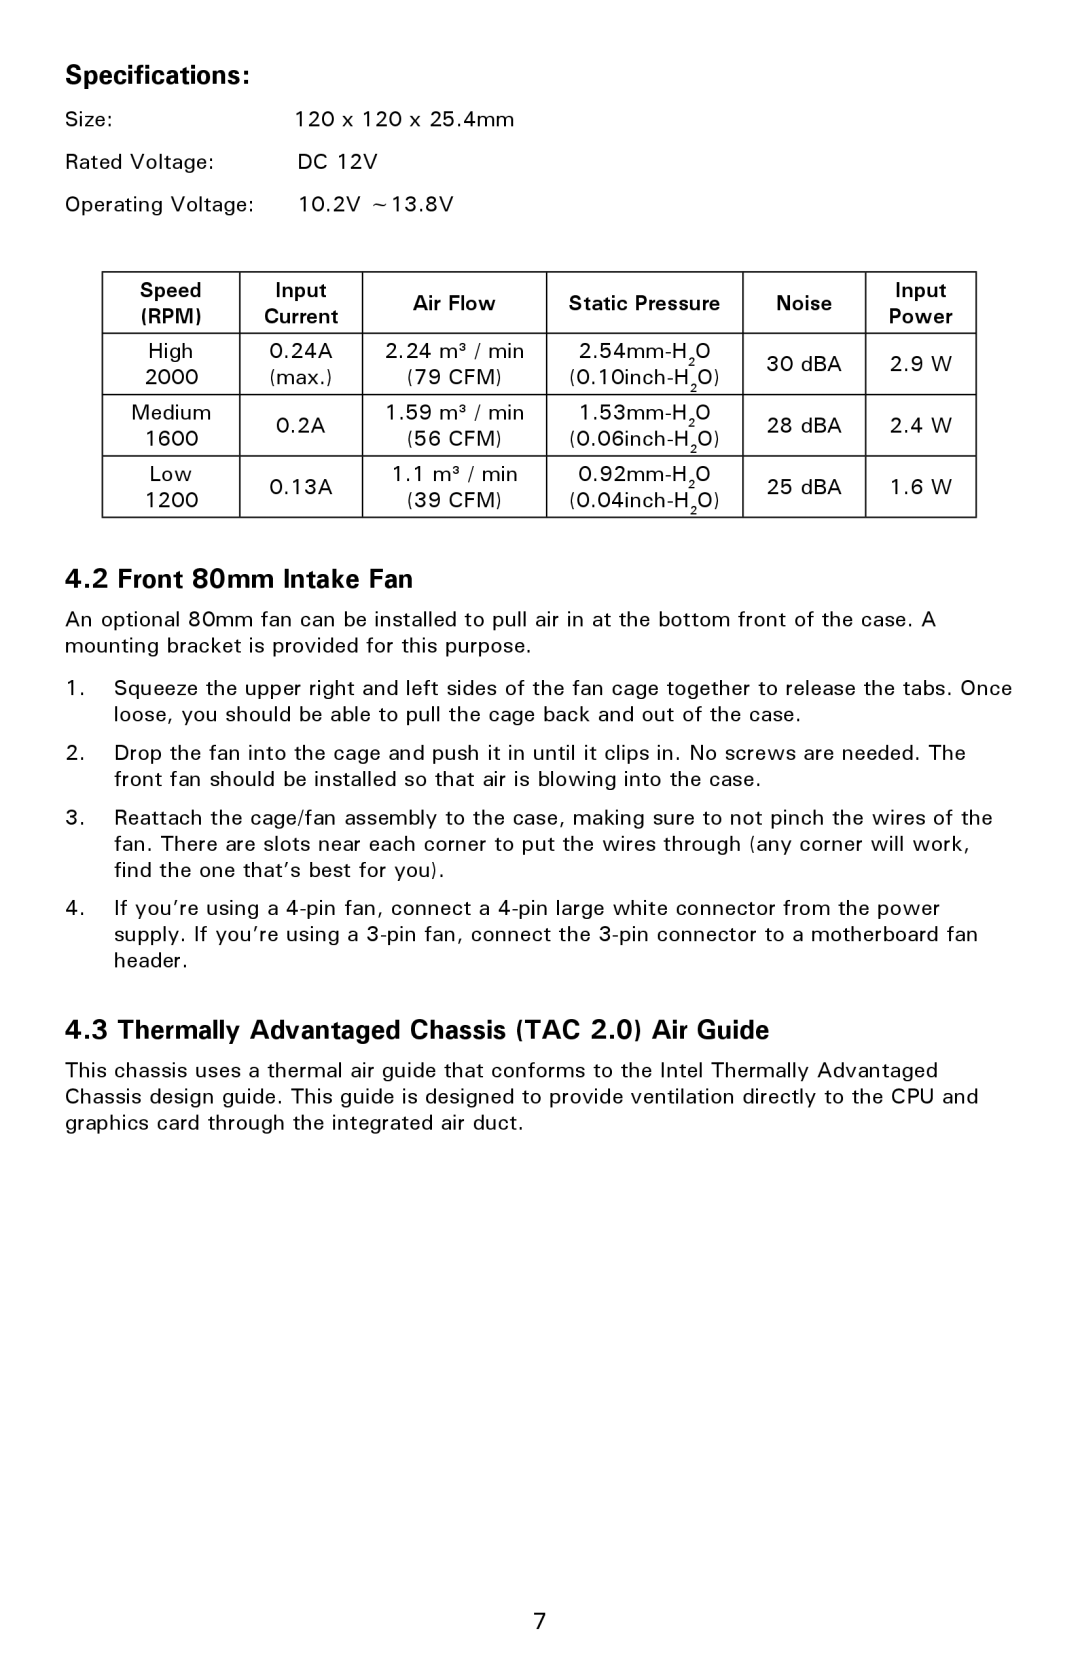
Specifications:
Size: | 120 x 120 x 25.4mm |
|
|
| ||||
Rated Voltage: | DC 12V |
|
|
|
| |||
Operating Voltage: | 10.2V ~13.8V |
|
|
| ||||
|
|
|
|
|
|
|
|
|
| Speed |
| Input |
| Air Flow | Static Pressure | Noise | Input |
| (RPM) |
| Current |
| Power | |||
|
|
|
|
|
| |||
|
|
|
|
|
|
|
|
|
| High |
| 0.24A |
| 2.24 m³ / min | 30 dBA | 2.9 W | |
| 2000 |
| (max.) |
| (79 CFM) | |||
|
|
|
|
| ||||
| Medium |
| 0.2A |
| 1.59 m³ / min | 28 dBA | 2.4 W | |
| 1600 |
|
| (56 CFM) | ||||
|
|
|
|
|
| |||
| Low |
| 0.13A |
| 1.1 m³ / min | 25 dBA | 1.6 W | |
| 1200 |
|
| (39 CFM) | ||||
|
|
|
|
|
| |||
4.2 Front 80mm Intake Fan
An optional 80mm fan can be installed to pull air in at the bottom front of the case. A mounting bracket is provided for this purpose.
1.Squeeze the upper right and left sides of the fan cage together to release the tabs. Once loose, you should be able to pull the cage back and out of the case.
2.Drop the fan into the cage and push it in until it clips in. No screws are needed. The front fan should be installed so that air is blowing into the case.
3.Reattach the cage/fan assembly to the case, making sure to not pinch the wires of the fan. There are slots near each corner to put the wires through (any corner will work, find the one that’s best for you).
4.If you’re using a
4.3 Thermally Advantaged Chassis (TAC 2.0) Air Guide
This chassis uses a thermal air guide that conforms to the Intel Thermally Advantaged Chassis design guide. This guide is designed to provide ventilation directly to the CPU and graphics card through the integrated air duct.
7
