HARDWARE INSTALLATION GUIDE
2.1SETTING UP
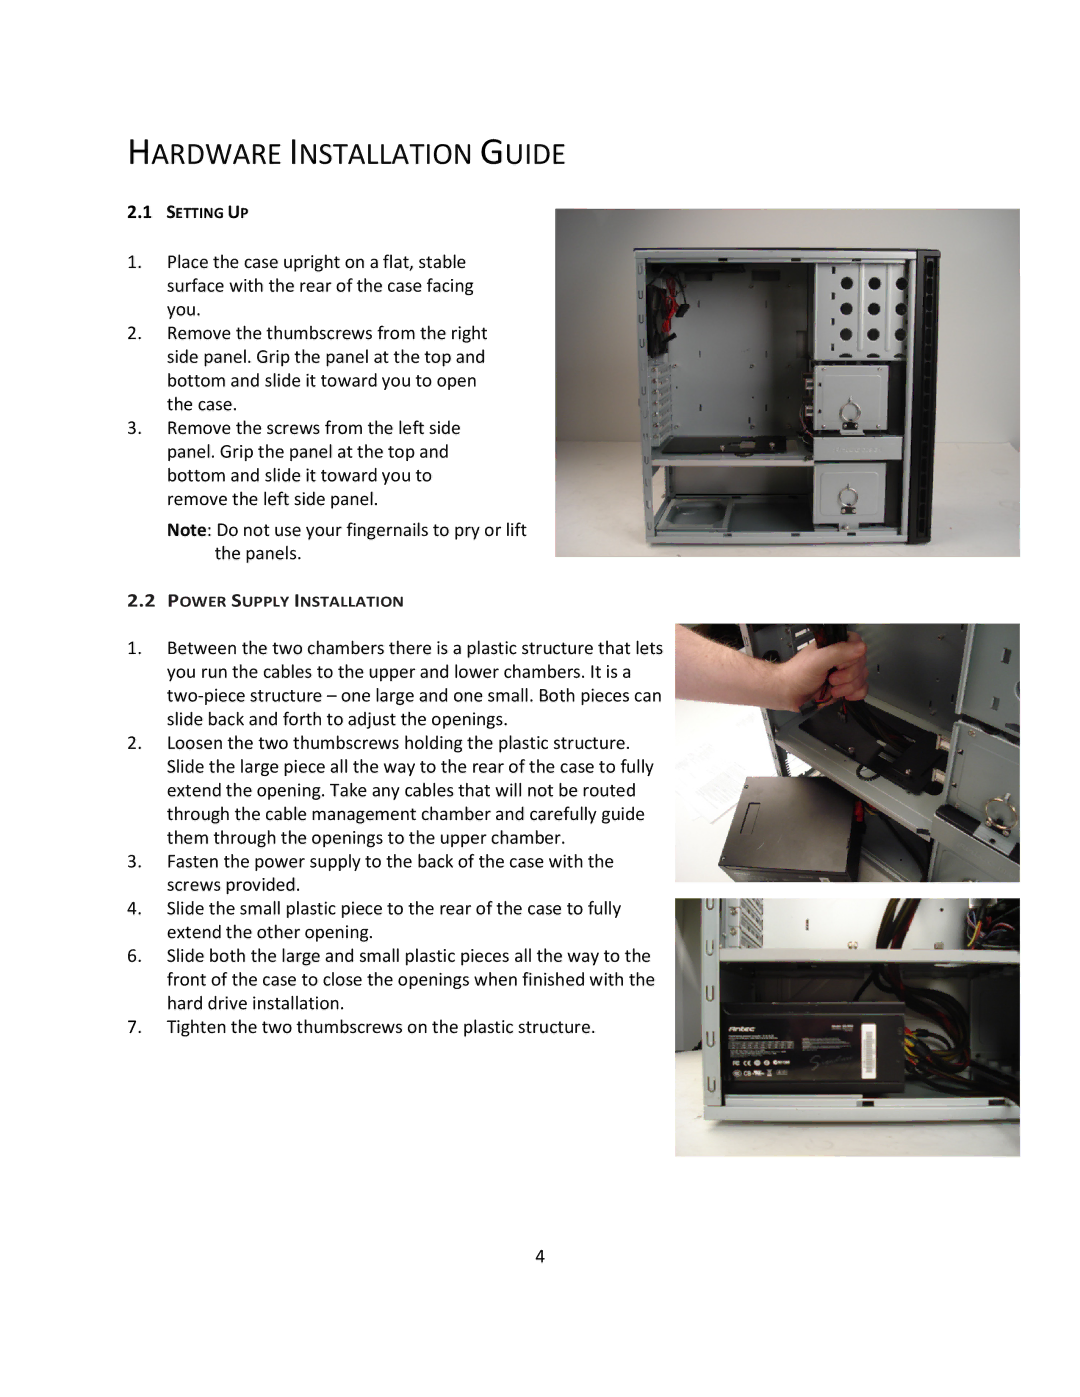
1.Place the case upright on a flat, stable surface with the rear of the case facing you.
2.Remove the thumbscrews from the right side panel. Grip the panel at the top and bottom and slide it toward you to open the case.
3.Remove the screws from the left side panel. Grip the panel at the top and bottom and slide it toward you to remove the left side panel.
Note: Do not use your fingernails to pry or lift the panels.
2.2POWER SUPPLY INSTALLATION
1.Between the two chambers there is a plastic structure that lets you run the cables to the upper and lower chambers. It is a
2.Loosen the two thumbscrews holding the plastic structure. Slide the large piece all the way to the rear of the case to fully extend the opening. Take any cables that will not be routed through the cable management chamber and carefully guide them through the openings to the upper chamber.
3.Fasten the power supply to the back of the case with the screws provided.
4.Slide the small plastic piece to the rear of the case to fully
extend the other opening.
6.Slide both the large and small plastic pieces all the way to the front of the case to close the openings when finished with the hard drive installation.
7.Tighten the two thumbscrews on the plastic structure.
4