Helpful Information
If you need to acclimate your cat to the LitterMaid® Advanced Automatic
Unit will work without setting the clock when unit is turned on.
If your unit is not working properly, refer to "Troubleshooting" in this use and care book.
Batteries (We recommend using batteries only as a
•Push up on center ridges to open battery compartment door.
•Remove the battery door.
•Follow the diagram in the compartment to install 8 AA Alkaline cell batteries (batteries not included).
Just as your alarm clock continues to run on batteries if there is a power failure, the LitterMaid® litter box will continue to operate as long as batteries are installed. Change the batteries periodically.
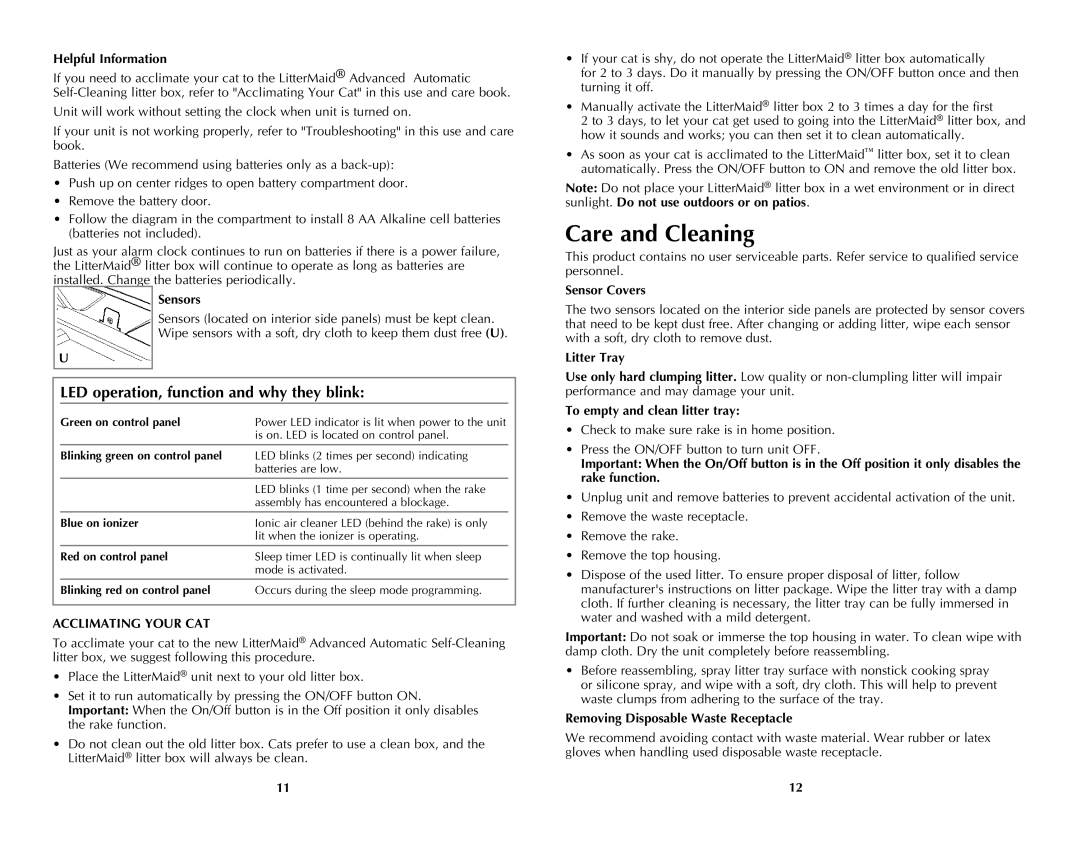
Sensors
Sensors (located on interior side panels) must be kept clean. Wipe sensors with a soft, dry cloth to keep them dust free (U).
U
LED operation, function and why they blink:
Green on control panel | Power LED indicator is lit when power to the unit |
| is on. LED is located on control panel. |
|
|
Blinking green on control panel | LED blinks (2 times per second) indicating |
| batteries are low. |
|
|
| LED blinks (1 time per second) when the rake |
| assembly has encountered a blockage. |
Blue on ionizer | Ionic air cleaner LED (behind the rake) is only |
| lit when the ionizer is operating. |
|
|
Red on control panel | Sleep timer LED is continually lit when sleep |
| mode is activated. |
|
|
Blinking red on control panel | Occurs during the sleep mode programming. |
ACCLIMATING YOUR CAT
To acclimate your cat to the new LitterMaid® Advanced Automatic
•Place the LitterMaid® unit next to your old litter box.
•Set it to run automatically by pressing the ON/OFF button ON. Important: When the On/Off button is in the Off position it only disables the rake function.
•Do not clean out the old litter box. Cats prefer to use a clean box, and the LitterMaid® litter box will always be clean.
11
•If your cat is shy, do not operate the LitterMaid® litter box automatically
for 2 to 3 days. Do it manually by pressing the ON/OFF button once and then turning it off.
•Manually activate the LitterMaid® litter box 2 to 3 times a day for the first
2 to 3 days, to let your cat get used to going into the LitterMaid® litter box, and how it sounds and works; you can then set it to clean automatically.
•As soon as your cat is acclimated to the LitterMaid™ litter box, set it to clean automatically. Press the ON/OFF button to ON and remove the old litter box.
Note: Do not place your LitterMaid® litter box in a wet environment or in direct sunlight. Do not use outdoors or on patios.
Care and Cleaning
This product contains no user serviceable parts. Refer service to qualified service personnel.
Sensor Covers
The two sensors located on the interior side panels are protected by sensor covers that need to be kept dust free. After changing or adding litter, wipe each sensor with a soft, dry cloth to remove dust.
Litter Tray
Use only hard clumping litter. Low quality or
To empty and clean litter tray:
•Check to make sure rake is in home position.
•Press the ON/OFF button to turn unit OFF.
Important: When the On/Off button is in the Off position it only disables the rake function.
•Unplug unit and remove batteries to prevent accidental activation of the unit.
•Remove the waste receptacle.
•Remove the rake.
•Remove the top housing.
•Dispose of the used litter. To ensure proper disposal of litter, follow manufacturer's instructions on litter package. Wipe the litter tray with a damp cloth. If further cleaning is necessary, the litter tray can be fully immersed in water and washed with a mild detergent.
Important: Do not soak or immerse the top housing in water. To clean wipe with damp cloth. Dry the unit completely before reassembling.
•Before reassembling, spray litter tray surface with nonstick cooking spray or silicone spray, and wipe with a soft, dry cloth. This will help to prevent waste clumps from adhering to the surface of the tray.
Removing Disposable Waste Receptacle
We recommend avoiding contact with waste material. Wear rubber or latex gloves when handling used disposable waste receptacle.
12