To ENABLE and program the relay:
1. | Make sure the thermostat is in the OFF mode. | ||
2. | Press and hold the | and | buttons for 3 seconds. The |
To DISABLE the relay:
1. | Make sure the thermostat is in the OFF mode. | ||
2. | Press and hold the | and | buttons for 3 seconds. The |
(7) OPTIONAL – INSTALL AN APRILAIRE MODEL 8052 OUTDOOR TEMPERATURE SENSOR
| display will show the ADV. SETTINGS MENU. | ||
3. | Scroll down through the menu items and select | ||
| PROGRAMMABLE OUTPUT. | ||
4. | Select ENABLE. The display will then show the program | ||
| event names, and whether the output is to be ON or OFF | ||
| during that event. |
| |
5. | Use the | ||
| between events and highlight the ON/OFF item to change. | ||
| Use the | and | buttons to change the highlighted item |
| to ON or OFF. |
| |
6. | Repeatedly press | until DONE is highlighted, where the | |
| |||
| SAVE to save the values set, or press CANCEL to return to | ||
| the PROGRAMMABLE OUTPUT menu. | ||
| display will show the ADV. SETTINGS MENU. |
3. | Scroll down through the menu items and select |
| PROGRAMMABLE OUTPUT. |
4. | Select DISABLE. The display will then return to the ADV. |
| SETTINGS MENU. |
Note: If an ADHC is to be installed, do not wire an outdoor temperature sensor– see Step 8. The ADHC uses its own outdoor temperature sensor, which can be read by the thermostat.
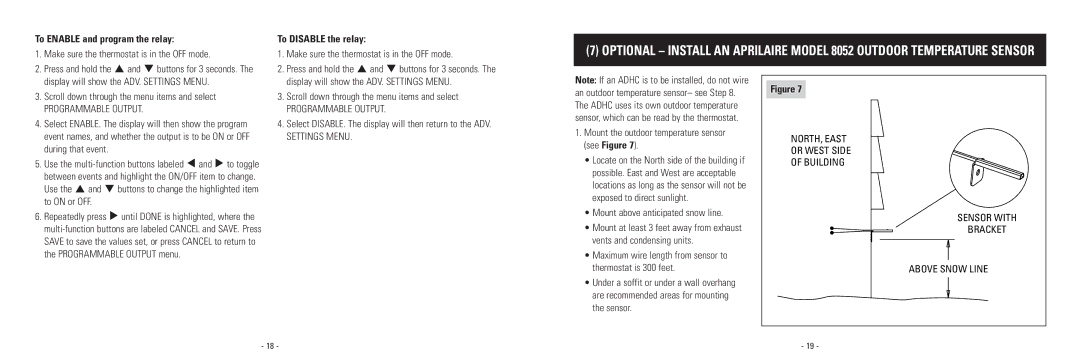
1.Mount the outdoor temperature sensor (see Figure 7).
•Locate on the North side of the building if possible. East and West are acceptable locations as long as the sensor will not be exposed to direct sunlight.
•Mount above anticipated snow line.
•Mount at least 3 feet away from exhaust vents and condensing units.
•Maximum wire length from sensor to thermostat is 300 feet.
•Under a soffit or under a wall overhang are recommended areas for mounting the sensor.
Figure 7 |
NORTH, EAST |
OR WEST SIDE |
OF BUILDING |
SENSOR WITH |
BRACKET |
ABOVE SNOW LINE |
- 18 -
- 19 - |
