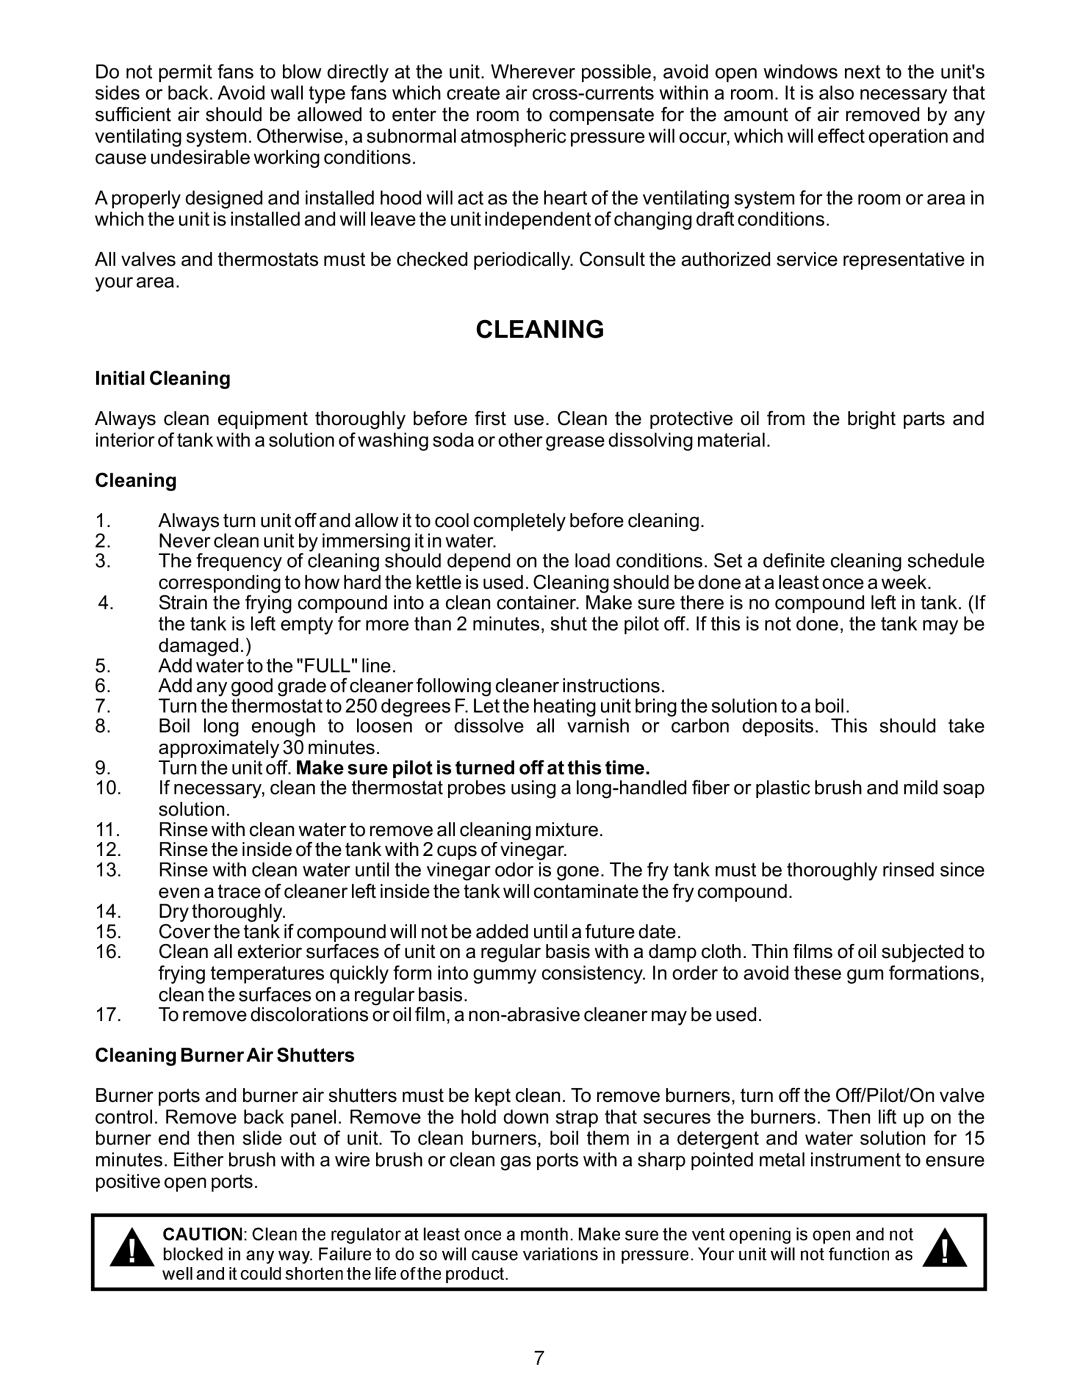
Do not permit fans to blow directly at the unit. Wherever possible, avoid open windows next to the unit's sides or back. Avoid wall type fans which create air
A properly designed and installed hood will act as the heart of the ventilating system for the room or area in which the unit is installed and will leave the unit independent of changing draft conditions.
All valves and thermostats must be checked periodically. Consult the authorized service representative in your area.
CLEANING
Initial Cleaning
Always clean equipment thoroughly before first use. Clean the protective oil from the bright parts and interior of tank with a solution of washing soda or other grease dissolving material.
Cleaning
1.Always turn unit off and allow it to cool completely before cleaning.
2.Never clean unit by immersing it in water.
3.The frequency of cleaning should depend on the load conditions. Set a definite cleaning schedule corresponding to how hard the kettle is used. Cleaning should be done at a least once a week.
4.Strain the frying compound into a clean container. Make sure there is no compound left in tank. (If the tank is left empty for more than 2 minutes, shut the pilot off. If this is not done, the tank may be
damaged.)
5.Add water to the "FULL" line.
6.Add any good grade of cleaner following cleaner instructions.
7.Turn the thermostat to 250 degrees F. Let the heating unit bring the solution to a boil.
8.Boil long enough to loosen or dissolve all varnish or carbon deposits. This should take approximately 30 minutes.
9.Turn the unit off. Make sure pilot is turned off at this time.
10.If necessary, clean the thermostat probes using a
| CAUTION:theatleastClean | once month.Make sure | ventopeningis | andnot |
| |||||||||
11. | wellblockeditnanywaycouldshorten.regulatorthlifedothesowillcause.variationsinpressurthe.Yourunitwillnotopenfuctionas |
| ||||||||||||
Rinse with clean water | remove all cleaning mixture. |
|
|
|
| ! | ||||||||
! | and | Failure of product |
| 7 |
|
|
|
|
| |||||
12. | Rinse the inside of the tank with 2 cups of vinegar |
|
|
|
|
|
| |||||||
13. | Rinse w h cl | wat r | n il the vineg r odor s gone. The fry tank must be thoroughly rinsed since | |||||||||||
| even tra of cleaner | ft inside the tank will contaminate the fry compound. |
|
| ||||||||||
14. | Dry thoroughly. |
|
|
|
|
|
|
|
|
|
|
|
|
|
15. | ver the tank if compo | nd will not be added until | futu date |
|
|
| ||||||||
16. | an all exterior surfac | s | unit on |
| gul | basis with a damp cl th. Thin films of oil subjected to | ||||||||
| frying temperatures q ickly f | rm into g | m | y consist | ncy. In order to avoid these gum formations, | |||||||||
| cl an the surfaces on a regul | r ba s. |
|
|
|
|
|
|
|
|
| |||
17. | To remove discol | at ons | il film, a |
|
| |||||||||
Cleaning Burner Air S | utters |
|
|
|
|
|
|
|
|
|
|
|
| |
Burner ports and burner air shutters must be k | pt cle | To r | move burne s, turn off he Off/Pilot/On valve | |||||||||||
control. Remove back pan l. Remove the hold down strap that | ecur | s the burners. Then lift up on the | ||||||||||||
burner end then slide out of unit. To clean b | rners, b | il th | m in a d | te gent and water solution for 15 | ||||||||||
minutes. Either brush wi | wi | brush or cle |
| gas ports with a sharp pointed metal instrument to ensure | ||||||||||
positive open ports. |
|
|
|
|
|
|
|
|
|
|
|
|
| |
|
|
|
|
|
|
|
|
|
|
|
|
|
|
|
