HQ Video: Choose between RGB or YUV; if you have a YUV display, set this item to YUV, otherwise set it to RGB.

This setting controls the routing of the HQ-video within the AVR250, either as 3-wire YUV or 4- wire RGB signals (with the synchronisation signal on composite for RGB). In addition, it controls the operation of the S-video/composite-to-HQ video converter.

When set to YUV, incoming composite and S-video signals are converted to YUV; in RGB mode, the iincoming signals are converted to RGB, with the synchronisation signal on the composite output.

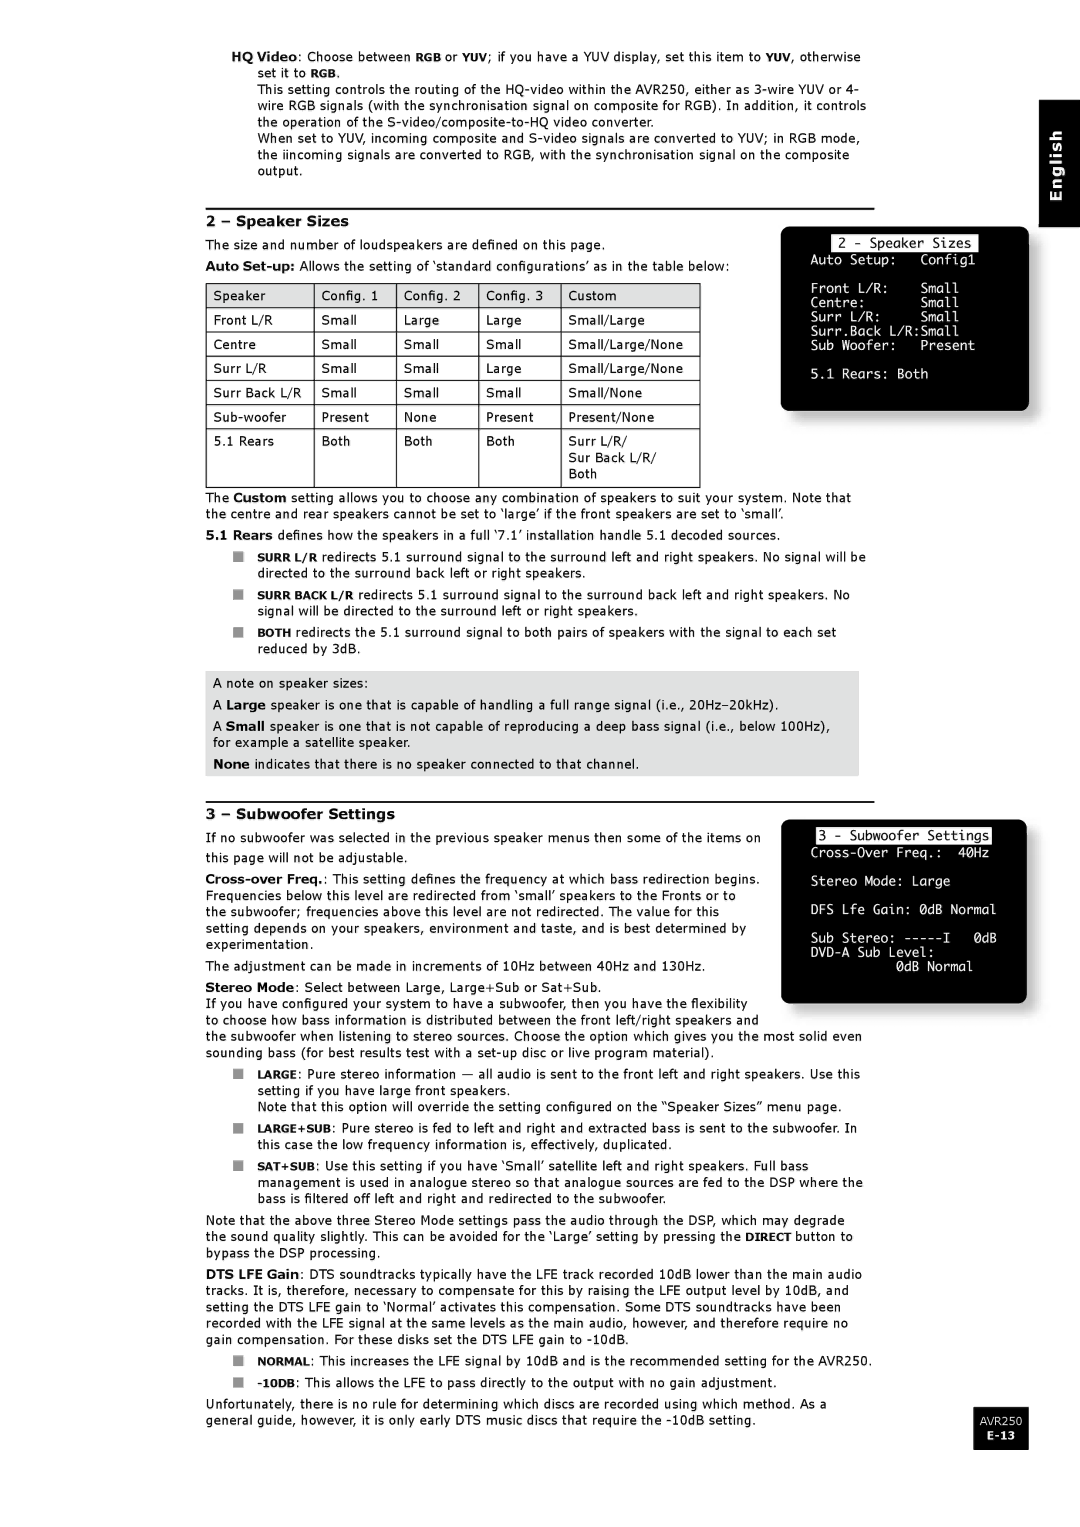
2 – Speaker Sizes

The size and number of loudspeakers are defined on this page.

Auto Set-up:Allows the setting of ‘standard configurations’ as in the table below:

Speaker

Config. 1

Config. 2

Config. 3

Custom

Front L/R

Small

Large

Large

Small/Large

Centre

Small

Small

Small

Small/Large/None

Surr L/R

Small

Small

Large

Small/Large/None

Surr Back L/R

Small

Small

Small

Small/None

Sub-woofer

Present

None

Present

Present/None

5.1 Rears

Both

Both

Both

Surr L/R/


Sur Back L/R/


Both

The Custom setting allows you to choose any combination of speakers to suit your system. Note that the centre and rear speakers cannot be set to ‘large’ if the front speakers are set to ‘small’.

5.1Rears defines how the speakers in a full ‘7.1’ installation handle 5.1 decoded sources.

nSURR L/R redirects 5.1 surround signal to the surround left and right speakers. No signal will be directed to the surround back left or right speakers.

nSURR BACK L/R redirects 5.1 surround signal to the surround back left and right speakers. No signal will be directed to the surround left or right speakers.

nBOTH redirects the 5.1 surround signal to both pairs of speakers with the signal to each set reduced by 3dB.

A note on speaker sizes:

A Large speaker is one that is capable of handling a full range signal (i.e., 20Hz–20kHz).

A Small speaker is one that is not capable of reproducing a deep bass signal (i.e., below 100Hz), for example a satellite speaker.

None indicates that there is no speaker connected to that channel.

3 – Subwoofer Settings

If no subwoofer was selected in the previous speaker menus then some of the items on this page will not be adjustable.

Cross-over Freq.: This setting defines the frequency at which bass redirection begins. Frequencies below this level are redirected from ‘small’ speakers to the Fronts or to

the subwoofer; frequencies above this level are not redirected. The value for this setting depends on your speakers, environment and taste, and is best determined by

experimentation. The adjustment can be made in increments of 10Hz between 40Hz and 130Hz.

Stereo Mode: Select between Large, Large+Sub or Sat+Sub.

If you have configured your system to have a subwoofer, then you have the flexibility to choose how bass information is distributed between the front left/right speakers and

the subwoofer when listening to stereo sources. Choose the option which gives you the most solid even sounding bass (for best results test with a set-up disc or live program material).

nLARGE: Pure stereo information — all audio is sent to the front left and right speakers. Use this setting if you have large front speakers.

Note that this option will override the setting configured on the “Speaker Sizes” menu page.

nLARGE+SUB: Pure stereo is fed to left and right and extracted bass is sent to the subwoofer. In this case the low frequency information is, effectively, duplicated.

nSAT+SUB: Use this setting if you have ‘Small’ satellite left and right speakers. Full bass management is used in analogue stereo so that analogue sources are fed to the DSP where the bass is filtered off left and right and redirected to the subwoofer.

Note that the above three Stereo Mode settings pass the audio through the DSP, which may degrade the sound quality slightly. This can be avoided for the ‘Large’ setting by pressing the DIRECT button to bypass the DSP processing.

DTS LFE Gain: DTS soundtracks typically have the LFE track recorded 10dB lower than the main audio tracks. It is, therefore, necessary to compensate for this by raising the LFE output level by 10dB, and setting the DTS LFE gain to ‘Normal’ activates this compensation. Some DTS soundtracks have been recorded with the LFE signal at the same levels as the main audio, however, and therefore require no gain compensation. For these disks set the DTS LFE gain to -10dB.

nNORMAL: This increases the LFE signal by 10dB and is the recommended setting for the AVR250.

n-10DB: This allows the LFE to pass directly to the output with no gain adjustment.

Unfortunately, there is no rule for determining which discs are recorded using which method. As a general guide, however, it is only early DTS music discs that require the -10dB setting.

English

AVR250

E-13

Page 13
Image 13
Arcam AVR250 manual Speaker Sizes, Subwoofer Settings, Surr L/R Small Large

AVR250 specifications

The Arcam AVR250 is a distinguished model in the realm of home theater receivers, embodying high-performance audio and video processing capabilities that cater to discerning audiophiles and home cinema enthusiasts alike. Designed by Arcam, a company renowned for its commitment to delivering premium sound, the AVR250 stands out through its thoughtful engineering and robust feature set.

At the heart of the AVR250 lies a powerful amplification stage capable of delivering a peak output of 100 watts per channel into 8 ohms, ensuring that even the most demanding speakers can be driven with ease. This level of power translates into dynamic audio experiences, whether you're enjoying your favorite movies, music, or gaming. The receiver also incorporates a sophisticated digital signal processing engine that enhances sound quality and ensures accurate reproduction of all audio formats.

One of the standout features of the AVR250 is its support for multiple surround sound formats, including Dolby Digital, DTS, and Dolby Pro Logic II. This enables users to experience surround sound in its full glory, bringing their favorite films to life with immersive audio tracks that add depth and realism to the viewing experience. The AVR250 also boasts an array of connectivity options, including HDMI inputs that support high-definition video and audio signals, allowing seamless integration with modern multimedia devices such as Blu-ray players, gaming consoles, and streaming devices.

In addition to its robust audio capabilities, the Arcam AVR250 is also equipped with video processing technologies. It can upscale standard definition content to high-definition resolution, ensuring that older media looks sharper and more vibrant on modern displays. The receiver also features video switching capabilities, allowing users to connect multiple video sources and effortlessly switch between them.

User-friendliness is another hallmark of the AVR250, featuring an intuitive on-screen display and remote control that make setup and operation straightforward. The receiver also offers advanced room correction technologies, which utilize microphone measurements to optimize sound performance in various room acoustics. This ensures that audiences receive the best possible sound quality tailored to their specific environment.

In summary, the Arcam AVR250 exemplifies a blend of power, quality, and versatility. With its advanced audio technologies, comprehensive connectivity options, and user-friendly design, this home theater receiver is poised to elevate cinematic experiences and music reproduction in any home. Whether you are an audiophile or a casual viewer, the AVR250 caters to a wide array of listening preferences, making it a worthy addition to any audio setup.