Remote type
This informs the player which type of remote control you are using, so that the player can take into account the slight differences between the remote types. For ARCAM remote controls, the remote type is always written on the front of the remote control, normally at the bottom of the unit.
Other A
OSD (On Screen Display)
This setting controls the ‘pop up’ messages that appear on screen.
On
Off No
Priority
Some DVD discs show different material, or have different behaviour, depending on whether the disc is played on a DVD- video or on a
Note that, although this setting may be changed after a disc has been loaded into the DV89, this setting does not take effect unless the disc is
Video setup
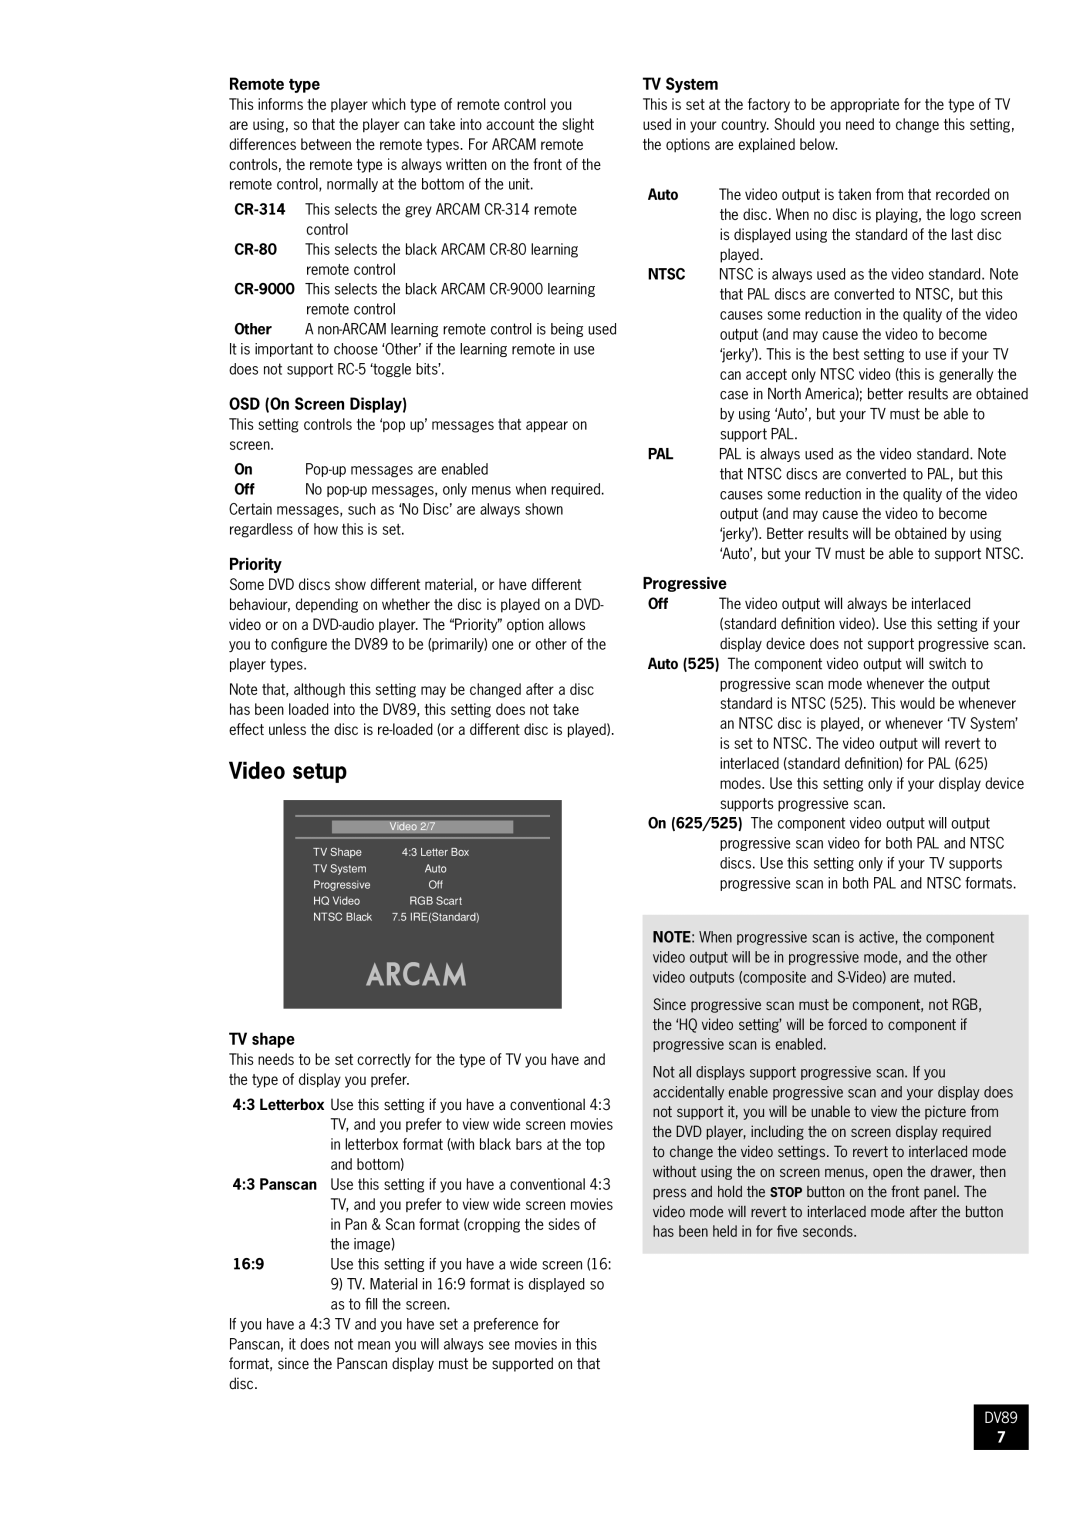
| Video 2/7 |
|
|
TV Shape | 4:3 Letter Box |
TV System | Auto |
Progressive | Off |
HQ Video | RGB Scart |
NTSC Black | 7.5 IRE(Standard) |
TV shape
This needs to be set correctly for the type of TV you have and the type of display you prefer.
4:3 Letterbox Use this setting if you have a conventional 4:3
| TV, and you prefer to view wide screen movies |
| in letterbox format (with black bars at the top |
| and bottom) |
4:3 Panscan | Use this setting if you have a conventional 4:3 |
| TV, and you prefer to view wide screen movies |
| in Pan & Scan format (cropping the sides of |
| the image) |
16:9 | Use this setting if you have a wide screen (16: |
| 9) TV. Material in 16:9 format is displayed so |
| as to fill the screen. |
If you have a 4:3 TV and you have set a preference for Panscan, it does not mean you will always see movies in this format, since the Panscan display must be supported on that disc.
TV System
This is set at the factory to be appropriate for the type of TV used in your country. Should you need to change this setting, the options are explained below.
Auto The video output is taken from that recorded on the disc. When no disc is playing, the logo screen is displayed using the standard of the last disc played.
NTSC NTSC is always used as the video standard. Note that PAL discs are converted to NTSC, but this causes some reduction in the quality of the video output (and may cause the video to become ‘jerky’). This is the best setting to use if your TV can accept only NTSC video (this is generally the case in North America); better results are obtained by using ‘Auto’, but your TV must be able to support PAL.
PAL PAL is always used as the video standard. Note that NTSC discs are converted to PAL, but this causes some reduction in the quality of the video output (and may cause the video to become ‘jerky’). Better results will be obtained by using ‘Auto’, but your TV must be able to support NTSC.
Progressive
Off The video output will always be interlaced (standard definition video). Use this setting if your display device does not support progressive scan.
Auto (525) The component video output will switch to progressive scan mode whenever the output standard is NTSC (525). This would be whenever an NTSC disc is played, or whenever ‘TV System’ is set to NTSC. The video output will revert to interlaced (standard definition) for PAL (625) modes. Use this setting only if your display device supports progressive scan.
On (625/525) The component video output will output progressive scan video for both PAL and NTSC discs. Use this setting only if your TV supports progressive scan in both PAL and NTSC formats.
NOTE: When progressive scan is active, the component video output will be in progressive mode, and the other video outputs (composite and
Since progressive scan must be component, not RGB, the ‘HQ video setting’ will be forced to component if progressive scan is enabled.
Not all displays support progressive scan. If you accidentally enable progressive scan and your display does not support it, you will be unable to view the picture from the DVD player, including the on screen display required to change the video settings. To revert to interlaced mode without using the on screen menus, open the drawer, then press and hold the STOP button on the front panel. The video mode will revert to interlaced mode after the button has been held in for five seconds.
DV89
7