2.4Recording Videos
•Turn ON your Jukebox Multimedia.
•Press “Rec’rd” (F3) button. The jukebox will enter Still Image Preview Mode.
•Press “<JPG>” (F1) button. The (F1) button will change to “<AVI>”, and the jukebox will enter Video Image Preview Mode.
•The Bar Graph displays sound level. Use “>>” or “<<” arrow keys to adjust the Sound Level slider.
•Press “Start” (F3) button. The (F3) button changes to “<Stop>”, and video recording begins. The elapsed time is displayed in the upper right corner.
•Press “Stop” (F3) button, or general “Stop” button: The (F3) button reverts to “<Start>”, while the video is being stopped and stored on the hard disk.
•While your are recording, you can press once on the Play/Pause button to pause the recording. Press it again to recommence the recording.
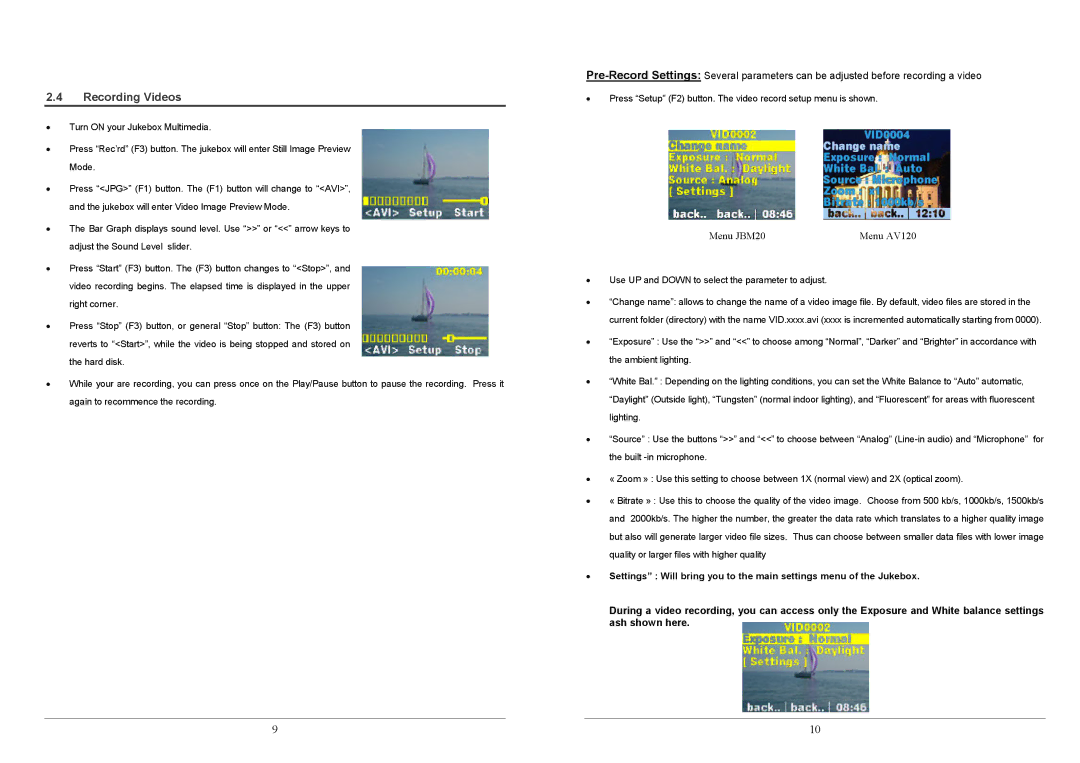
•Press “Setup” (F2) button. The video record setup menu is shown.
Menu JBM20 | Menu AV120 |
•Use UP and DOWN to select the parameter to adjust.
•“Change name”: allows to change the name of a video image file. By default, video files are stored in the current folder (directory) with the name VID.xxxx.avi (xxxx is incremented automatically starting from 0000).
•“Exposure” : Use the “>>” and “<<” to choose among “Normal”, “Darker” and “Brighter” in accordance with the ambient lighting.
•“White Bal.” : Depending on the lighting conditions, you can set the White Balance to “Auto” automatic, “Daylight” (Outside light), “Tungsten” (normal indoor lighting), and “Fluorescent” for areas with fluorescent lighting.
•“Source” : Use the buttons “>>” and “<<” to choose between “Analog”
•« Zoom » : Use this setting to choose between 1X (normal view) and 2X (optical zoom).
•« Bitrate » : Use this to choose the quality of the video image. Choose from 500 kb/s, 1000kb/s, 1500kb/s and 2000kb/s. The higher the number, the greater the data rate which translates to a higher quality image but also will generate larger video file sizes. Thus can choose between smaller data files with lower image quality or larger files with higher quality
•Settings” : Will bring you to the main settings menu of the Jukebox.
During a video recording, you can access only the Exposure and White balance settings ash shown here.
9 | 10 |