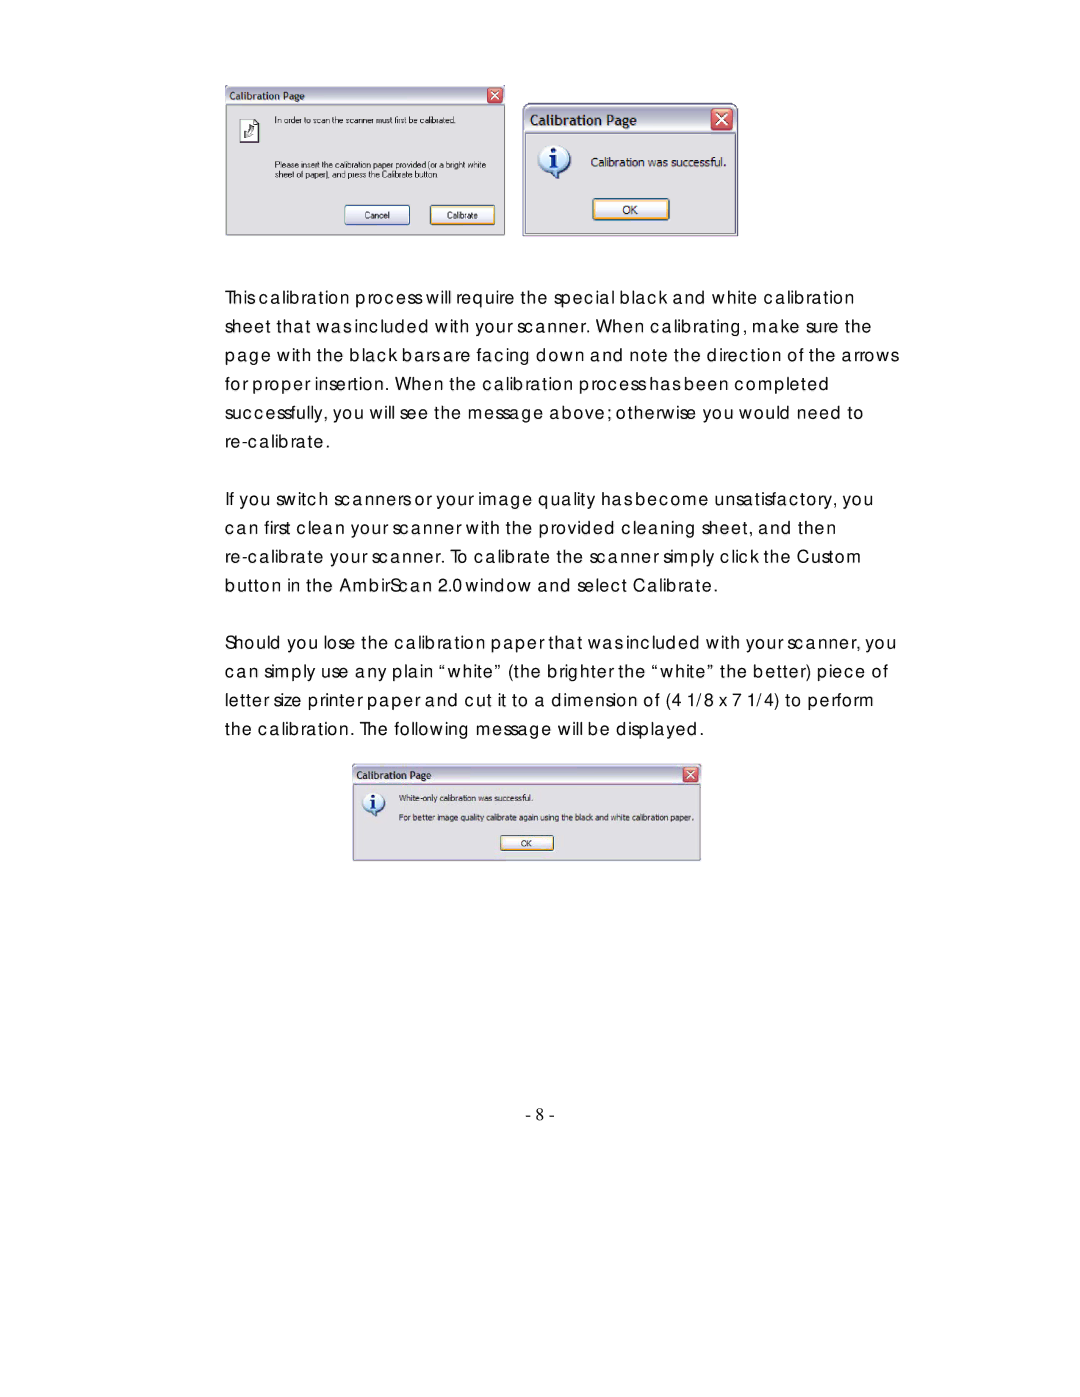
This calibration process will require the special black and white calibration sheet that was included with your scanner. When calibrating, make sure the page with the black bars are facing down and note the direction of the arrows for proper insertion. When the calibration process has been completed successfully, you will see the message above; otherwise you would need to
If you switch scanners or your image quality has become unsatisfactory, you can first clean your scanner with the provided cleaning sheet, and then
Should you lose the calibration paper that was included with your scanner, you can simply use any plain “white” (the brighter the “white” the better) piece of letter size printer paper and cut it to a dimension of (4 1/8 x 7 1/4) to perform the calibration. The following message will be displayed.
- 8 -
