ASRock IMB-140 Series Chassis Fan Connector Please connect the fan cable, To the fan connector

Models: IMB-140 Series

1 8
Download 8 pages 61.52 Kb
Page 6
Image 6

E. To activate the front mic.

For Windows® XP / XP 64-bit OS:

Select “Mixer”. Select “Recorder”. Then click “FrontMic”.

For Windows® 7 / 7 64-bit / VistaTM / VistaTM 64-bit OS:

Go to the “FrontMic” Tab in the Realtek Control panel. Adjust “Recording Volume”.
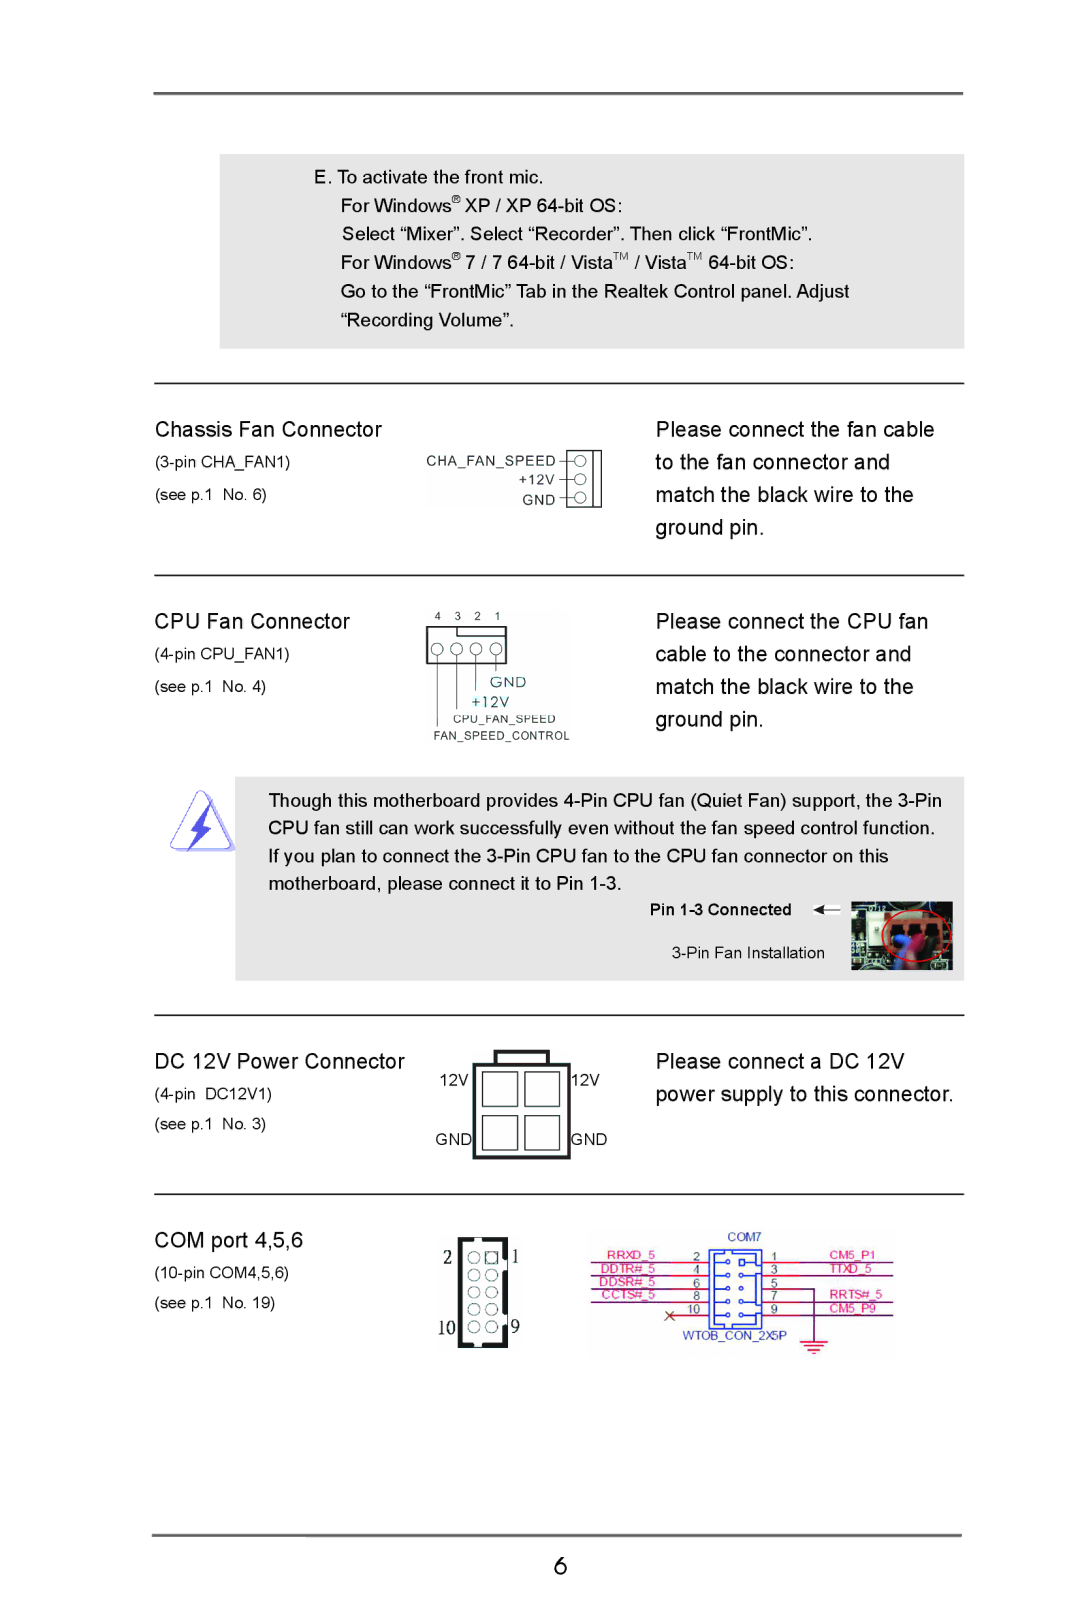
Chassis Fan Connector

Please connect the fan cable

(3-pin CHA_FAN1)

to the fan connector and

(see p.1 No. 6)

match the black wire to the


ground pin.


CPU Fan Connector

Please connect the CPU fan

(4-pin CPU_FAN1)

cable to the connector and

(see p.1 No. 4)

match the black wire to the


ground pin.

Though this motherboard provides 4-Pin CPU fan (Quiet Fan) support, the 3-Pin CPU fan still can work successfully even without the fan speed control function. If you plan to connect the 3-Pin CPU fan to the CPU fan connector on this motherboard, please connect it to Pin 1-3.

Pin 1-3 Connected

3-Pin Fan Installation

DC 12V Power Connector

Please connect a DC 12V

(4-pin DC12V1)

12V12V

power supply to this connector.

(see p.1 No. 3)

GNDGND

COM port 4,5,6

(10-pin COM4,5,6)

(see p.1 No. 19)

6

Page 6
Image 6
ASRock IMB-140 Series Chassis Fan Connector Please connect the fan cable, To the fan connector, Match the black wire to