Model: | 8077SE | Product Type: |
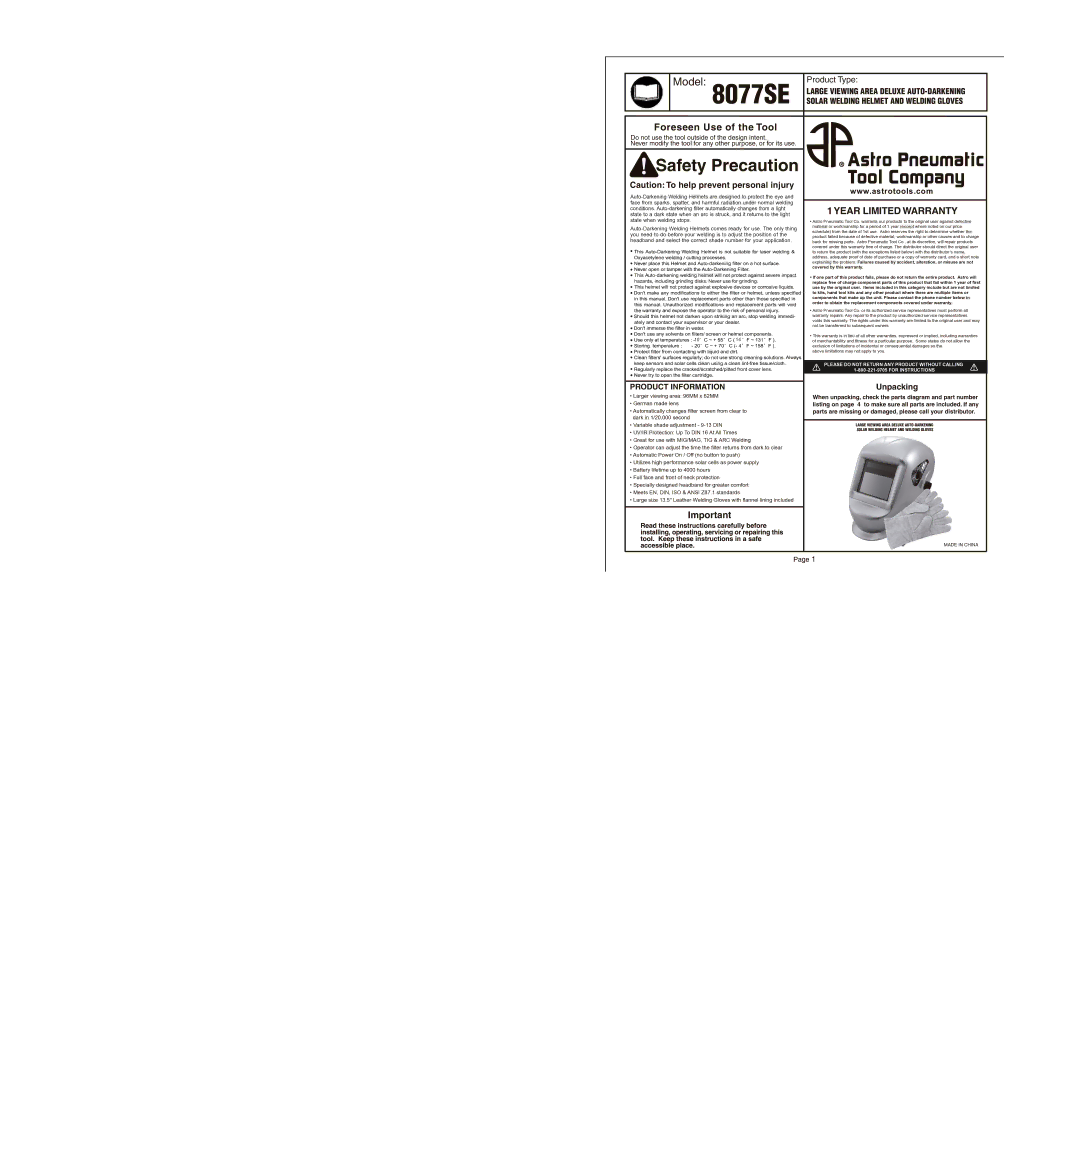
| LARGE VIEWING AREA DELUXE | |
| SOLAR WELDING HELMET AND WELDING GLOVES |
Foreseen Use of the Tool
Do not use the tool outside of the design intent.
Never modify the tool for any other purpose, or for its use.
|
|
|
|
|
|
|
|
|
|
|
|
|
| Safety Precaution |
|
| |||||||||||||||||||||||||||||||||||||||||
Caution: To help prevent personal injury | www.astrotools.com | ||||||||||||||||||||||||||||||||||||||||||||||||||||||||
|
| ||||||||||||||||||||||||||||||||||||||||||||||||||||||||
face from sparks, spatter, and harmful radiation under normal welding | 1 YEAR LIMITED WARRANTY | ||||||||||||||||||||||||||||||||||||||||||||||||||||||||
state to a dark state when an arc is struck, and it returns to the light | |||||||||||||||||||||||||||||||||||||||||||||||||||||||||
conditions. |
|
| |||||||||||||||||||||||||||||||||||||||||||||||||||||||
state when welding stops. |
|
|
|
|
|
|
|
|
|
|
|
|
|
|
|
|
|
|
|
|
|
|
|
| • Astro Pneumatic Tool Co. warrants our products to the original user against defective | ||||||||||||||||||||||||||||||||
material or workmanship for a period of 1 year (except where noted on our price | |||||||||||||||||||||||||||||||||||||||||||||||||||||||||
schedule) from the date of 1st use. Astro reserves the right to determine whether the | |||||||||||||||||||||||||||||||||||||||||||||||||||||||||
you need to do before your welding is to adjust the position of the | |||||||||||||||||||||||||||||||||||||||||||||||||||||||||
product failed because of defective material, workmanship or other causes and to charge | |||||||||||||||||||||||||||||||||||||||||||||||||||||||||
headband and select the correct shade number for your application. | |||||||||||||||||||||||||||||||||||||||||||||||||||||||||
back for missing parts. Astro Pneumatic Tool Co., at its discretion, will repair products | |||||||||||||||||||||||||||||||||||||||||||||||||||||||||
• |
|
|
|
|
|
|
|
|
|
|
|
|
|
|
|
|
|
|
|
|
|
|
|
|
| covered under this warranty free of charge. The distributor should direct the original user | |||||||||||||||||||||||||||||||
|
|
|
|
|
|
|
|
|
|
|
|
|
|
|
|
|
|
|
|
|
|
|
|
| to return the product (with the exceptions listed below) with the distributor’s name, | ||||||||||||||||||||||||||||||||
• |
|
|
|
|
|
|
|
|
|
|
|
|
|
|
|
|
|
|
|
|
|
|
|
|
|
|
|
|
|
|
|
|
|
|
|
|
|
|
|
|
| address, adequate proof of date of purchase or a copy of warranty card, and a short note | |||||||||||||||
|
|
|
|
|
|
|
|
|
|
|
|
|
|
|
|
|
|
|
|
|
|
|
|
|
|
|
|
|
|
|
|
|
|
|
|
|
|
|
|
| |||||||||||||||||
|
|
|
|
|
|
|
|
|
|
|
|
|
|
|
|
|
|
|
|
|
|
|
|
|
|
|
|
|
|
|
|
|
|
|
|
|
|
|
| explaining the problem. Failures caused by accident, alteration, or misuse are not | |||||||||||||||||
|
|
|
|
|
|
|
|
|
|
|
|
|
|
|
|
|
|
|
|
|
|
|
|
|
|
|
|
|
|
|
|
|
|
|
|
|
|
|
|
|
|
|
|
|
|
|
|
|
|
|
|
|
|
| |||
• |
|
|
|
|
|
|
|
|
|
|
|
|
|
|
|
|
|
|
|
|
|
|
|
| covered by this warranty. | ||||||||||||||||||||||||||||||||
|
|
|
|
|
|
|
|
|
|
|
|
|
|
|
|
|
|
|
|
|
|
|
| ||||||||||||||||||||||||||||||||||
• |
|
|
|
|
|
|
|
|
|
|
|
|
|
|
|
|
|
|
|
|
|
|
|
|
|
| • If one part of this product fails, please do not return the entire product. Astro will | ||||||||||||||||||||||||||||||
|
|
|
|
|
|
|
|
|
|
|
|
|
|
|
|
|
|
|
|
|
|
|
|
| |||||||||||||||||||||||||||||||||
|
|
|
|
|
|
|
|
|
|
|
|
|
|
|
|
|
|
|
|
|
|
|
|
| |||||||||||||||||||||||||||||||||
• |
|
|
|
|
|
|
|
|
|
|
|
|
|
|
|
|
|
|
|
|
|
|
|
|
|
|
|
|
|
|
|
|
|
|
|
|
|
|
|
|
|
|
|
|
|
| replace free of charge component parts of this product that fail within 1 year of first | ||||||||||
|
|
|
|
|
|
|
|
|
|
|
|
|
|
|
|
|
|
|
|
|
|
|
|
|
|
|
|
|
|
|
|
|
|
|
|
|
|
|
|
|
|
|
|
|
| ||||||||||||
|
|
|
|
|
|
|
|
|
|
|
|
|
|
|
|
|
|
|
|
|
|
|
|
|
|
|
|
|
|
|
|
|
|
|
|
|
|
|
|
| use by the original user. Items included in this category include but are not limited | ||||||||||||||||
• |
|
|
|
|
|
|
|
|
|
|
|
|
|
|
|
|
|
|
|
|
|
|
|
| to kits, hand tool kits and any other product where there are multiple items or | ||||||||||||||||||||||||||||||||
|
|
|
|
|
|
|
|
|
|
|
|
|
|
|
|
|
|
|
|
|
|
|
| ||||||||||||||||||||||||||||||||||
|
|
|
|
|
|
|
|
|
|
|
|
|
|
|
|
|
|
|
|
|
|
|
|
|
|
|
|
|
|
|
|
|
|
|
|
|
|
|
|
|
|
|
|
|
|
|
|
|
|
|
|
|
|
| components that make up the unit. Please contact the phone number below in | ||
|
|
|
|
|
|
|
|
|
|
|
|
|
|
|
|
|
|
|
|
|
|
|
|
|
|
|
|
|
|
|
|
|
|
|
|
|
|
|
|
|
|
|
|
|
|
|
|
|
|
|
|
|
|
| |||
|
|
|
|
|
|
|
|
|
|
|
|
|
|
|
|
|
|
|
|
|
|
|
|
|
|
|
|
|
|
|
|
|
|
|
|
|
|
|
|
|
|
|
|
|
|
|
|
|
|
|
|
|
|
| order to obtain the replacement components covered under warranty. | ||
|
|
|
|
|
|
|
|
|
|
|
|
|
|
|
|
|
|
|
|
|
|
|
|
|
|
|
|
|
|
|
|
|
|
|
|
|
|
|
|
|
|
|
|
|
|
|
|
|
|
|
|
|
|
| |||
• |
|
|
|
|
|
|
|
|
|
|
|
|
|
|
|
|
|
|
|
|
|
|
|
|
|
|
|
|
|
|
|
|
|
|
|
|
|
|
|
|
|
|
|
|
|
|
|
|
|
|
|
| • Astro Pneumatic Tool Co. or its authorized service representatives must perform all | ||||
|
|
|
|
|
|
|
|
|
|
|
|
|
|
|
|
|
|
|
|
|
|
|
|
|
|
|
|
|
|
|
|
|
|
|
|
|
|
|
|
|
|
|
|
|
|
|
|
|
|
|
| ||||||
|
|
|
|
|
|
|
|
|
|
|
|
|
|
|
|
|
|
|
|
|
|
|
|
|
|
|
|
|
|
|
|
|
|
|
|
|
|
|
|
|
|
|
|
| warranty repairs. Any repair to the product by unauthorized service representatives | ||||||||||||
|
|
|
|
|
|
|
|
|
|
|
|
|
|
|
|
|
|
|
|
|
|
|
|
|
|
| |||||||||||||||||||||||||||||||
|
|
|
|
|
|
|
|
|
|
|
|
|
|
|
|
|
|
|
|
|
|
|
|
|
|
|
|
|
|
|
|
|
|
|
|
|
|
|
|
|
|
|
|
|
|
|
|
|
|
|
|
|
|
| voids this warranty. The rights under this warranty are limited to the original user and may | ||
|
|
|
|
|
|
|
|
|
|
|
|
|
|
|
|
|
|
|
|
|
|
|
|
|
|
|
|
|
|
|
|
|
|
|
|
|
|
|
|
|
|
|
|
|
|
|
|
|
|
|
|
|
|
| |||
• |
|
|
|
|
|
|
|
|
|
|
|
|
|
|
|
|
|
|
|
|
|
|
|
|
|
|
|
|
| not be transferred to subsequent owners. | |||||||||||||||||||||||||||
|
|
|
|
|
|
|
|
|
|
|
|
|
|
|
|
|
|
|
|
|
|
|
|
| |||||||||||||||||||||||||||||||||
• |
|
|
|
|
|
|
|
|
|
|
|
|
|
|
|
|
|
|
|
|
|
|
|
|
|
|
|
|
|
|
| • This warranty is in lieu of all other warranties, expressed or implied, including warranties | |||||||||||||||||||||||||
|
|
|
|
|
|
|
|
|
|
|
|
|
|
|
|
|
|
|
|
|
|
|
|
|
|
|
|
|
|
|
|
| |||||||||||||||||||||||||
|
|
|
|
|
|
|
|
|
|
|
|
|
|
|
|
|
|
|
|
|
|
|
|
|
|
|
|
|
|
|
|
| |||||||||||||||||||||||||
• |
|
|
|
|
|
|
|
|
|
|
| 10 |
|
|
|
|
|
| 14 |
|
|
|
|
|
|
|
|
|
|
|
|
|
| of merchantability and fitness for a particular purpose. Some states do not allow the | |||||||||||||||||||||||
|
|
|
|
|
|
|
|
|
|
|
|
|
|
|
|
|
|
|
| ||||||||||||||||||||||||||||||||||||||
• |
|
|
|
|
|
|
|
|
|
|
|
|
|
|
|
|
|
|
|
|
|
|
|
| exclusion of limitations of incidental or consequential damages so the | ||||||||||||||||||||||||||||||||
• |
|
|
|
|
|
|
|
|
|
|
|
|
|
|
|
|
|
|
|
|
|
|
|
|
|
|
|
|
|
|
| above limitations may not apply to you. | |||||||||||||||||||||||||
|
|
|
|
|
|
|
|
|
|
|
|
|
|
|
|
|
|
|
|
|
|
|
|
| |||||||||||||||||||||||||||||||||
• |
|
|
|
|
|
|
|
|
|
|
|
|
|
|
|
|
|
|
|
|
|
|
|
|
|
|
|
|
|
|
|
|
|
|
|
|
|
| |||||||||||||||||||
|
|
|
|
|
|
|
|
|
|
|
|
|
|
|
|
|
|
|
|
|
|
|
|
|
|
|
|
|
|
|
|
|
|
|
|
|
|
|
|
|
|
|
|
|
|
|
|
|
| ||||||||
|
|
|
|
|
|
|
|
|
|
|
|
|
|
|
|
|
|
|
|
|
|
|
|
|
|
|
|
|
|
|
|
|
|
|
|
|
|
|
|
|
|
|
|
|
|
|
|
|
| ||||||||
• |
|
|
|
|
|
|
|
|
|
|
|
|
|
|
|
|
|
|
|
|
|
|
|
|
|
|
|
|
|
|
|
|
|
|
|
|
|
|
|
|
|
|
|
|
|
|
|
|
|
|
| PLEASE DO NOT RETURN ANY PRODUCT WITHOUT CALLING |
| ||||
|
|
|
|
|
|
|
|
|
|
|
|
|
|
|
|
|
|
|
|
|
|
|
|
|
|
|
|
|
|
|
|
|
|
|
|
|
|
|
|
|
|
|
|
|
|
|
|
|
|
| |||||||
|
|
|
|
|
|
|
|
|
|
|
|
|
|
|
|
|
|
|
|
|
|
|
|
|
|
|
|
|
|
|
|
| |||||||||||||||||||||||||
|
|
|
|
|
|
|
|
|
|
|
|
|
|
|
|
|
|
|
|
|
|
|
|
|
|
| |||||||||||||||||||||||||||||||
• |
|
|
|
|
|
|
|
|
|
|
|
|
|
|
|
|
|
|
|
|
|
|
|
|
|
|
|
| |||||||||||||||||||||||||||||
|
|
|
|
|
|
|
|
|
|
|
|
|
|
|
|
|
|
|
|
|
|
|
|
|
| Unpacking | |||||||||||||||||||||||||||||||
|
|
|
|
|
|
|
|
|
|
|
|
|
|
|
|
|
|
|
|
|
|
|
|
| |||||||||||||||||||||||||||||||||
PRODUCT INFORMATION |
|
|
|
|
|
|
|
|
|
|
|
|
|
|
| ||||||||||||||||||||||||||||||||||||||||||
• Larger viewing area: 96MM x 62MM |
|
|
|
|
|
|
|
|
|
|
|
|
|
|
| When unpacking, check the parts diagram and part number | |||||||||||||||||||||||||||||||||||||||||
• German made lens |
|
|
|
|
|
|
|
|
|
|
|
|
|
|
|
|
|
|
|
|
|
|
|
| listing on page 4 to make sure all parts are included. If any | ||||||||||||||||||||||||||||||||
• Automatically changes filter screen from clear to | parts are missing or damaged, please call your distributor. | ||||||||||||||||||||||||||||||||||||||||||||||||||||||||
dark in 1/20,000 second |
|
|
|
|
|
|
|
|
|
|
|
|
|
|
|
|
|
|
|
|
|
|
|
|
|
| |||||||||||||||||||||||||||||||
• Variable shade adjustment - |
|
|
|
|
|
|
|
|
|
|
|
|
|
|
| LARGE VIEWING AREA DELUXE | |||||||||||||||||||||||||||||||||||||||||
• UV/IR Protection: Up To DIN 16 At All Times | SOLAR WELDING HELMET AND WELDING GLOVES | ||||||||||||||||||||||||||||||||||||||||||||||||||||||||
|
| ||||||||||||||||||||||||||||||||||||||||||||||||||||||||
•Great for use with MIG/MAG, TIG & ARC Welding
•Operator can adjust the time the filter returns from dark to clear
•Automatic Power On / Off (no button to push)
•Utilizes high performance solar cells as power supply
•Battery lifetime up to 4000 hours
•Full face and front of neck protection
•Specially designed headband for greater comfort
•Meets EN, DIN, ISO & ANSI Z87.1 standards
•Large size 13.5" Leather Welding Gloves with flannel lining included
Important
MADE IN CHINA
![]()
![]() 1
1