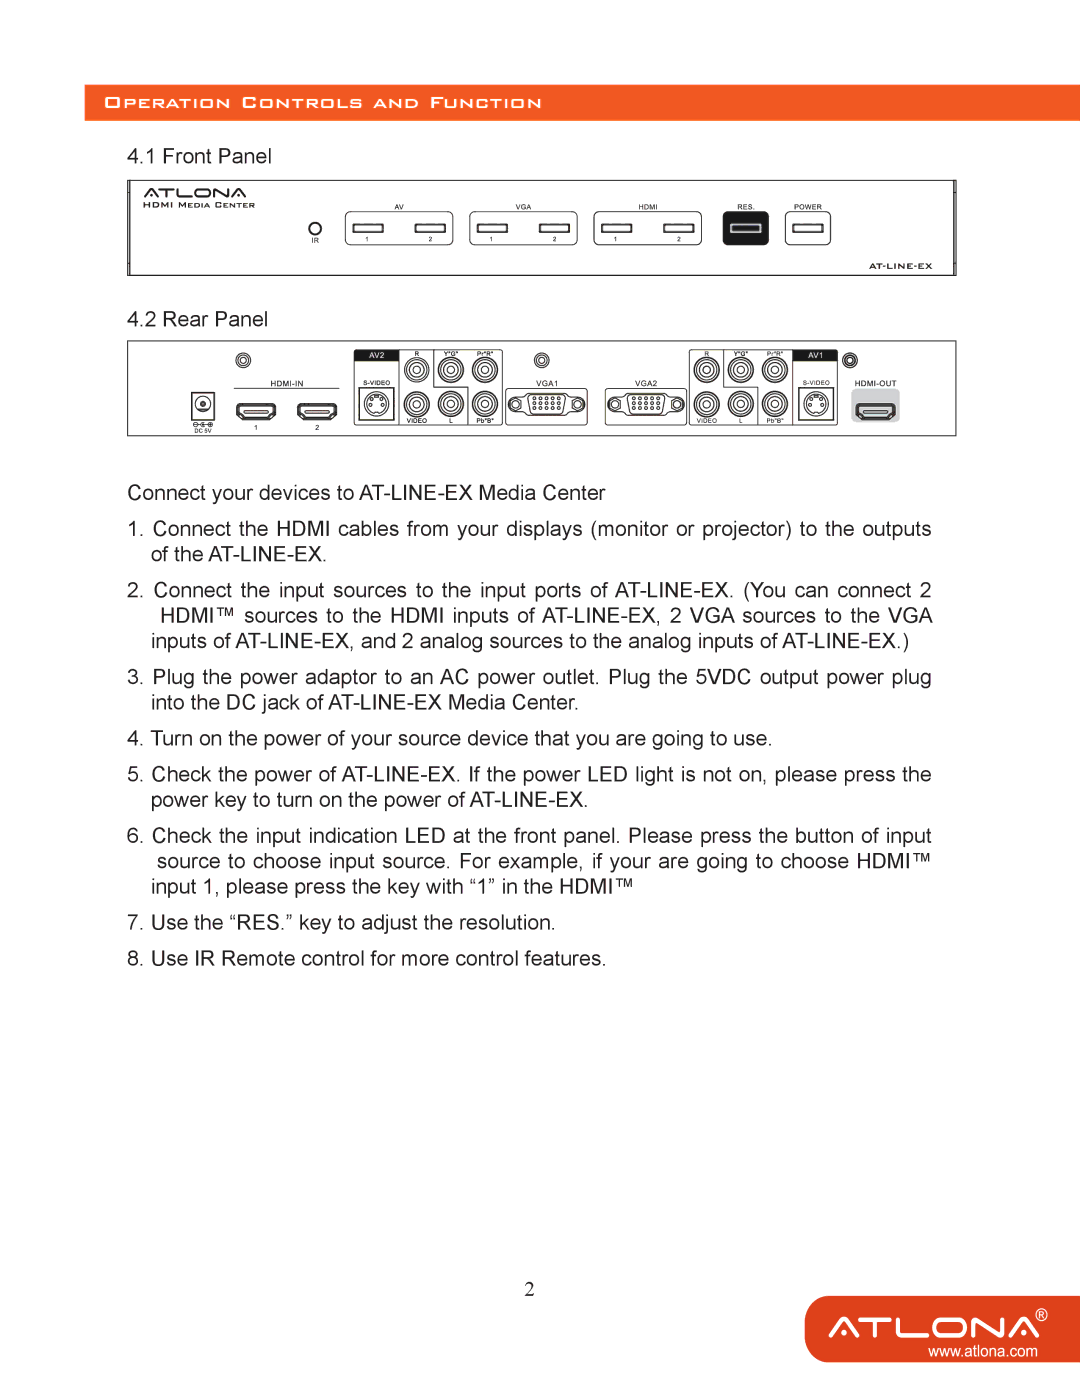
AT-LINE-EX specifications
The Atlona AT-LINE-EX is a pioneering solution for extending and distributing HDMI and control signals over a single Cat6/Cat6a cable. As technology continues to evolve, the need for reliable and efficient transmission of high-definition video and audio becomes paramount, especially in professional AV applications, educational environments, and corporate settings. The AT-LINE-EX serves as an innovative answer to these needs, delivering exceptional performance coupled with advanced features.One of the standout characteristics of the AT-LINE-EX is its ability to transmit HDMI signals up to 4K resolution at 60Hz, supporting 4:4:4 chroma subsampling. This ensures that users can experience detailed visuals with vibrant colors, suitable for the most demanding multimedia applications. The unit also supports HDR (High Dynamic Range), which enhances the contrast and color range of the images displayed.
In addition to high-quality video support, the AT-LINE-EX boasts audio capabilities, able to transmit multi-channel audio formats including Dolby TrueHD and DTS-HD Master Audio. This makes it ideal for environments where sound quality is as crucial as image resolution.
The product features an easy-to-use, plug-and-play design that simplifies installation processes without requiring extensive technical expertise. With Power over Ethernet (PoE), the AT-LINE-EX can receive power through the Ethernet cable, further reducing the complexity of installation. This feature is particularly advantageous in scenarios where multiple devices are used in different locations, allowing for a cleaner setup with fewer cables.
The integration of advanced EDID (Extended Display Identification Data) management within the AT-LINE-EX ensures optimal video signal transmission between source and display. This capability assists in maintaining consistent quality by allowing the device to negotiate the best resolution and refresh rate, preventing common issues such as screen glitches and blank displays.
The robust build of the AT-LINE-EX is designed for durability, making it suitable for both permanent installations and portable applications. With its compact profile, the device doesn't take much space, making it easy to integrate into existing AV systems.
In summary, the Atlona AT-LINE-EX is an essential component for modern AV installations, combining exceptional video and audio capabilities with user-friendly features and reliable performance. Its ability to deliver 4K video, support HDR, and operate over a single cable makes it a powerful tool in the quest for seamless multimedia experiences.

