gence not more than 3mm. High of optical axe of the
6. Tighten the fixing screws or levers of mount.
NOTE: Fixing screws may need to be tightened after continuous shooting.
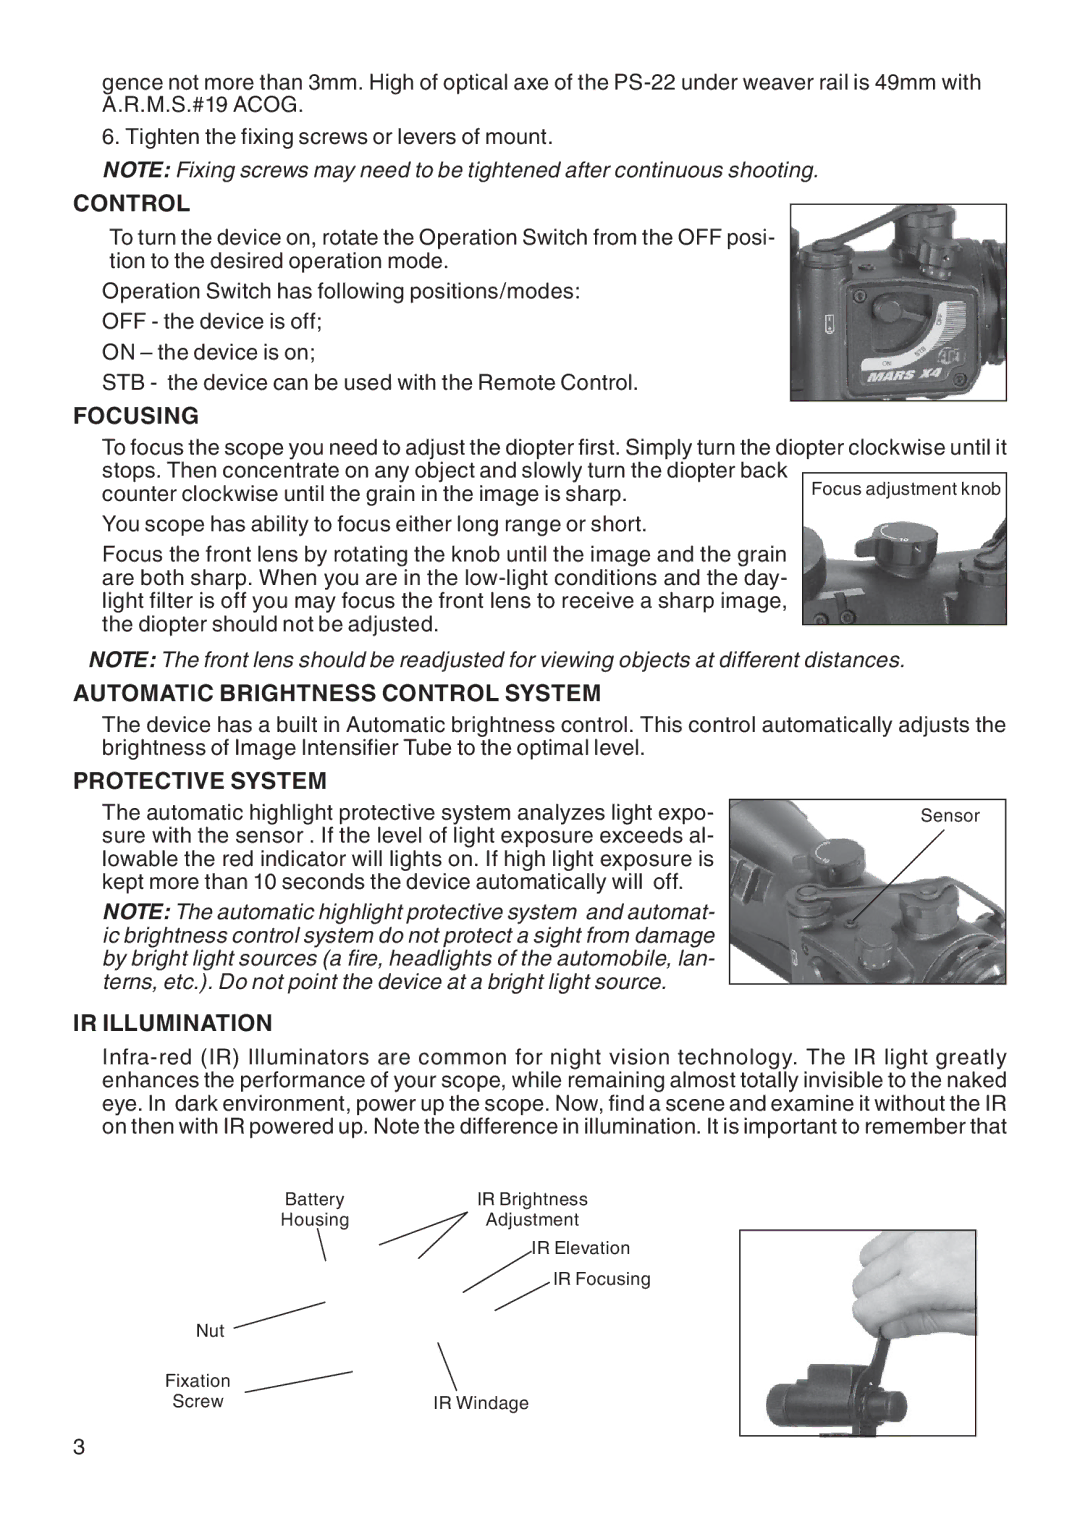
COntrol
To turn the device on, rotate the Operation Switch from the OFF posi- tion to the desired operation mode.
Operation Switch has following positions/modes: OFF - the device is off;
ON – the device is on;
STB - the device can be used with the Remote Control.
FOCUSING
To focus the scope you need to adjust the diopter first. Simply turn the diopter clockwise until it stops. Then concentrate on any object and slowly turn the diopter back
counter clockwise until the grain in the image is sharp. You scope has ability to focus either long range or short.
Focus the front lens by rotating the knob until the image and the grain are both sharp. When you are in the
NOTE: The front lens should be readjusted for viewing objects at different distances.
automatic brightness control System
The device has a built in Automatic brightness control. This control automatically adjusts the brightness of Image Intensifier Tube to the optimal level.
Protective system
The automatic highlight protective system analyzes light expo- sure with the sensor . If the level of light exposure exceeds al- lowable the red indicator will lights on. If high light exposure is kept more than 10 seconds the device automatically will off.
NOTE: The automatic highlight protective system and automat- ic brightness control system do not protect a sight from damage by bright light sources (a fire, headlights of the automobile, lan- terns, etc.). Do not point the device at a bright light source.
Sensor
IR Illumination
Battery | IR Brightness |
Housing | Adjustment |
| IR Elevation |
| IR Focusing |
Nut |
|
Fixation |
|
Screw | IR Windage |