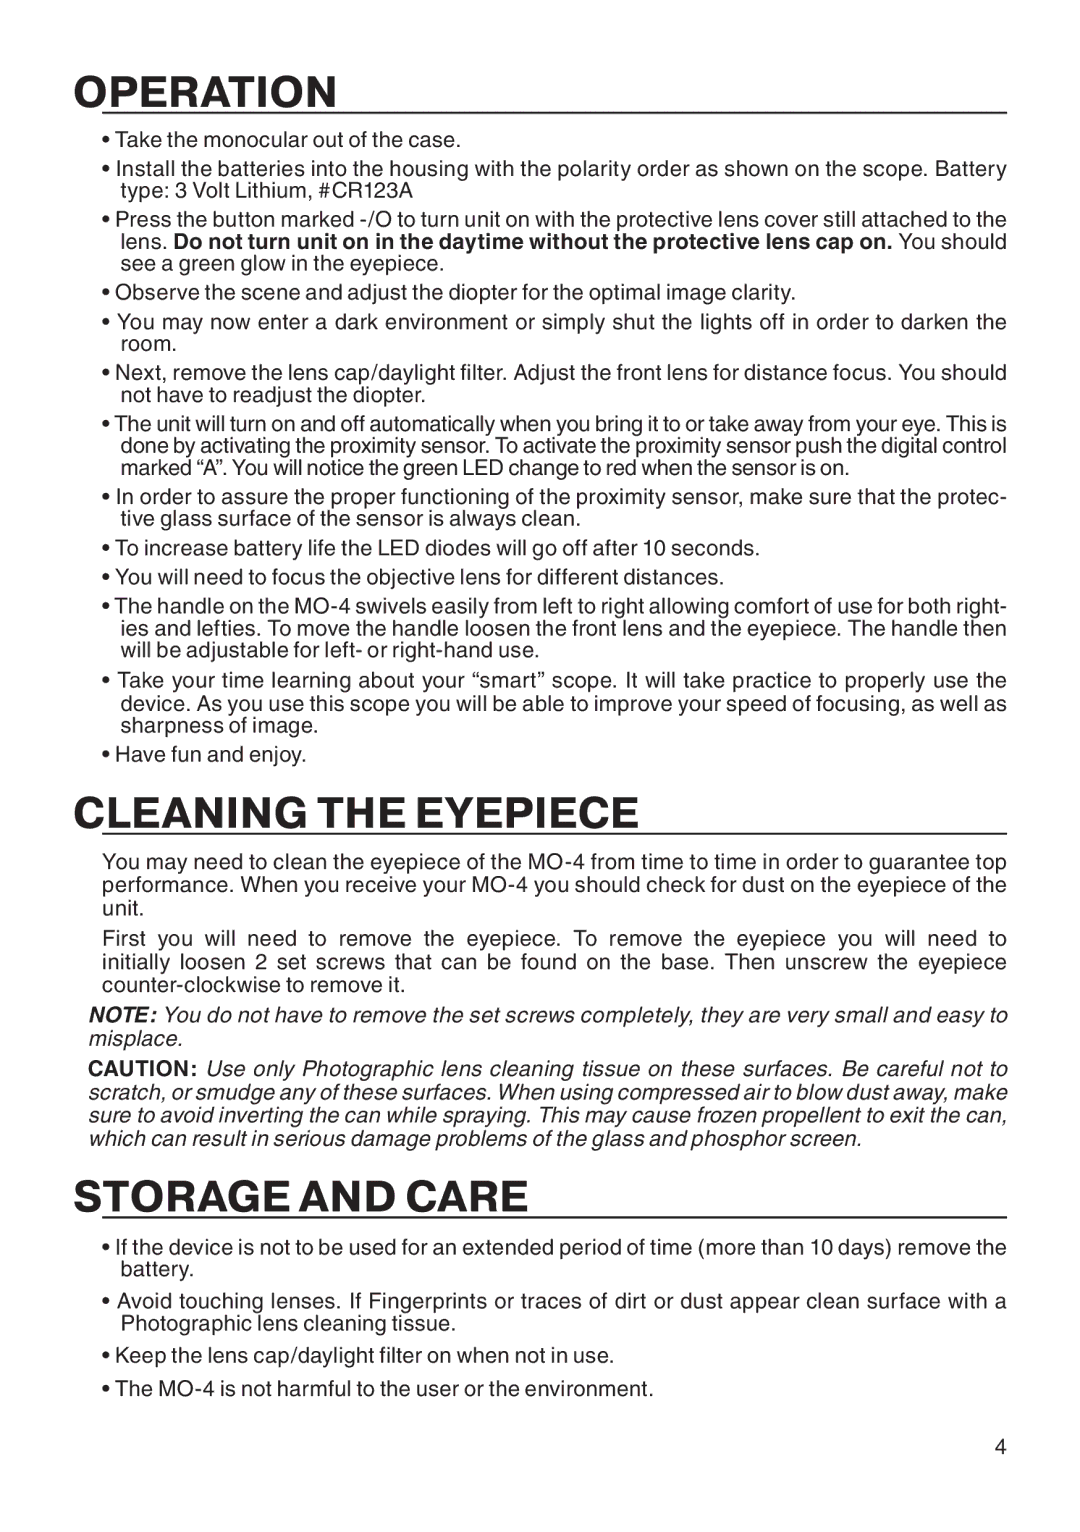
MO-4 specifications
The ATN MO-4 is an advanced night vision monocular designed for outdoor enthusiasts, hunters, and tactical users who require high-performance optical technology for low-light situations. As part of ATN’s cutting-edge line of optical equipment, the MO-4 stands out with its superior features and innovative technologies.One of the key attributes of the ATN MO-4 is its impressive image resolution. The device is equipped with high-definition glass optics that deliver sharp and clear images, even in near-total darkness. This ensures that users can identify targets and navigate their environment with confidence. The MO-4's multi-coated lenses further enhance light transmission and minimize glare, making it ideal for use at dusk and dawn, as well as during nighttime operations.
The MO-4 incorporates ATN's proprietary Smart Mode technology, which enhances user experience by automatically adjusting brightness levels based on ambient light conditions. This feature enables seamless transitions between varying light environments, ensuring optimal visibility without manual adjustments. Additionally, the MO-4 is designed to operate efficiently with a long battery life, allowing users to rely on the device throughout extended excursions.
With a robust ergonomic design, the ATN MO-4 provides a comfortable grip for prolonged use. It is lightweight and compact, making it easy to carry and maneuver. The device is also rugged and weatherproof, capable of withstanding harsh environmental conditions, which is essential for outdoor activities.
The MO-4 is equipped with a digital display that provides real-time information, including battery status and operational modes, enhancing overall operational awareness. Moreover, the device supports video recording capabilities, allowing users to capture their experiences seamlessly. With built-in Wi-Fi and Bluetooth, the MO-4 can connect to mobile devices for easy sharing and extended functionality.
Complementing its user-friendly features, the MO-4 is also designed with a range of accessories, including mounting options, allowing for versatility in applications such as hunting, wildlife observation, or tactical operations.
In summary, the ATN MO-4 night vision monocular is a state-of-the-art optical tool that combines advanced technologies, robust design, and user-friendly features. With its high image quality, intelligent operational capabilities, and compact form factor, it stands as an indispensable instrument for anyone needing reliable performance in low-light conditions.

