7.Remove and retain (2) two screws which secure front mounting bracket (item 6 pg. 2) to console (item 11 pg 2). Install front mounting bracket over O.E. brace, align slot with center line scribe and front edge of the O.E. brace. Make sure that the bracket is centered left to right. If applicable align and fasten O.E. screws in O.E. clips in the roof of the vehicle. Secure using
(4) four # 10 x1/2" screws (item 1 pg. 2). See Fig. 5.
8.Inset rear mounting bracket (item 7 pg. 2), with bent edges upward, between headliner and sheet metal roof. Slide bracket rearward until tabs engage rear O.E. brace. Make sure that bracket engages securely.
Align slots in bracket with the center line scribed in the
roof. Secure brackets together using (3) three # 10 x1/2" screws (item 1 pg. 2). See Figure 5.
FIGURE 5
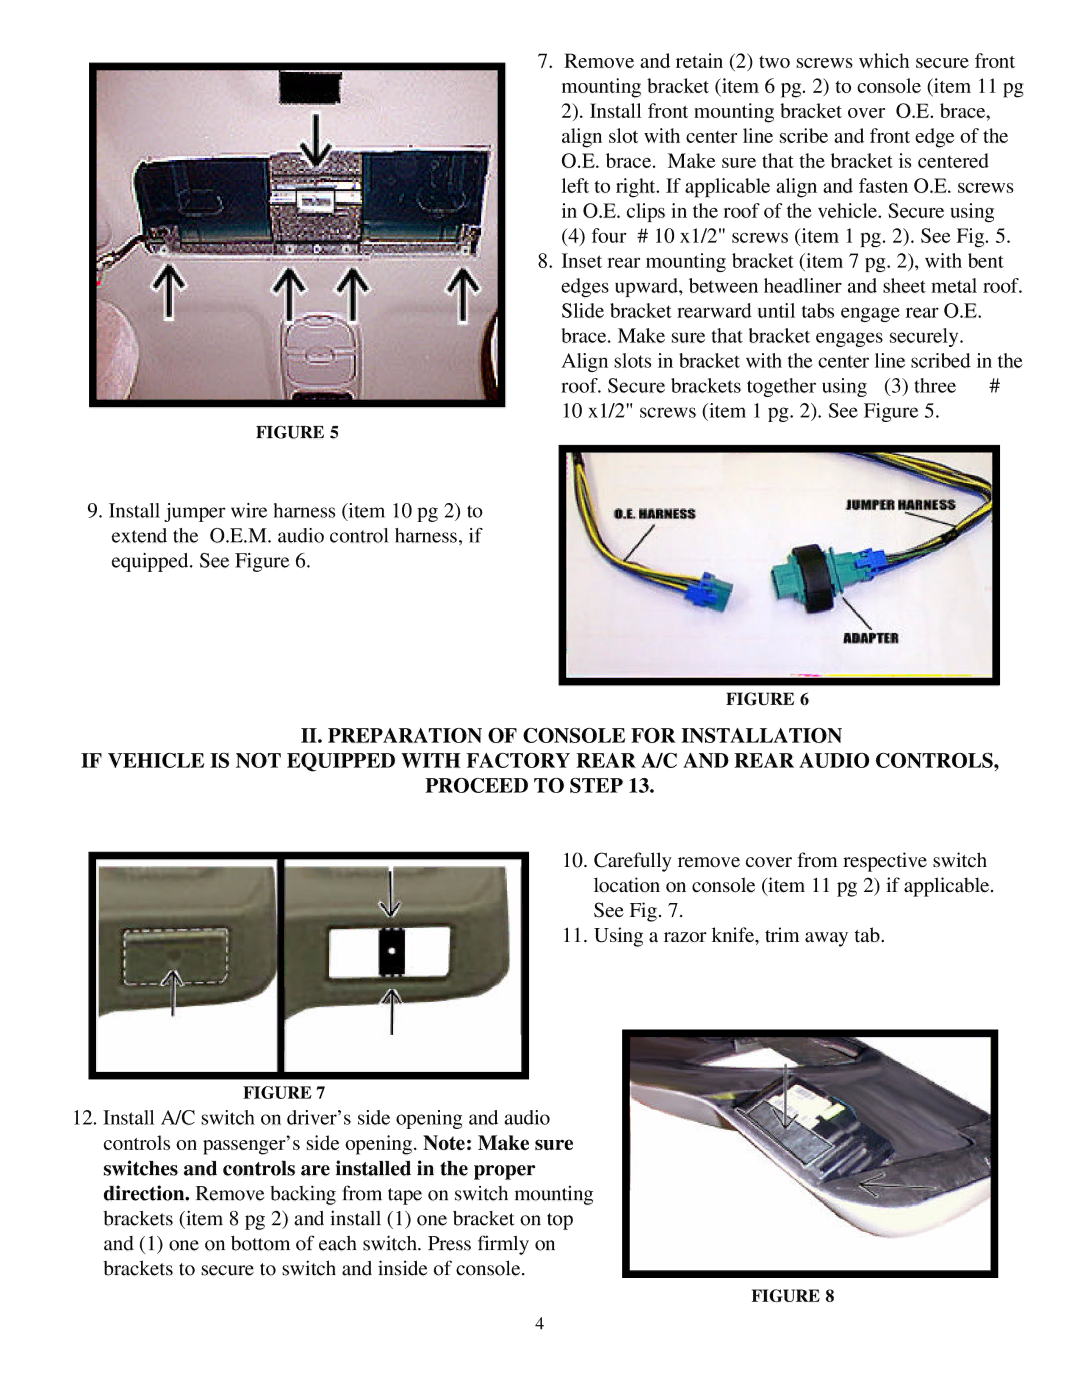
9.Install jumper wire harness (item 10 pg 2) to extend the O.E.M. audio control harness, if equipped. See Figure 6.
FIGURE 6
II. PREPARATION OF CONSOLE FOR INSTALLATION
IF VEHICLE IS NOT EQUIPPED WITH FACTORY REAR A/C AND REAR AUDIO CONTROLS,
PROCEED TO STEP 13.
10. Carefully remove cover from respective switch location on console (item 11 pg 2) if applicable. See Fig. 7.
11. Using a razor knife, trim away tab.
FIGURE 7
12.Install A/C switch on driver’s side opening and audio controls on passenger’s side opening. Note: Make sure switches and controls are installed in the proper direction. Remove backing from tape on switch mounting brackets (item 8 pg 2) and install (1) one bracket on top and (1) one on bottom of each switch. Press firmly on brackets to secure to switch and inside of console.
FIGURE 8
4