Setting DVD

 Setting DVD
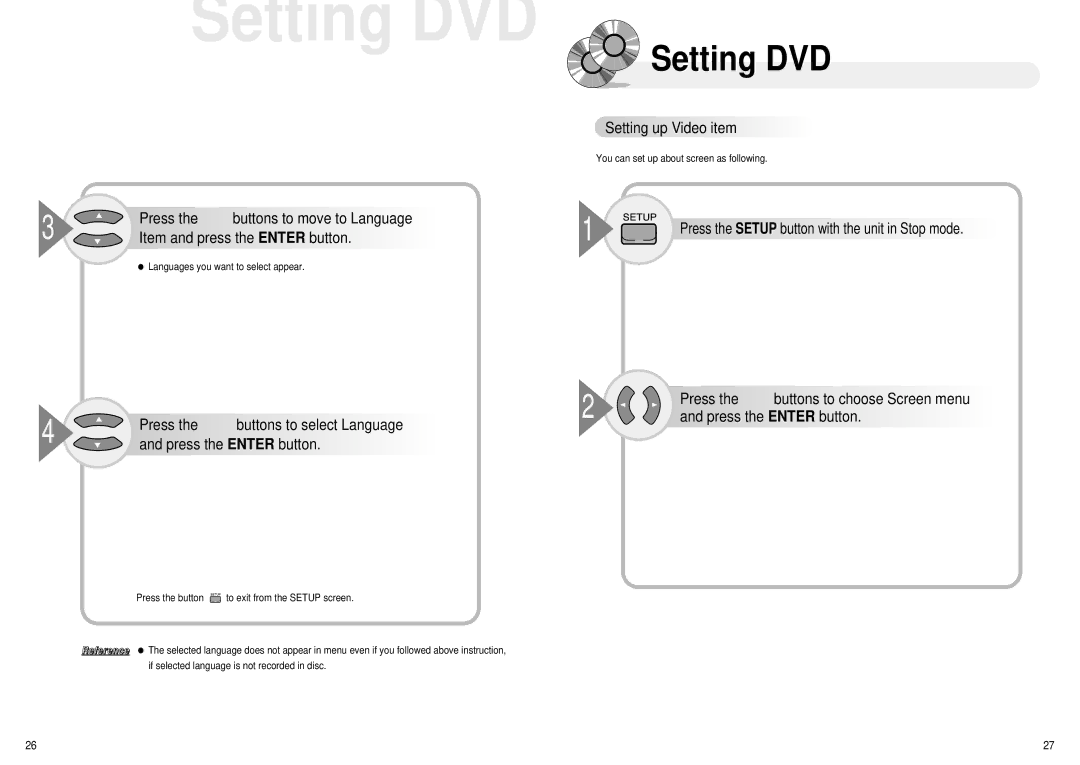
3 | Press the … † buttons to move to Language |
Item and press the ENTER button. |
● Languages you want to select appear.
4 | Press the … † buttons to select Language |
and press the ENTER button. |
Press the button ![]() to exit from the SETUP screen.
to exit from the SETUP screen.
Reference ● The selected language does not appear in menu even if you followed above instruction, if selected language is not recorded in disc.

 Setting
 up
up Video
Video item
item


You can set up about screen as following.
1

 Press the SETUP button with the unit in Stop mode.


2 | Press the œ √ buttons to choose Screen menu |
and press the ENTER button. |
26 | 27 |