4.Install mounting bracket (item 6 pg 2) and secure using
(2)two # 10 x 3/4" screws (item 1 pg 2) in bottom flange that aligns with dimples in roof brace. Secure top flanges using (2) two # 8 x 3/4" screws (item 3 pg 2). See Figure 4.
FIGURE 4
III. INSTALLATION OF CONSOLE
NOTE: Additional assistance in mounting the overhead console in vehicle is advised to prevent damage to console or components.
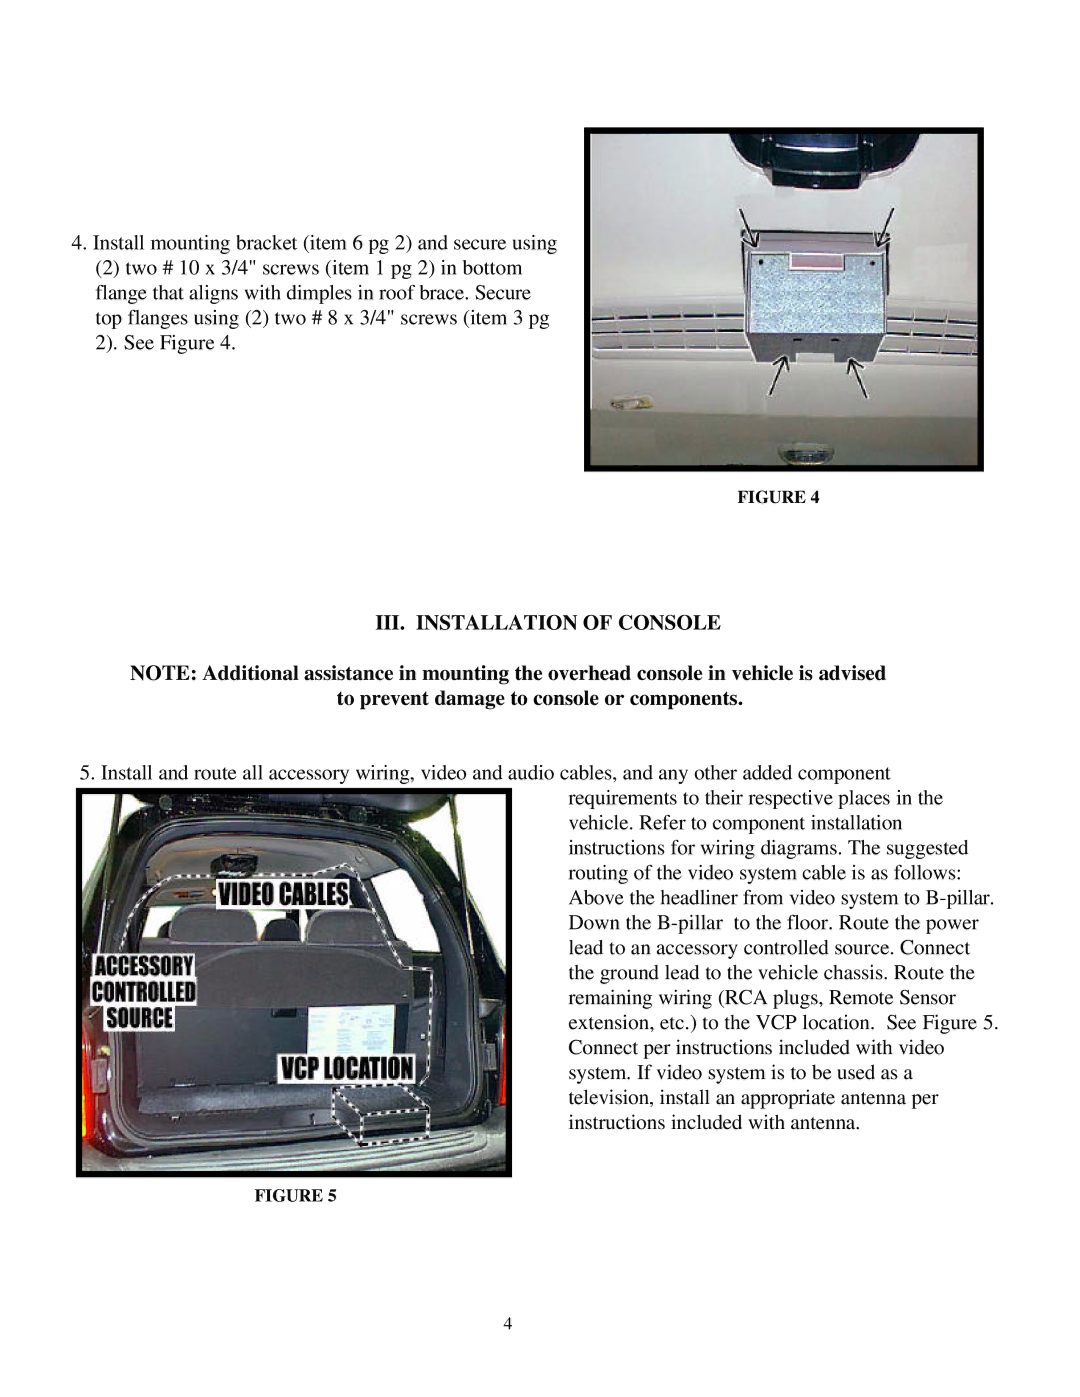
5.Install and route all accessory wiring, video and audio cables, and any other added component requirements to their respective places in the vehicle. Refer to component installation instructions for wiring diagrams. The suggested routing of the video system cable is as follows: Above the headliner from video system to
FIGURE 5
4