CAMERA (MY PICTURES)
1.Press ![]() [MENU]
[MENU] ![]()
![]() or
or ![]() then
then ![]() .
.
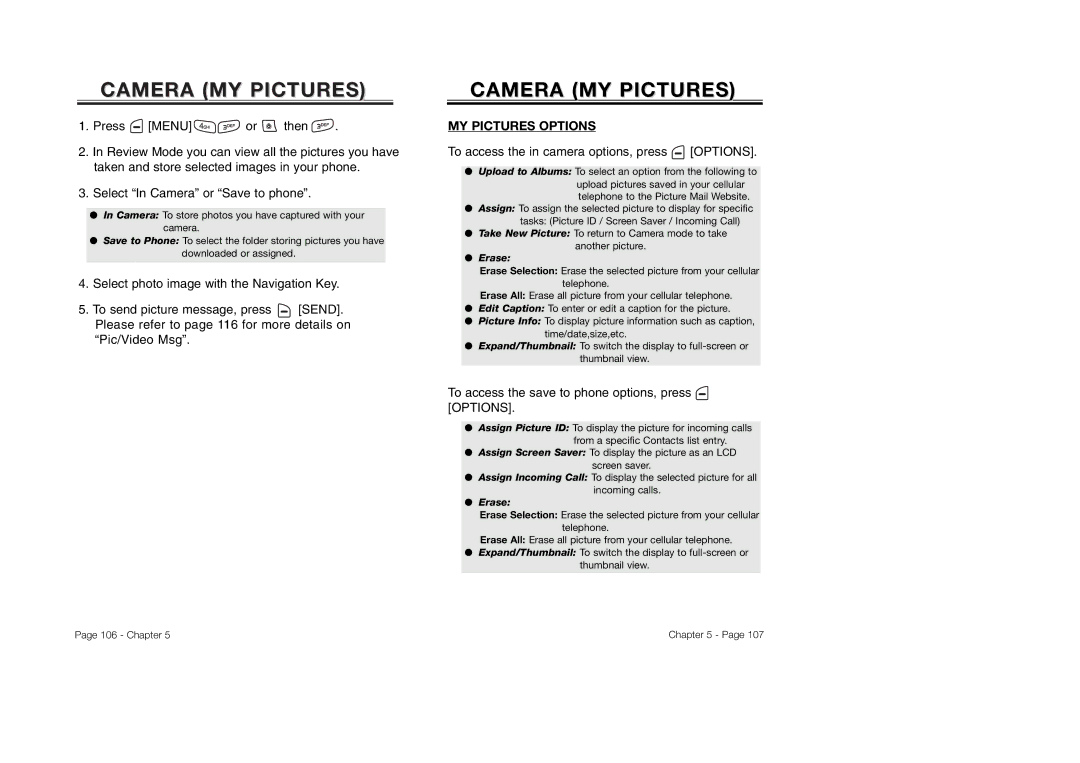
2.In Review Mode you can view all the pictures you have taken and store selected images in your phone.
3.Select “In Camera” or “Save to phone”.
●In Camera: To store photos you have captured with your camera.
●Save to Phone: To select the folder storing pictures you have downloaded or assigned.
4.Select photo image with the Navigation Key.
5.To send picture message, press ![]() [SEND].
[SEND].
Please refer to page 116 for more details on “Pic/Video Msg”.
CAMERACAMERA ((MYMY PICTURES)PICTURES)
MY PICTURES OPTIONS
To access the in camera options, press  [OPTIONS].
●Upload to Albums: To select an option from the following to upload pictures saved in your cellular telephone to the Picture Mail Website.
●Assign: To assign the selected picture to display for specific tasks: (Picture ID / Screen Saver / Incoming Call)
●Take New Picture: To return to Camera mode to take another picture.
●Erase:
Erase Selection: Erase the selected picture from your cellular
telephone.
Erase All: Erase all picture from your cellular telephone.
●Edit Caption: To enter or edit a caption for the picture.
●Picture Info: To display picture information such as caption, time/date,size,etc.
●Expand/Thumbnail: To switch the display to
thumbnail view.
To access the save to phone options, press  [OPTIONS].
●Assign Picture ID: To display the picture for incoming calls from a specific Contacts list entry.
●Assign Screen Saver: To display the picture as an LCD screen saver.
●Assign Incoming Call: To display the selected picture for all incoming calls.
●Erase:
Erase Selection: Erase the selected picture from your cellular
telephone.
Erase All: Erase all picture from your cellular telephone.
●Expand/Thumbnail: To switch the display to
thumbnail view.
Page 106 - Chapter 5 | Chapter 5 - Page 107 |
