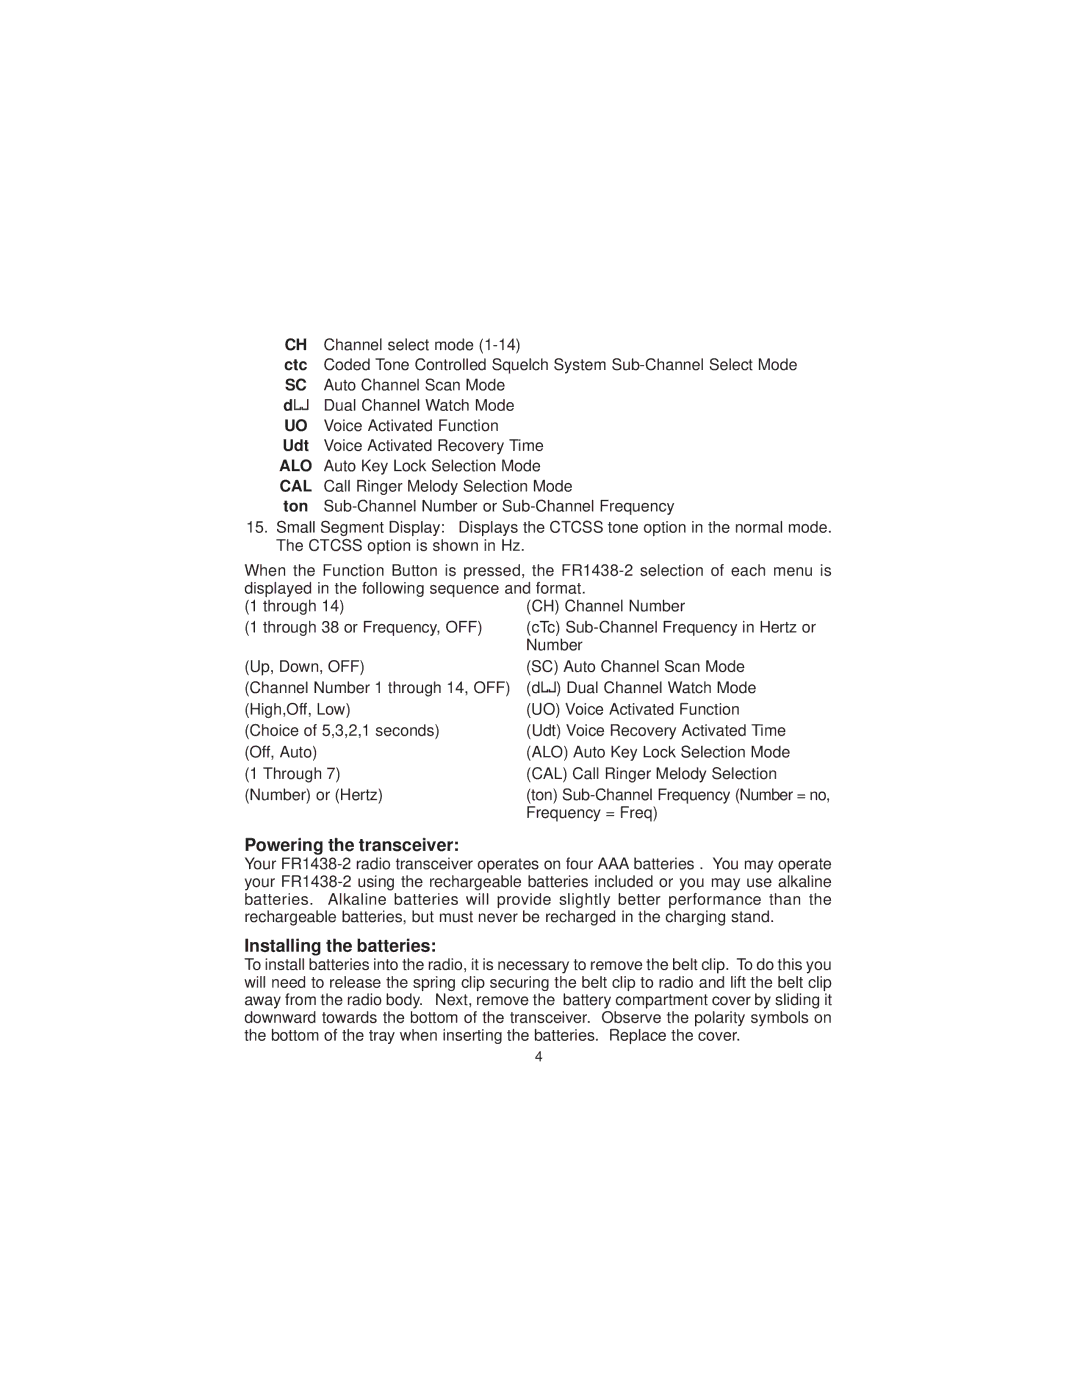
CH Channel select mode
ctc Coded Tone Controlled Squelch System
d![]()
![]()
![]() Dual Channel Watch Mode
Dual Channel Watch Mode
UO Voice Activated Function
Udt Voice Activated Recovery Time
ALO Auto Key Lock Selection Mode CAL Call Ringer Melody Selection Mode
ton
15.Small Segment Display: Displays the CTCSS tone option in the normal mode. The CTCSS option is shown in Hz.
When the Function Button is pressed, the
(1 through 14) | (CH) Channel Number | ||||||
(1 through 38 or Frequency, OFF) | (cTc) | ||||||
| Number | ||||||
(Up, Down, OFF) | (SC) Auto Channel Scan Mode | ||||||
(Channel Number 1 through 14, OFF) | (d |
|
|
|
|
| ) Dual Channel Watch Mode |
|
| ||||||
|
|
|
| ||||
(High,Off, Low) | (UO) Voice Activated Function | ||||||
(Choice of 5,3,2,1 seconds) | (Udt) Voice Recovery Activated Time | ||||||
(Off, Auto) | (ALO) Auto Key Lock Selection Mode | ||||||
(1 Through 7) | (CAL) Call Ringer Melody Selection | ||||||
(Number) or (Hertz) | (ton) | ||||||
| Frequency = Freq) | ||||||
Powering the transceiver:
Your
Installing the batteries:
To install batteries into the radio, it is necessary to remove the belt clip. To do this you will need to release the spring clip securing the belt clip to radio and lift the belt clip away from the radio body. Next, remove the battery compartment cover by sliding it downward towards the bottom of the transceiver. Observe the polarity symbols on the bottom of the tray when inserting the batteries. Replace the cover.
4
