AS-PRG-1000 specifications
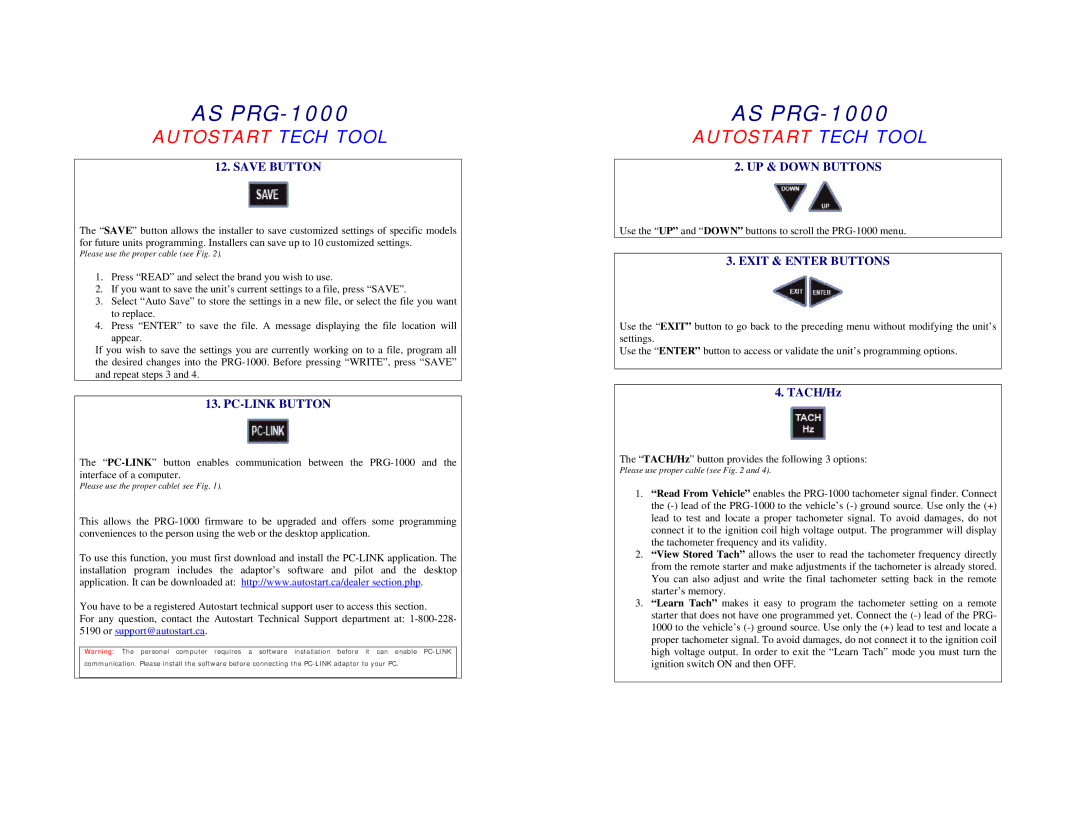
The Autostart AS-PRG-1000 is a sophisticated remote car starter that boasts an array of advanced features and cutting-edge technologies designed to enhance vehicle convenience and security. This device allows users to start their vehicles from a distance, making it particularly beneficial for those living in colder climates where warming up a vehicle before entering is essential.One of the standout features of the AS-PRG-1000 is its extended range, which enables users to start their vehicles from over a mile away. This long-range capability is facilitated by advanced RF technology, ensuring reliable communication between the remote and the vehicle, even in challenging environments.
Another significant aspect of the AS-PRG-1000 is its two-way communication system. Unlike many basic remote starters, this model allows the user to receive feedback from the vehicle, such as confirmation that the engine has started or if a door has been locked. This feature enhances security and provides peace of mind, as users can ensure their vehicle is secure and operational without needing to be physically present.
The Autostart AS-PRG-1000 also includes several customizable functionalities. Users can program the remote to suit their specific needs, including adjusting the runtime of the engine start, activating heated seats, or controlling the climate system. This ability to tailor the system according to individual preferences enhances overall user satisfaction.
Moreover, the AS-PRG-1000 is designed with robust security features, including a built-in anti-carjacking function and a rolling code to prevent unauthorized access. This ensures that the vehicle remains protected against potential threats, making it an excellent choice for those concerned about vehicle security.
In terms of installation, the Autostart AS-PRG-1000 is compatible with various vehicle makes and models, making it a versatile option for many users. Professional installation is recommended, ensuring that all components are integrated seamlessly into the vehicle's existing systems.
Overall, the Autostart AS-PRG-1000 stands out as a top-tier remote car starter due to its impressive features, reliable technology, and emphasis on user convenience and security. Whether it's for a colder climate or simply enjoying the luxury of remote access to one's vehicle, the AS-PRG-1000 is an invaluable tool for modern car owners.

