AXIS | Page 9 |
 Set the password
To gain access to the product, the password for the default administrator user root must be set. This is done in the ‘Configure Root Password’ dialog, which is displayed when the AXIS
To prevent network eavesdropping when setting the root password, this can be done via an encrypted HTTPS connection, which requires an HTTPS certificate (see note below).
To set the password via a standard HTTP connection, enter it directly in the first dialog shown below.
To set the password via an encrypted HTTPS connection, follow these steps:
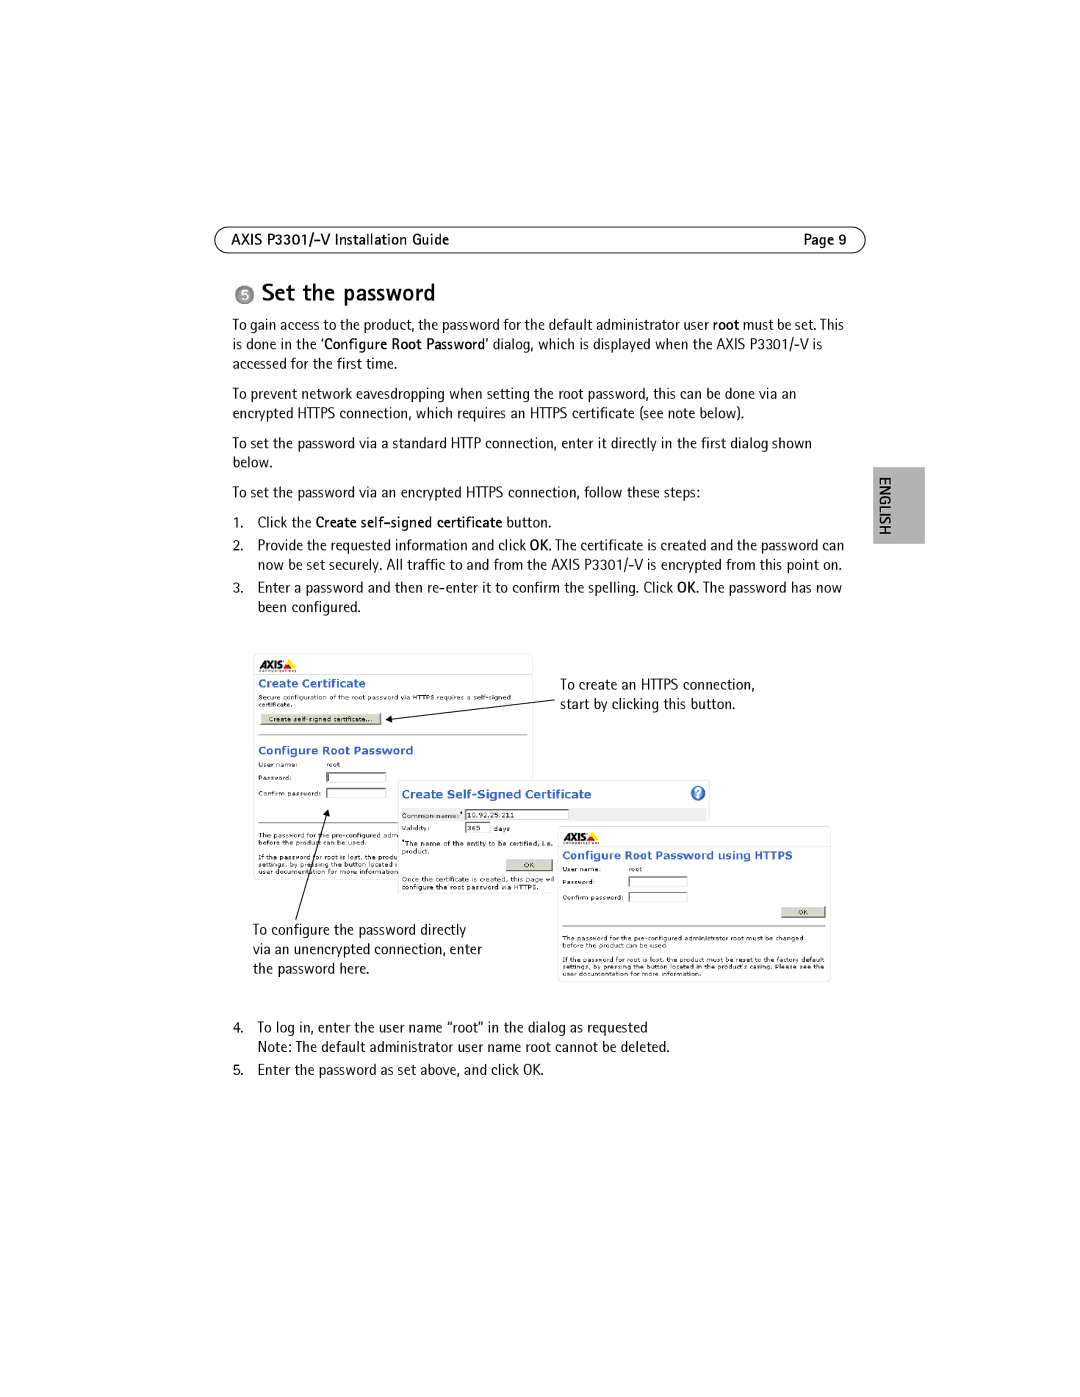
1.Click the Create self-signed certificate button.
2.Provide the requested information and click OK. The certificate is created and the password can now be set securely. All traffic to and from the AXIS
3.Enter a password and then
To create an HTTPS connection, ![]() start by clicking this button.
start by clicking this button.
To configure the password directly via an unencrypted connection, enter the password here.
4.To log in, enter the user name “root” in the dialog as requested Note: The default administrator user name root cannot be deleted.
5.Enter the password as set above, and click OK.
ENGLISH