Page 12 | YP3040 Installation Guide |
Change the DIP switch settings
1.Loosen the 4 side panel mounting screws and remove the side panel.
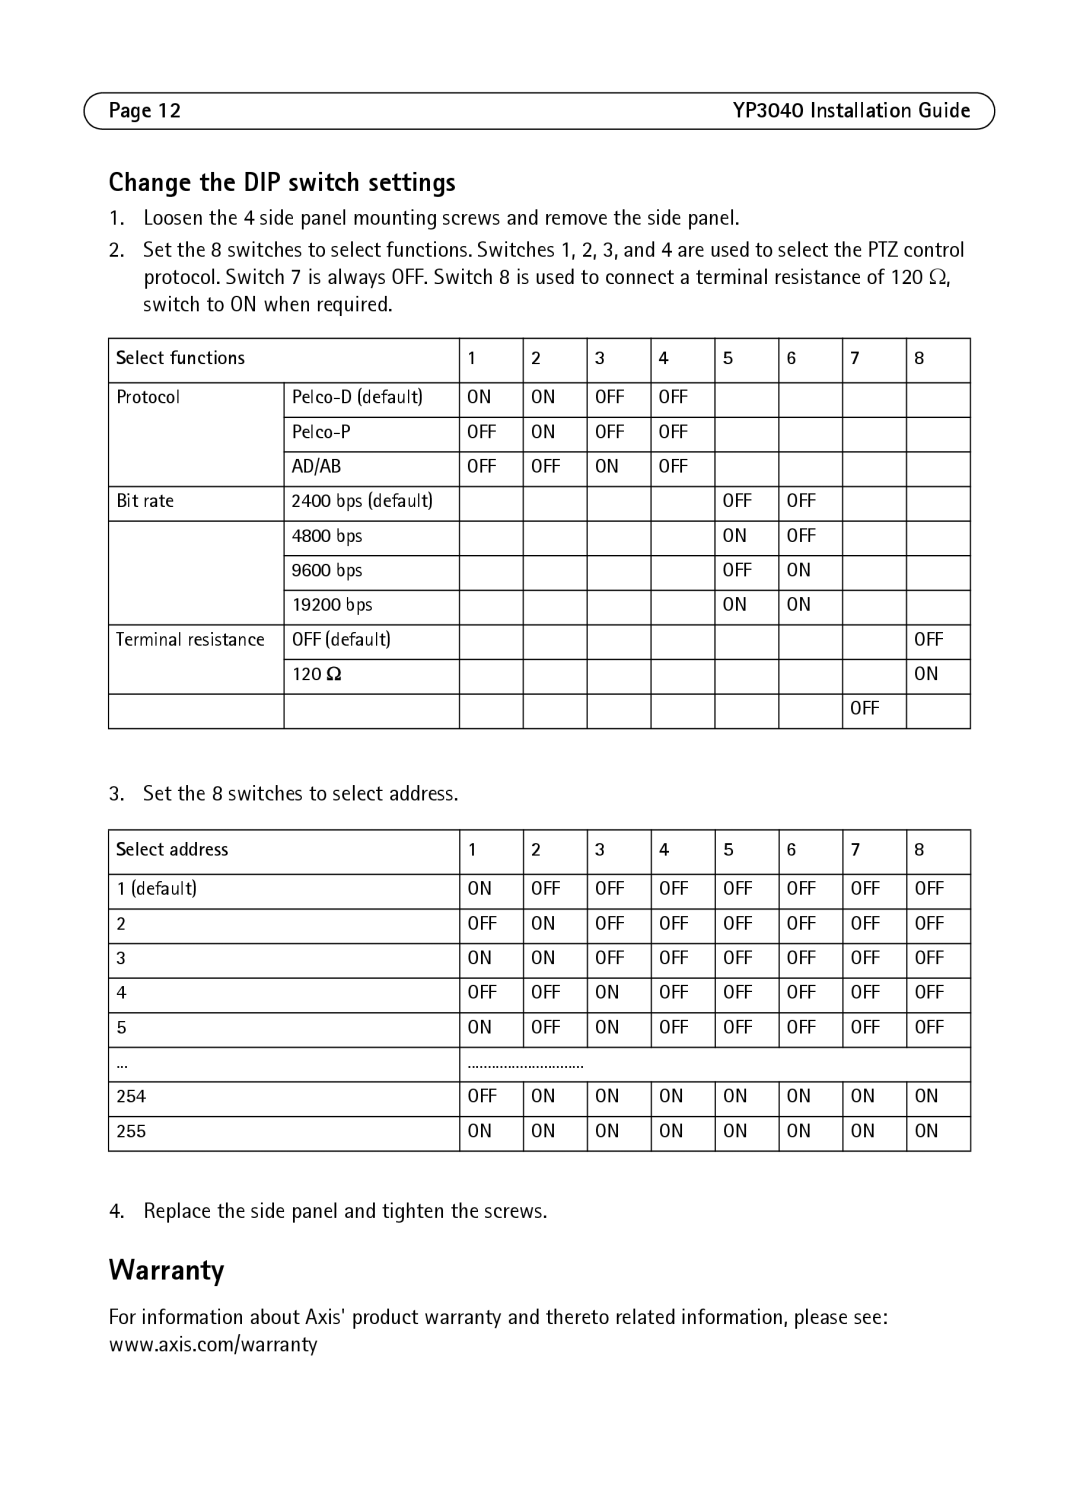
2.Set the 8 switches to select functions. Switches 1, 2, 3, and 4 are used to select the PTZ control protocol. Switch 7 is always OFF. Switch 8 is used to connect a terminal resistance of 120 Ω, switch to ON when required.
Select functions |
| 1 | 2 | 3 | 4 | 5 | 6 | 7 | 8 |
|
|
|
|
|
|
|
|
|
|
Protocol | ON | ON | OFF | OFF |
|
|
|
| |
|
|
|
|
|
|
|
|
|
|
| OFF | ON | OFF | OFF |
|
|
|
| |
|
|
|
|
|
|
|
|
|
|
| AD/AB | OFF | OFF | ON | OFF |
|
|
|
|
|
|
|
|
|
|
|
|
|
|
Bit rate | 2400 bps (default) |
|
|
|
| OFF | OFF |
|
|
|
|
|
|
|
|
|
|
|
|
| 4800 bps |
|
|
|
| ON | OFF |
|
|
|
|
|
|
|
|
|
|
|
|
| 9600 bps |
|
|
|
| OFF | ON |
|
|
|
|
|
|
|
|
|
|
|
|
| 19200 bps |
|
|
|
| ON | ON |
|
|
|
|
|
|
|
|
|
|
|
|
Terminal resistance | OFF (default) |
|
|
|
|
|
|
| OFF |
|
|
|
|
|
|
|
|
|
|
| 120 Ω |
|
|
|
|
|
|
| ON |
|
|
|
|
|
|
|
|
|
|
|
|
|
|
|
|
|
| OFF |
|
|
|
|
|
|
|
|
|
|
|
3. Set the 8 switches to select address.
Select address | 1 | 2 | 3 | 4 | 5 | 6 | 7 | 8 |
|
|
|
|
|
|
|
|
|
1 (default) | ON | OFF | OFF | OFF | OFF | OFF | OFF | OFF |
|
|
|
|
|
|
|
|
|
2 | OFF | ON | OFF | OFF | OFF | OFF | OFF | OFF |
|
|
|
|
|
|
|
|
|
3 | ON | ON | OFF | OFF | OFF | OFF | OFF | OFF |
|
|
|
|
|
|
|
|
|
4 | OFF | OFF | ON | OFF | OFF | OFF | OFF | OFF |
|
|
|
|
|
|
|
|
|
5 | ON | OFF | ON | OFF | OFF | OFF | OFF | OFF |
|
|
|
|
|
|
|
|
|
... | ............................. |
|
|
|
|
|
| |
|
|
|
|
|
|
|
|
|
254 | OFF | ON | ON | ON | ON | ON | ON | ON |
|
|
|
|
|
|
|
|
|
255 | ON | ON | ON | ON | ON | ON | ON | ON |
|
|
|
|
|
|
|
|
|
4. Replace the side panel and tighten the screws.
Warranty
For information about Axis' product warranty and thereto related information, please see: www.axis.com/warranty
