The Barracuda Backup Service is an affordable, integrated local and offsite data backup solution, combining an onsite appliance with a monthly subscription plan. Data is replicated to two offsite locations, providing both onsite backups for the fastest restore times as well as secure offsite storage for disaster recovery.
Getting Started
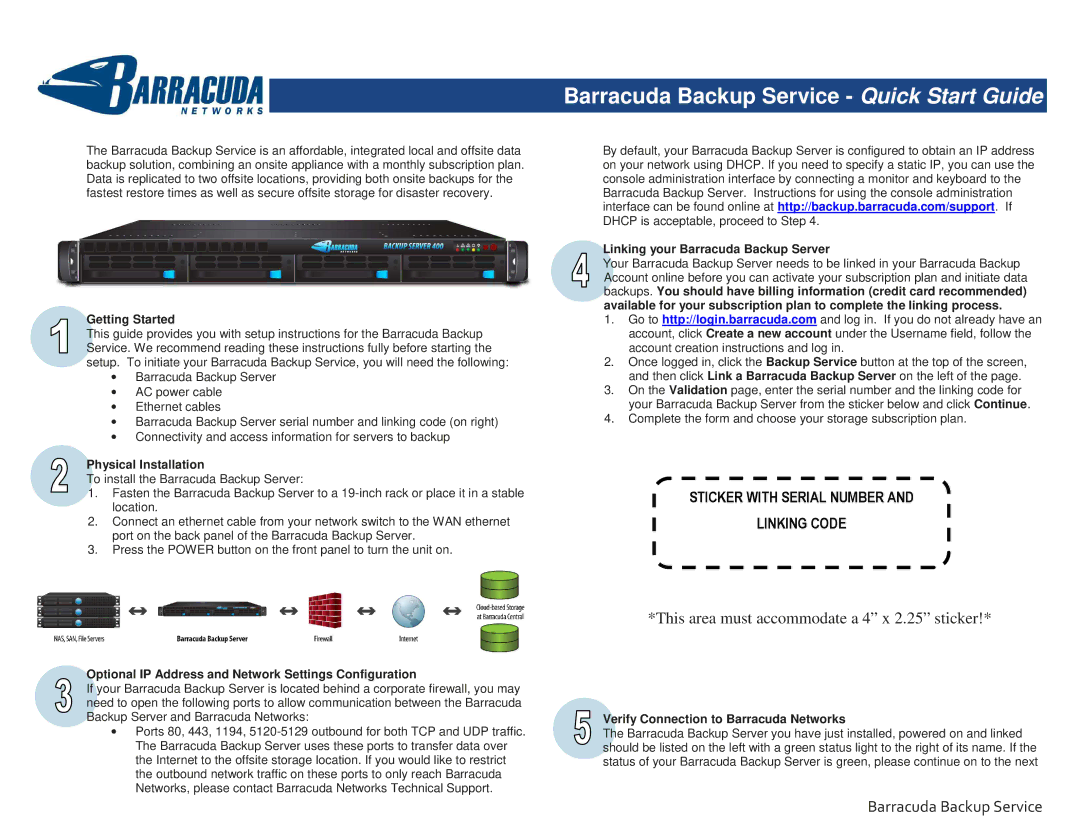
This guide provides you with setup instructions for the Barracuda Backup Service. We recommend reading these instructions fully before starting the setup. To initiate your Barracuda Backup Service, you will need the following:
∙Barracuda Backup Server
∙AC power cable
∙Ethernet cables
∙Barracuda Backup Server serial number and linking code (on right)
∙Connectivity and access information for servers to backup
Physical Installation
To install the Barracuda Backup Server:
1.Fasten the Barracuda Backup Server to a
2.Connect an ethernet cable from your network switch to the WAN ethernet port on the back panel of the Barracuda Backup Server.
3.Press the POWER button on the front panel to turn the unit on.
Barracuda Backup Service - Quick Start Guide
By default, your Barracuda Backup Server is configured to obtain an IP address on your network using DHCP. If you need to specify a static IP, you can use the console administration interface by connecting a monitor and keyboard to the Barracuda Backup Server. Instructions for using the console administration interface can be found online at http://backup.barracuda.com/support. If DHCP is acceptable, proceed to Step 4.
Linking your Barracuda Backup Server
Your Barracuda Backup Server needs to be linked in your Barracuda Backup Account online before you can activate your subscription plan and initiate data backups. You should have billing information (credit card recommended) available for your subscription plan to complete the linking process.
1.Go to http://login.barracuda.com and log in. If you do not already have an account, click Create a new account under the Username field, follow the account creation instructions and log in.
2.Once logged in, click the Backup Service button at the top of the screen, and then click Link a Barracuda Backup Server on the left of the page.
3.On the Validation page, enter the serial number and the linking code for your Barracuda Backup Server from the sticker below and click Continue.
4.Complete the form and choose your storage subscription plan.
STICKER WITH SERIAL NUMBER AND
LINKING CODE
Optional IP Address and Network Settings Configuration
If your Barracuda Backup Server is located behind a corporate firewall, you may need to open the following ports to allow communication between the Barracuda Backup Server and Barracuda Networks:
∙Ports 80, 443, 1194,
*This area must accommodate a 4” x 2.25” sticker!*
Verify Connection to Barracuda Networks
The Barracuda Backup Server you have just installed, powered on and linked should be listed on the left with a green status light to the right of its name. If the status of your Barracuda Backup Server is green, please continue on to the next