ASSEMBLY
1.Coat the drain valve threads with a liquid pipe thread sealant. Install the drain valve using two wrenches - one at the base of the PuraGuard® system filter and one on the drain valve, using a maximum final torque of
2.The threaded top of the sump housing is
3.The head cover of the PuraGuard® system filter has an arrow symbol showing the direction that the air must be supplied into the head (see Figure 1). Align the PuraGuard® system filter correctly (the label may not be facing outwards) and then insert the four bolts through the mounting bracket holes into the PuraGuard® system filter head. Tighten to approx. 15 ft. lbs.
RETROFIT: LOCATING THE PURAGUARD® SYSTEM FILTER ON THE VEHICLE
1.The PuraGuard® system filter must be mounted vertically (±5° ) and must not be exposed to direct wheel splash (located behind axle mud flap is acceptable).
2.Locate the PuraGuard® system filter as close to the first (Supply) reservoir as possible.
(a)For vehicles with air dryers, mount the PuraGuard® system filter upstream of the supply reservoir (see Figure 3).
(b)For vehicles without air dryers, install the PuraGuard® system filter downstream of the supply reservoir (wet tank) (see Figure 4). Both the primary and secondary reservoirs will receive their air supply from the discharge of the PuraGuard® system filter and depending original vehicle hose arrangement, extra fittings may be required.
3.To minimize vibration, mount the PuraGuard® system filter on a frame rail. If the vehicle requires the PuraGuard® system filter to be directly mounted to the reservoir, be sure to only use a high strength nipple fitting. (See further notes under Connecting the Air Hoses.)
4.Do not locate the PuraGuard® system filter near heat producing components such as the vehicle exhaust and provide adequate clearance from moving components e.g. drive shaft, suspension, pitman arm, etc.
5.Locate the PuraGuard® system filter on the vehicle so that a minimum of 12 inches clearance horizontally (90° minimum arc) to allow servicing. This will permit, for example, a strap wrench to be used when replacing the filter.
6.Be sure that there is sufficient room to attach hoses to the PuraGuard® system filter.
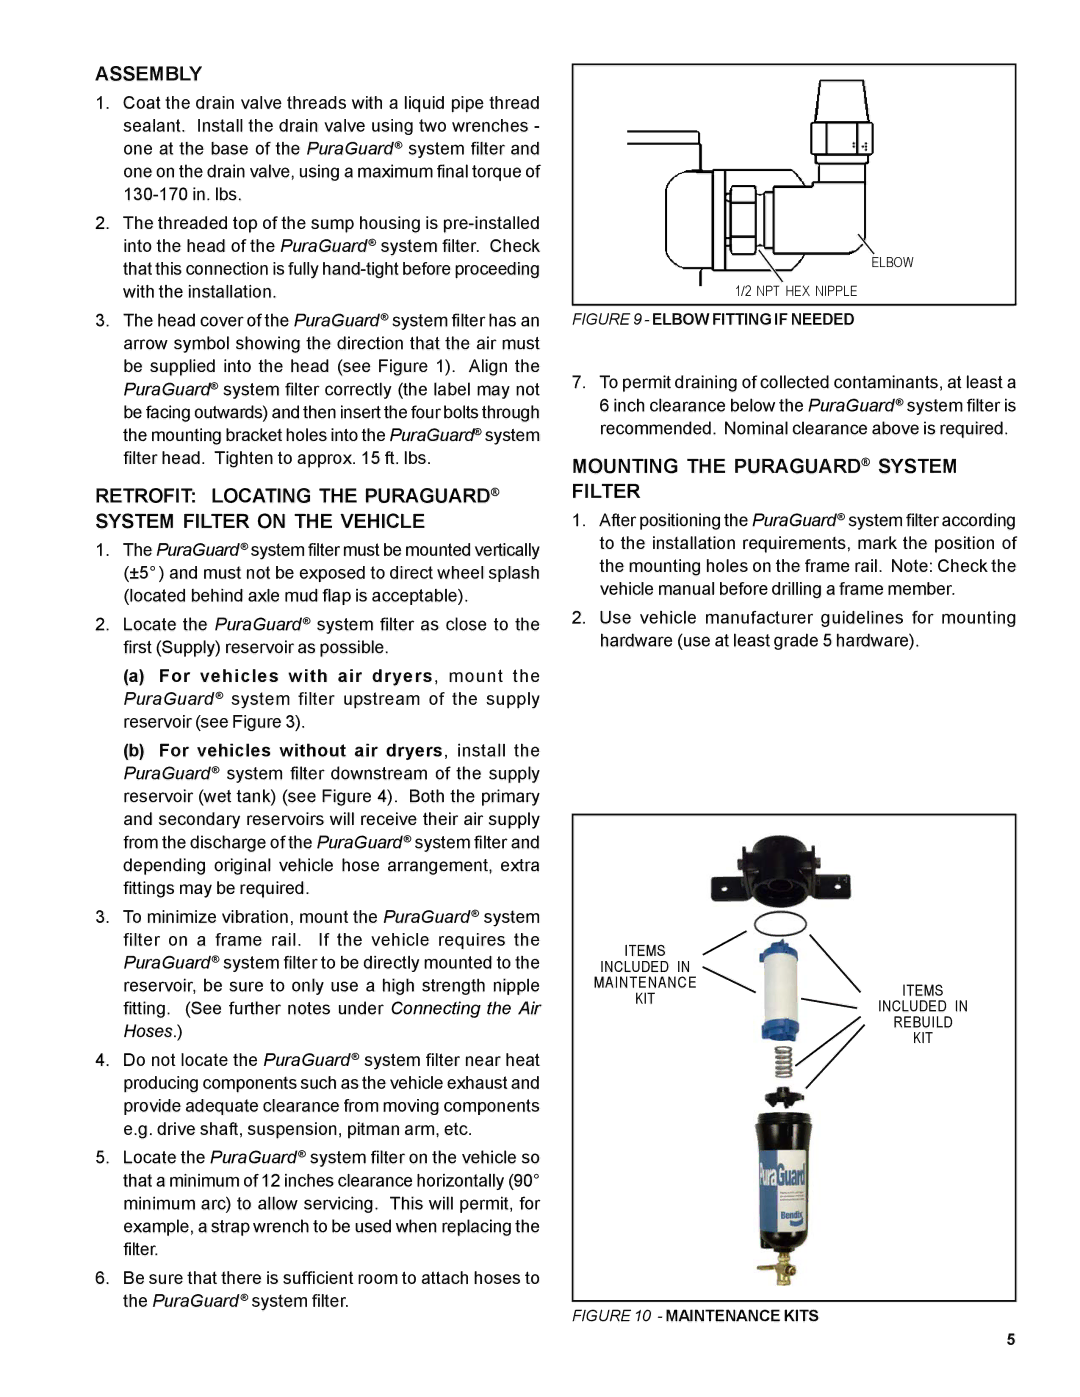
ELBOW
1/2 NPT HEX NIPPLE
FIGURE 9 - ELBOW FITTING IF NEEDED
7.To permit draining of collected contaminants, at least a 6 inch clearance below the PuraGuard® system filter is recommended. Nominal clearance above is required.
MOUNTING THE PURAGUARD® SYSTEM FILTER
1.After positioning the PuraGuard® system filter according to the installation requirements, mark the position of the mounting holes on the frame rail. Note: Check the vehicle manual before drilling a frame member.
2.Use vehicle manufacturer guidelines for mounting hardware (use at least grade 5 hardware).
ITEMS |
| |
INCLUDED IN |
| |
MAINTENANCE | ITEMS | |
KIT | ||
INCLUDED IN | ||
| REBUILD | |
| KIT |
FIGURE 10 - MAINTENANCE KITS
5