Connection

When connecting a signal source to the projector, be sure to:

1.Turn all equipment off before making any connections.

2.Use the correct signal cables for each source.

3.Ensure the cables are firmly inserted.

In the connections shown below, some cables may not be included with the projector (see "Shipping contents" on page 7). They are commercially available from electronics stores.

Connecting a computer or monitor

Connecting a computer

The projector provides a VGA input socket that allows you to connect it to both IBM® compatibles and Macintosh® computers. A Mac adapter (an optional accessory) is needed if you are connecting legacy version Macintosh computers.

Additionally, you can also connect the projector to a computer via the USB cable so you can perform paging operations of the application on the PC or notebook.

To connect the projector to a notebook or desktop computer:

With a VGA cable:

With a DVI-D cable:


Your computer must be equipped with a


DVI-D input socket.

1.

Take the supplied VGA cable and connect one end

1.

Take a DVI-D cable and connect one end to the


to the D-Sub output socket of the computer.


DVI-D output socket of the computer. Connect


Connect the other end of the VGA cable to the D-


the other end of the cable to the DVI-Dsignal


SUB/COMP. IN signal input socket on the


input socket on the projector.


projector.


2.If you wish to use the remote paging function, take a USB cable and connect the larger end to the USB port

of the computer, and the smaller end to the (USB) socket on the projector. See "Remote paging operations" on page 34 for details.

3.If you wish to make use of the projector (mixed mono) speakers in your presentations, take a suitable audio cable and connect one end of the cable to the audio output socket of the computer, and the other end to the AUDIO socket of the projector.

Once connected, the audio can be controlled by the projector On-Screen Display (OSD) menus. See "Audio Settings" on page 42 for details.

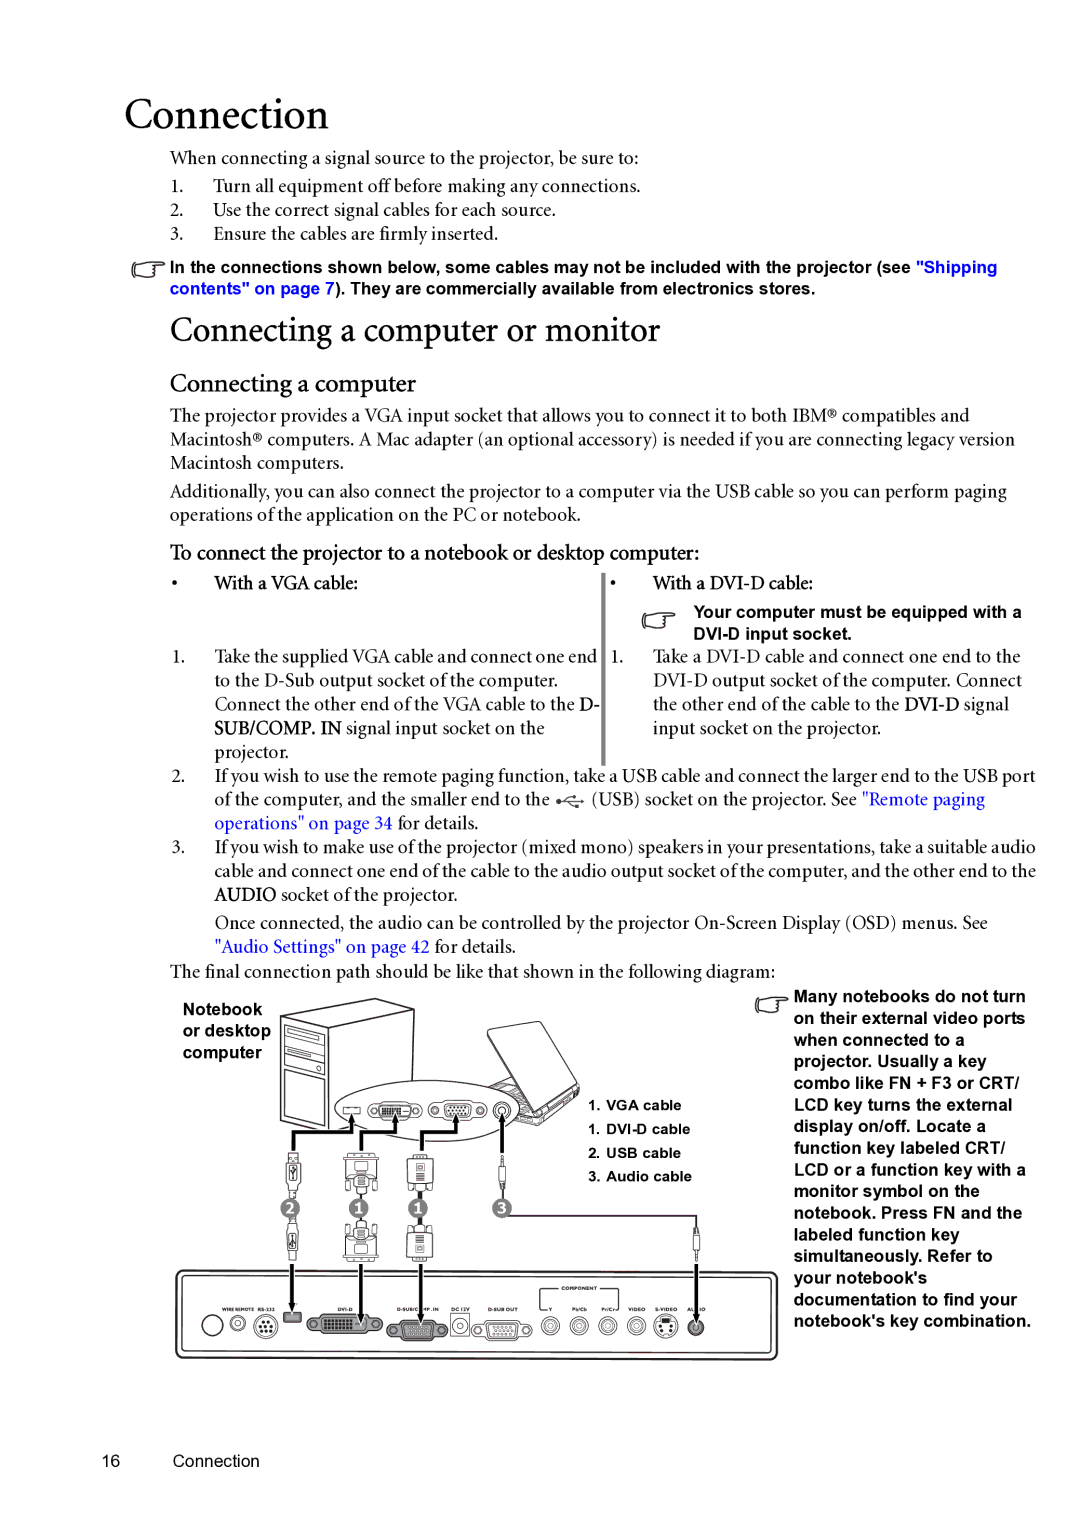
The final connection path should be like that shown in the following diagram:

Notebook or desktop computer

1.

VGA cable

1.

DVI-D cable

2. USB cable

3. Audio cable

2

1

1

3

Many notebooks do not turn on their external video ports when connected to a projector. Usually a key combo like FN + F3 or CRT/ LCD key turns the external display on/off. Locate a function key labeled CRT/ LCD or a function key with a monitor symbol on the notebook. Press FN and the labeled function key simultaneously. Refer to your notebook's documentation to find your notebook's key combination.

16 Connection

Page 16
Image 16
BenQ SP870 Connection, Connecting a computer or monitor, To connect the projector to a notebook or desktop computer

SP870 specifications

The BenQ SP870 is a cutting-edge projector designed to deliver high-quality visuals for both educational and professional settings. This projector stands out due to its advanced technology and robust features that cater to the demands of various presentations and multimedia applications.

One of the primary characteristics of the SP870 is its impressive resolution. With a native WUXGA resolution of 1920 x 1200, this projector ensures that images and videos are displayed with exceptional clarity and detail. The high resolution is particularly beneficial for presentations that involve intricate graphics, charts, or fine text, allowing viewers to see every detail without straining their eyes.

The SP870 is equipped with a brightness level of up to 5,000 ANSI lumens, making it suitable for use in environments with varying lighting conditions. Whether you're presenting in a well-lit conference room or a dimly lit classroom, the SP870 delivers bright and vibrant images, ensuring that your content is visible and impactful. The projector also features a high contrast ratio, which enhances the depth of colors and provides a more immersive viewing experience.

Another significant aspect of the BenQ SP870 is its color accuracy and technology. It utilizes BrilliantColor technology, which enhances color performance by improving the brightness of colors and allowing for a wider color spectrum. This results in rich, vivid colors that can engage and captivate an audience, making it an excellent choice for creative professionals and educators alike.

In terms of connectivity, the BenQ SP870 offers a variety of ports, including HDMI, VGA, and USB, allowing for easy connection to a range of devices such as laptops, tablets, and media players. This versatility makes it easy to use the projector in multiple settings, from boardrooms to classrooms.

Additionally, the projector is designed with user-friendly features such as a quick start-up time, allowing users to begin their presentations swiftly. Its lamp life, rated up to 4,000 hours in normal mode and 6,000 hours in eco mode, ensures longevity and reduces maintenance costs.

Overall, the BenQ SP870 is a robust projector equipped with high resolution, exceptional brightness, advanced color technologies, and versatile connectivity options. It is an ideal choice for professionals and educators seeking reliable and high-performance projection solutions.