1950 specifications
The Bissell 1950, commonly known as the Bissell Pet Pro, is an innovative carpet cleaner that has made waves in the home cleaning industry. Known for its powerful cleaning capabilities and user-friendly design, this model is particularly tailored for pet owners, making it an essential addition to households with furry companions.One of the standout features of the Bissell 1950 is its powerful suction. Equipped with a high-performance motor, it effectively lifts and removes tough stains, dirt, and odors from carpets and rugs. This is essential for pet owners, as accidents can often lead to lingering smells and stains. The cleaner also boasts a clean water tank with a generous capacity, allowing for longer cleaning sessions without the need for constant refills.
Another significant characteristic of the Bissell 1950 is its specialized pet cleaning formula. The device comes with a bottle of Bissell's cleaning solution that is effective in breaking down pet messes and deodorizing carpet fibers. This solution is designed to be safe for pets and children, giving users peace of mind while cleaning.
The Bissell 1950 features a lightweight design, which makes it easy to maneuver around furniture and other obstacles in the home. The ergonomic handle ensures comfort during use, reducing fatigue during longer cleaning sessions. Additionally, the cleaner's compact size allows for easy storage in closets or utility rooms when not in use.
Bissell has incorporated several technologies into the 1950 model to enhance its functionality. The suction power is complemented by a dual brush system that works to agitate carpet fibers and loosen embedded dirt. This system ensures a deep clean that reaches the root of the fibers, making it especially effective on high-pile carpets.
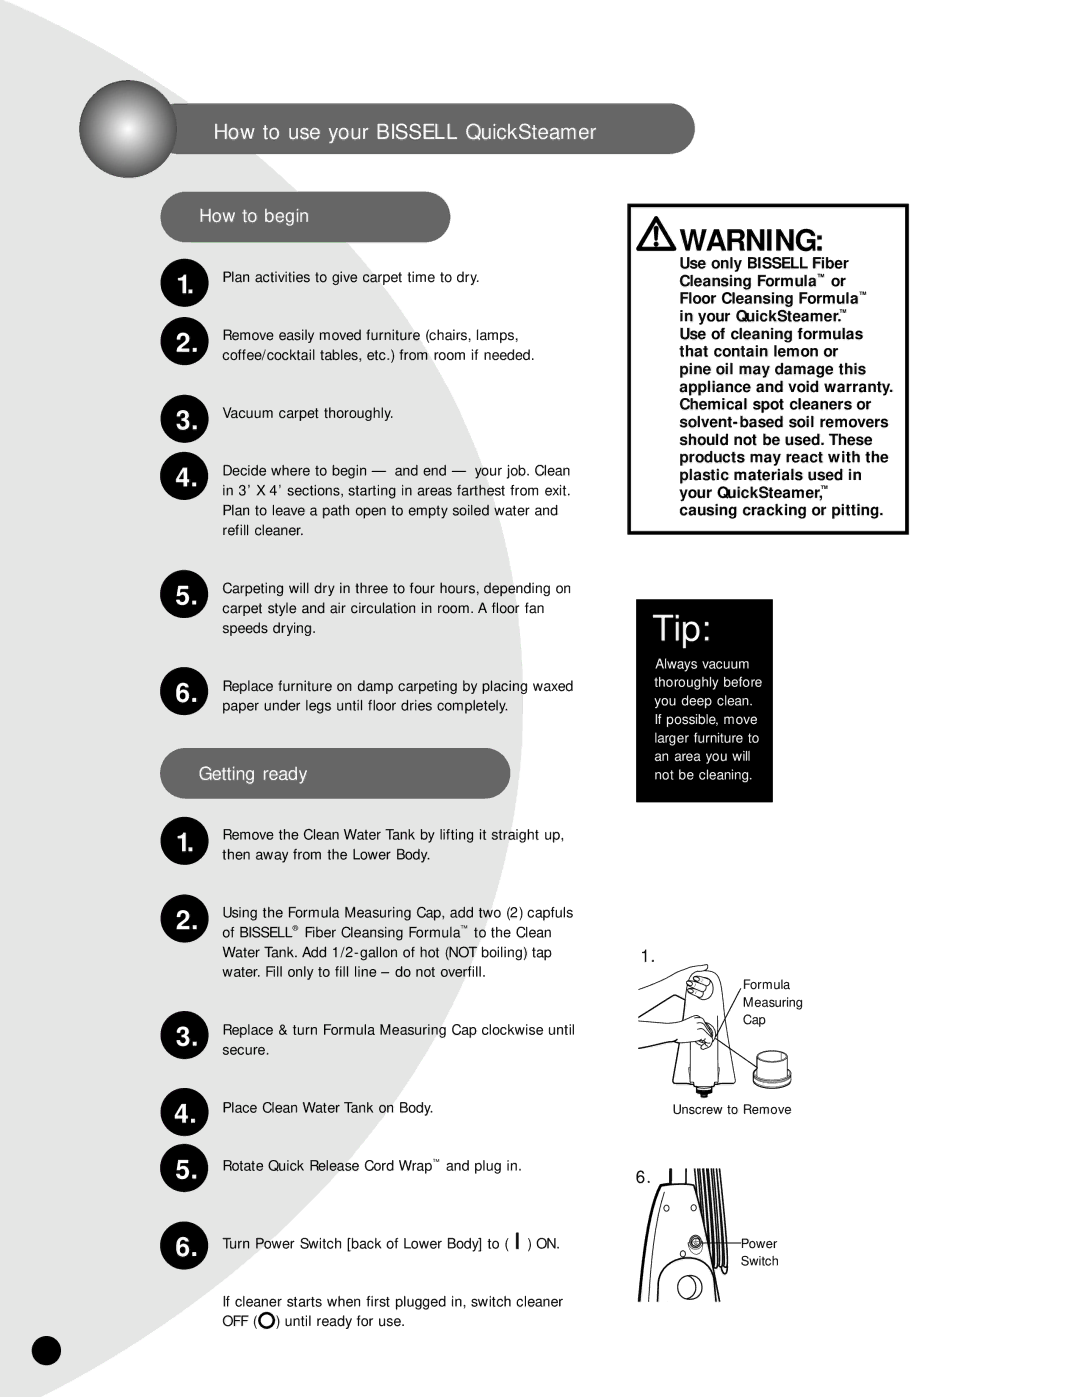
One of the key highlights is the Easy Fill System, which allows users to easily fill both the clean and dirty water tanks. The tanks are designed for hassle-free removal and attachment, making the cleaning process smooth and efficient.
In summary, the Bissell 1950 is an exceptional carpet cleaner that combines power, efficiency, and user-friendly design. It caters specifically to pet owners, providing effective cleaning solutions for both stains and odors. With its advanced technologies, compact size, and thoughtful features, the Bissell 1950 stands out as a top choice for anyone looking to maintain a clean and fresh home environment. Its combination of performance and ease of use ensures that even the toughest pet messes can be tackled with confidence.

