AS200Pub1000000145RV2 1/19/06 10:36 AM Page 6

2.When finished, unplug the iron and stand it on its heel rest.

3.If using seam, move the selctor to .

SURGE OF STEAM

Horizontal

1.With the water tank filled to the MAX mark, set fabric dial to highest temperature setting and let iron stand on its heel rest about 30 seconds.

2.For best performance, use surge of steam at 5-second intervals.

Vertical

1.Be sure the water tank is filled to the MAX mark. Hang the garment to be steamed on a clothes hanger. (Curtains or drapes can be steamed once they are hung.) Set the fabric dial to the highest temperature setting and let iron stand on its heel rest about 30 seconds.

1.Fill the water tank well below the MAX line. Plug in the iron.

2.Turn the fabric-select dial to 6 and stand the iron on its heel rest. Allow it to heat until the temperature-ready light goes out and comes on again.

3.Turn fabric-select dial to Min, unplug the iron and hold over a sink with the soleplate facing down.

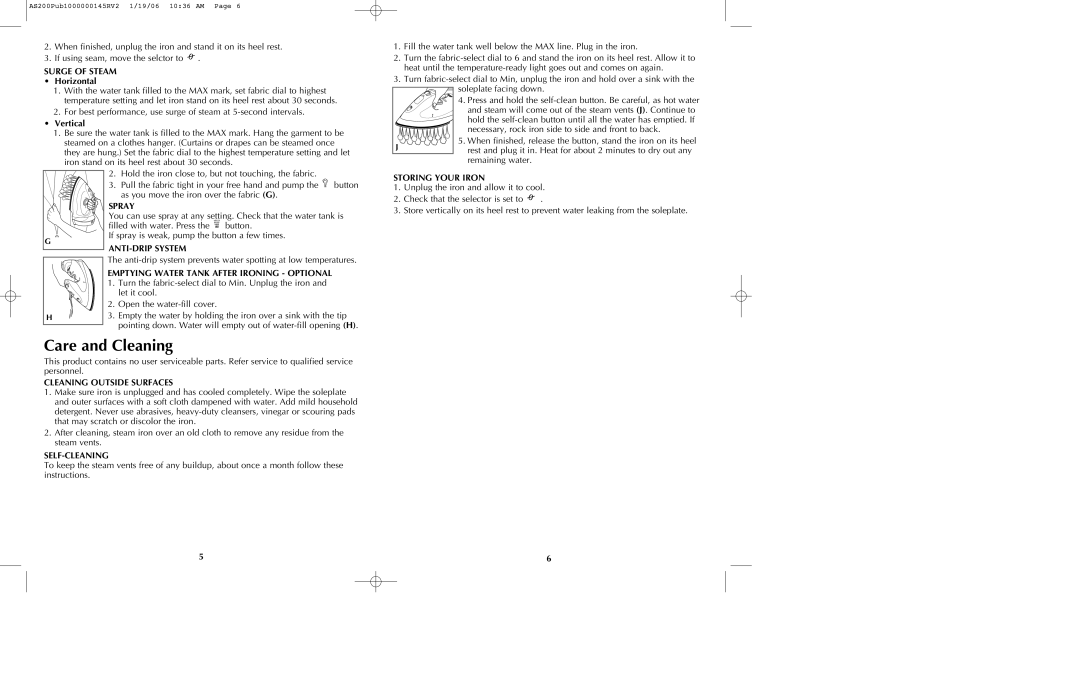
4. Press and hold the self-clean button. Be careful, as hot water and steam will come out of the steam vents (J). Continue to hold the self-clean button until all the water has emptied. If necessary, rock iron side to side and front to back.

J

5. When finished, release the button, stand the iron on its heel

rest and plug it in. Heat for about 2 minutes to dry out any


remaining water.

G

2.Hold the iron close to, but not touching, the fabric.

3.Pull the fabric tight in your free hand and pump the button as you move the iron over the fabric (G).

SPRAY

You can use spray at any setting. Check that the water tank is

filled with water. Press the button.

If spray is weak, pump the button a few times.

ANTI-DRIP SYSTEM

STORING YOUR IRON

1.Unplug the iron and allow it to cool.

2.Check that the selector is set to .

3.Store vertically on its heel rest to prevent water leaking from the soleplate.

The anti-drip system prevents water spotting at low temperatures.

EMPTYING WATER TANK AFTER IRONING - OPTIONAL 1. Turn the fabric-select dial to Min. Unplug the iron and

let it cool.

2. Open the water-fill cover.

H

3. Empty the water by holding the iron over a sink with the tip

pointing down. Water will empty out of water-fill opening (H).

Care and Cleaning

This product contains no user serviceable parts. Refer service to qualified service personnel.

CLEANING OUTSIDE SURFACES

1.Make sure iron is unplugged and has cooled completely. Wipe the soleplate and outer surfaces with a soft cloth dampened with water. Add mild household detergent. Never use abrasives, heavy-duty cleansers, vinegar or scouring pads that may scratch or discolor the iron.

2.After cleaning, steam iron over an old cloth to remove any residue from the steam vents.

SELF-CLEANING

To keep the steam vents free of any buildup, about once a month follow these instructions.

5

6

Page 4
Image 4
Black & Decker AS200, AS210, AS225, AS250 manual Care and Cleaning

AS210, AS200, AS225, AS250 specifications

The Black & Decker AS250, AS225, AS200, and AS210 are part of an innovative lineup of cordless electric garden tools designed to streamline yard work and enhance user experience. Each model offers a unique set of features while sharing a core design philosophy rooted in efficiency and user-friendliness.

The Black & Decker AS250 is renowned for its lightweight design and ergonomic handle, making it easy to maneuver during extended use. This model excels with its compact size, allowing for precision trimming around flower beds and hard-to-reach areas. With a powerful battery, it ensures longer runtime, reducing interruptions during tasks. Users appreciate the easy-to-replace spool, which minimizes downtime when replacing cutting lines.

The AS225 offers a slightly higher cutting capacity, making it ideal for tackling slightly thicker grasses and weeds. One standout feature is its automatic feed system, which provides continuous line feed without the need for manual intervention. This technology allows users to maintain momentum while working, significantly improving productivity. Additionally, the AS225 features a pivoting head that allows it to easily convert from trimming to edging, providing versatility for different gardening tasks.

The AS200 model prioritizes convenience with its lightweight build, targeting homeowners who prefer a straightforward approach to lawn care. This model features a simple push-button start, eliminating the hassle of cords or fuel. The AS200 is designed to cut efficiently in tight spaces, delivering a clean finish without the heavy weight of traditional gas-powered trimmers. Its compact design is ideal for small to medium-sized yards, and the adjustable handle accommodates varying user heights.

Completing the series, the AS210 boasts advanced battery technology, providing even longer runtimes and quicker recharging times. This model is also equipped with a robust dual-line cutting system that enhances its cutting efficiency, making it a go-to choice for users with larger yards. The AS210’s design emphasizes durability, ensuring it can withstand frequent use in various gardening conditions.

In summary, the Black & Decker AS250, AS225, AS200, and AS210 represent cutting-edge advancements in garden maintenance tools. Each model is characterized by user-friendly features, efficient battery technology, and innovative designs tailored for precision and productivity. Whether for light trimming around a garden or managing larger lawns, these tools provide reliable performance for gardeners of all skill levels.