OPERATE THE TRIMMER/EDGER |
| |
• | Toturn trimmer on, pull the lock out button, shown in Figure 1, | |
| backwards and, then squeeze the trigger switch. Toturn the | |
• | tool off, release the trigger. | 5 |
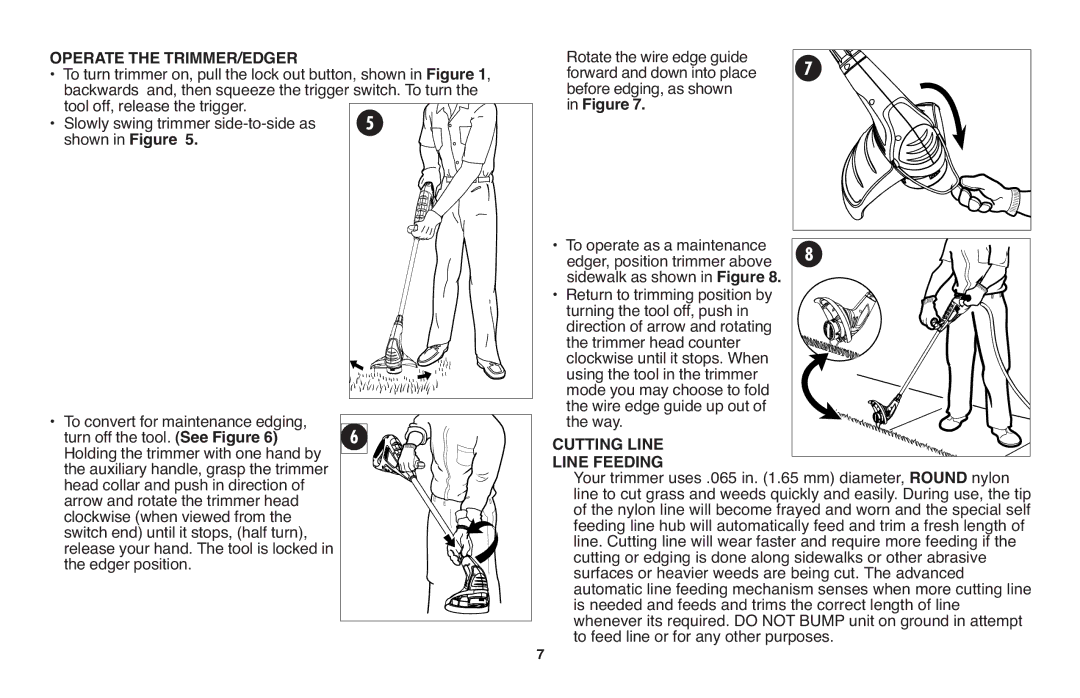
Slowly swing trimmer | ||
| shown in Figure 5. |
|
• | To convert for maintenance edging, | 6 |
| turn off the tool. (See Figure 6) | |
| Holding the trimmer with one hand by |
|
| the auxiliary handle, grasp the trimmer |
|
| head collar and push in direction of |
|
| arrow and rotate the trimmer head |
|
| clockwise (when viewed from the |
|
| switch end) until it stops, (half turn), |
|
| release your hand. The tool is locked in |
|
| the edger position. |
|
Rotate the wire edge guide forward and down into place
before edging, as shown 7 in Figure 7.
• | Tooperate as a maintenance | 8 |
| edger, position trimmer above |
|
• | sidewalk as shown in Figure 8. |
|
Return to trimming position by |
| |
| turning the tool off, push in |
|
| direction of arrow and rotating |
|
| the trimmer head counter |
|
| clockwise until it stops. When |
|
| using the tool in the trimmer |
|
| mode you may choose to fold |
|
| the wire edge guide up out of |
|
| the way. |
|
CUTTING LINE |
| |
LINE FEEDING |
| |
| Your trimmer uses .065 in. (1.65 mm) diameter, ROUND nylon | |
| line to cut grass and weeds quickly and easily. During use, the tip | |
| of the nylon line will become frayed and worn and the special self | |
| feeding line hub will automatically feed and trim a fresh length of | |
| line. Cutting line will wear faster and require more feeding if the | |
| cutting or edging is done along sidewalks or other abrasive | |
| surfaces or heavier weeds are being cut. The advanced | |
| automatic line feeding mechanism senses when more cutting line | |
| is needed and feeds and trims the correct length of line | |
| whenever its required. DO NOT BUMP unit on ground in attempt | |
7 | to feed line or for any other purposes. | |
|
| |
